KÖNIG & MEYER GmbH & Co. KG
Kiesweg 2, 97877 Wertheim, www.k-m.de
12150-021-55 Rev.3 03-80-049-00 2/21
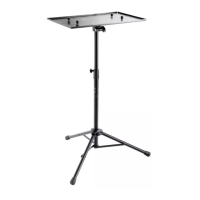
12150 Laptop stand
INTENDED USE
- The tripod stand is primarily intended to support laptops
- and devices with similar dimensions.
- It has a centric mounting plate and a clamp on tray for the
- mouse. Both are independently adjustable in height but not
- tiltable.
- Highly suitable for home, studio, rehearsal room, stage and
- for mobile use in general
FEATURES & CAPABILITIES
- Very stable due to the large base diameter
- Generously dimensioned support with raised edge
- Handy, ergonomic controls
- Stepless height adjustment of the stand
- Foldable tripod legs for space-saving transport and storage
- Quick assembly – No tools required
- Height 760-1250 mm, support 400 x 290 mm, weight: 4.0 kg
SAFETY INSTRUCTIONS
Thank you for choosing this product. Please read and follow these
instructions carefully. They inform you about all necessary and important
steps concerning safe installation and operation. We recommend that you
keep them for future reference.
- Always carry out a visual inspection before using the tripod;
- damaged components must be replaced or repaired before use.
- The surface must be suitable, i.e., level and stable.
- For maximum stability, always set the largest possible base circle
- (see 2.3).
- Tighten the clamping screws firmly (do not overwind). Manual force
- is sufficient.
- The extension tube must be inserted into the bottom plate as far as it
- will go. Subsequently always tighten the clamping nut (see 4.1-4.3).
- Do not move the stand.
- If you need to alter the laptop support (e.g., height), please remove
- the load.
- Due to moving parts, there are crushing hazard, careful handling is
- indispensable
INSTALLATION INSTRUCTIONS
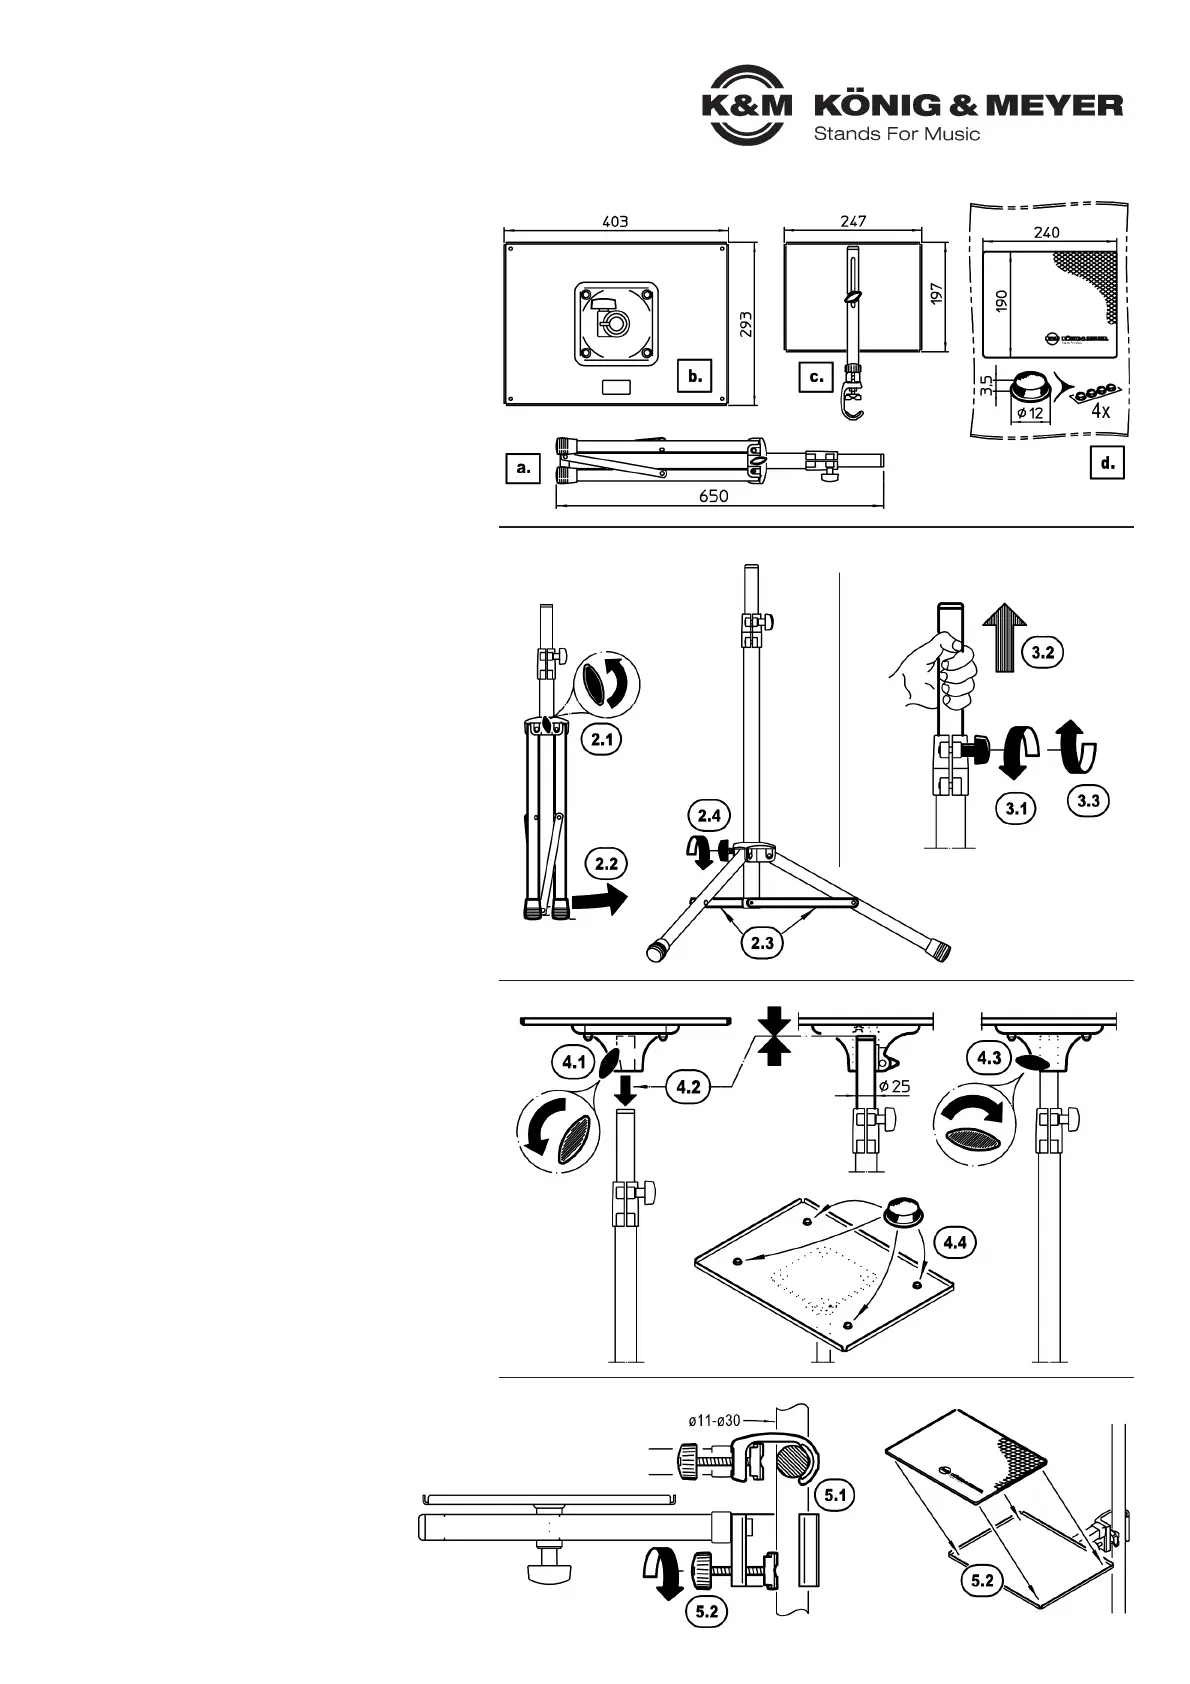
1. COMPONENTS
a.2 Extendable stand
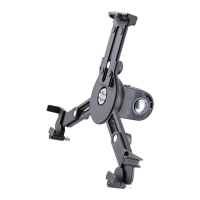
b.2 Mounting plate with bottom plate (inner-ø 25 mm)
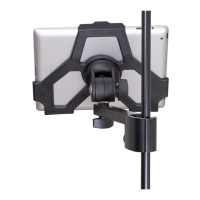
c.2 Mouse rest with support arm and clamp
d.
2 Accessories bag:
d.1 K&M mouse pad 239 x 189 x 3 mm
d.2 4 x rubber pads ø12 x 3,5 mm
2., 3., 4. and 5. SETTING UP the STAND
2. BASE
2.1 Slightly loosen the wing screw of the triangular clamp
2.2 Simultaneously pull apart the stands legs as far as possible until…
2.3 …the connecting struts are horizontal (= maximum root circle
2.3 diameter = greatest possible stability)
2.4 Retighten the wing screw - manual force is sufficient
2.4 NOTE: Over-tightening will stress the components
3. EXTENSION
3.1 Loosen the wing nut of the clamp
3.2 Adjust the extension tube to the desired height
3.3 Retighten wing nut
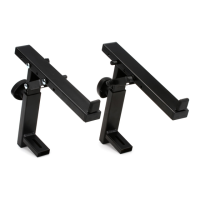
4. LAPTOP REST PLATE
4.1 Loosen the wing nut on the bottom of the plate.
4.2 Push the bottom plate onto extension tube as far as it will go...
4.3 Tighten the wing nut more or less: in this way, the rotary movement
4.3 of the laptop rest can be adjusted from smooth to tough
4.4 Take the 4 rubber pads d.2 out of the accessory bag and stick
4.4 them in a convenient position on the plate
5. MAUS REST
5.1 Place the clamp at the desired position around the
5.1 base (ø 30 mm) or extension tube (ø 25 mm)
5.2 Tighten the knurled screw
5.3 Take the mouse pad d.1 out of the accessory bag and
5.3 place in mouse support tray
1. COMPONENTS
2., 3., 4. and 5. SETTING UP the STAND
2. BASE
4. LAPTOP REST PLATE
5. MAUS REST
3. EXTENSION
 Loading...