10
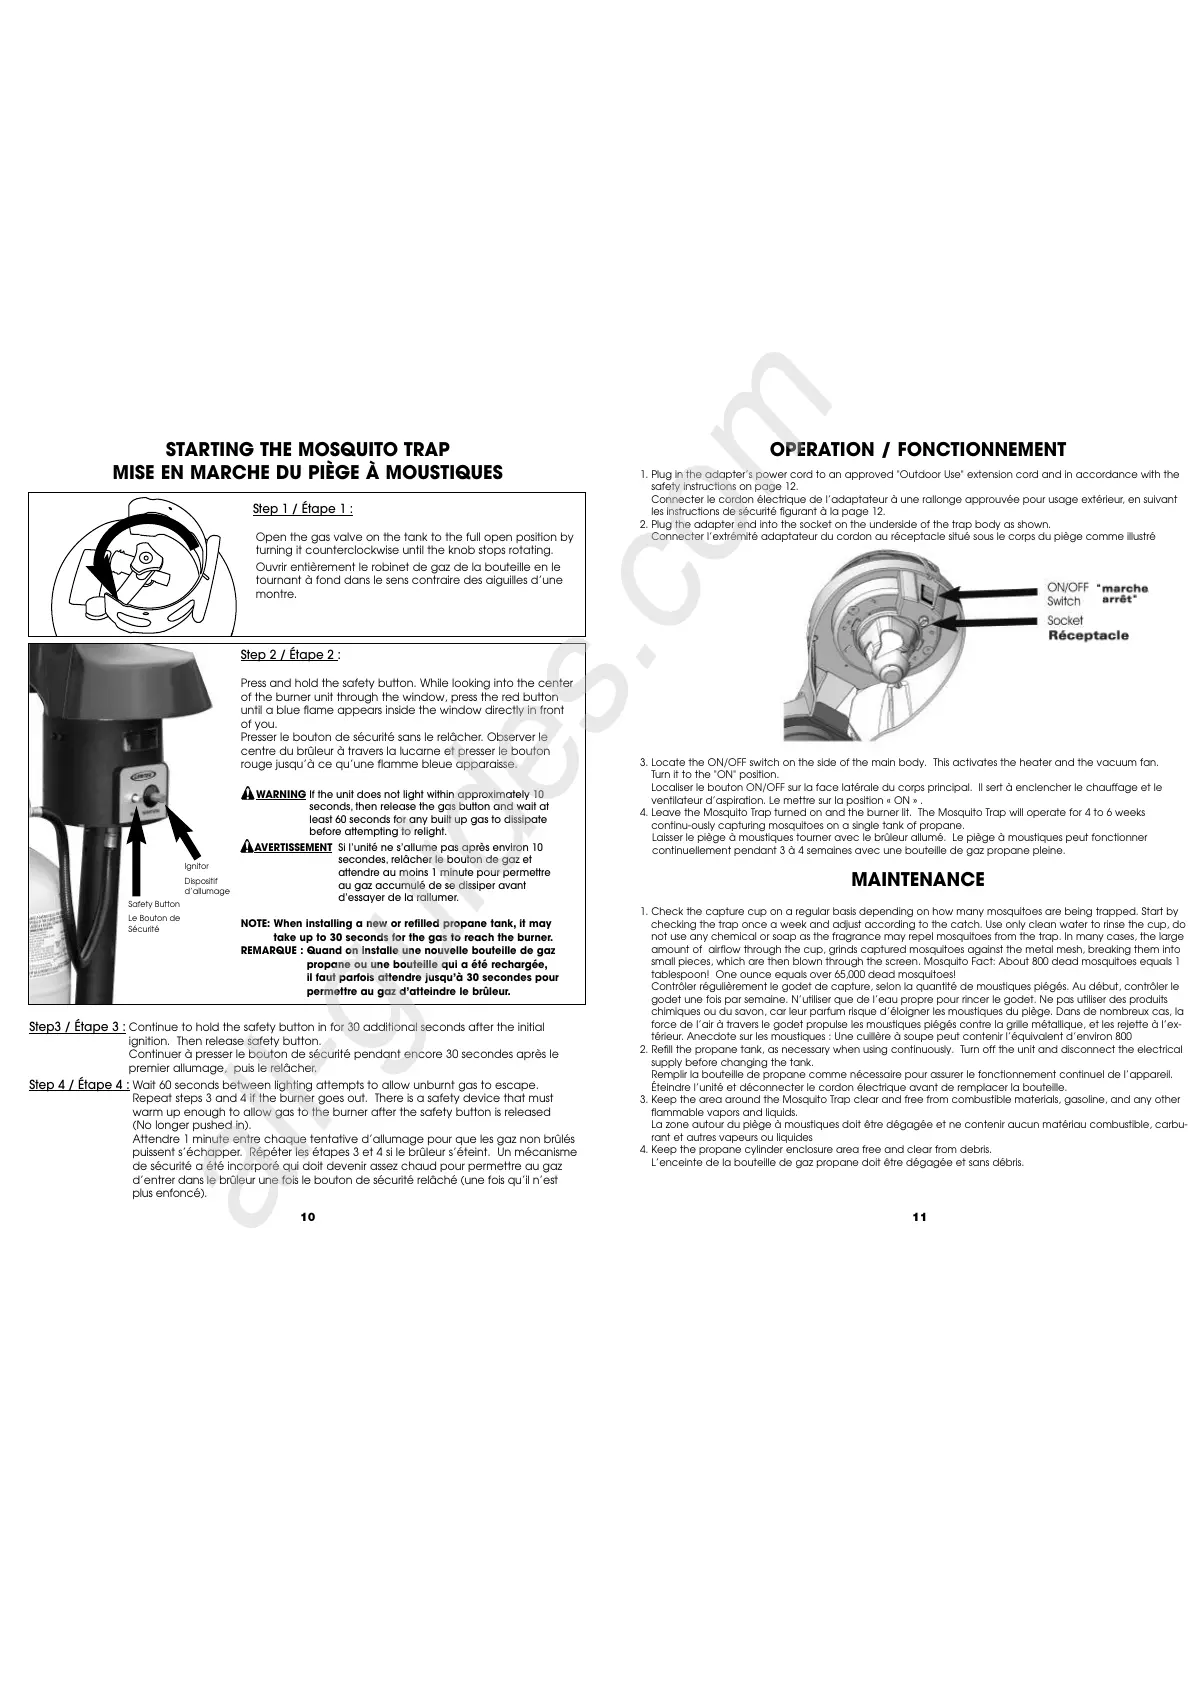
Open the gas valve on the tank to the full open position by
turning it counterclockwise until the knob stops rotating.
Ouvrir entièrement le robinet de gaz de la bouteille en le
tournant à fond dans le sens contraire des aiguilles d’une
montre.
STARTING THE MOSQUITO TRAP
MISE EN MARCHE DU PIÈGE À MOUSTIQUES
Step 2 / Étape 2 :
Press and hold the safety button. While looking into the center
of the burner unit through the window, press the red button
until a blue flame appears inside the window directly in front
of you.
Presser le bouton de sécurité sans le relâcher. Observer le
centre du brûleur à travers la lucarne et presser le bouton
rouge jusqu’à ce qu’une flamme bleue apparaisse.
WARNING If the unit does not light within approximately 10
seconds, then release the gas button and wait at
least 60 seconds for any built up gas to dissipate
before attempting to relight.
AVERTISSEMENT Si l’unité ne s’allume pas après environ 10
secondes, relâcher le bouton de gaz et
attendre au moins 1 minute pour permettre
au gaz accumulé de se dissiper avant
d’essayer de la rallumer.
NOTE: When installing a new or refilled propane tank, it may
take up to 30 seconds for the gas to reach the burner.
REMARQUE : Quand on installe une nouvelle bouteille de gaz
propane ou une bouteille qui a été rechargée,
il faut parfois attendre jusqu’à 30 secondes pour
permettre au gaz d’atteindre le brûleur.
Step3 / Étape 3 : Continue to hold the safety button in for 30 additional seconds after the initial
ignition. Then release safety button.
Continuer à presser le bouton de sécurité pendant encore 30 secondes après le
premier allumage, puis le relâcher.
Step 4 / Étape 4 : Wait 60 seconds between lighting attempts to allow unburnt gas to escape.
Repeat steps 3 and 4 if the burner goes out. There is a safety device that must
warm up enough to allow gas to the burner after the safety button is released
(No longer pushed in).
Attendre 1 minute entre chaque tentative d’allumage pour que les gaz non brûlés
puissent s’échapper. Répéter les étapes 3 et 4 si le brûleur s’éteint. Un mécanisme
de sécurité a été incorporé qui doit devenir assez chaud pour permettre au gaz
d’entrer dans le brûleur une fois le bouton de sécurité relâché (une fois qu’il n’est
plus enfoncé).
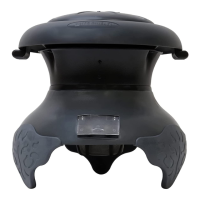
Step 1 / Étape 1 :
Safety Button
Le Bouton de
Sécurité
Ignitor
Dispositif
d’allumage
11
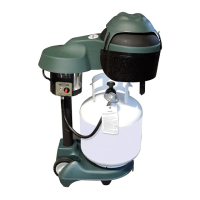
OPERATION / FONCTIONNEMENT
1. Plug in the adapter’s power cord to an approved "Outdoor Use" extension cord and in accordance with the
safety instructions on page 12.
Connecter le cordon électrique de l’adaptateur à une rallonge approuvée pour usage extérieur, en suivant
les instructions de sécurité figurant à la page 12.
2
. Plug the adapter end into the socket on the underside of the trap body as shown.
Connecter l’extrémité adaptateur du cordon au réceptacle situé sous le corps du piège comme illustré
3. Locate the ON/OFF switch on the side of the main body. This activates the heater and the vacuum fan.
Turn it to the "ON" position.
Localiser le bouton ON/OFF sur la face latérale du corps principal. Il sert à enclencher le chauffage et le
ventilateur d’aspiration. Le mettre sur la position « ON » .
4. Leave the Mosquito Trap turned on and the burner lit. The Mosquito Trap will operate for 4 to 6 weeks
continu-ously capturing mosquitoes on a single tank of propane.
Laisser le piège à moustiques tourner avec le brûleur allumé. Le piège à moustiques peut fonctionner
continuellement pendant 3 à 4 semaines avec une bouteille de gaz propane pleine.
MAINTENANCE
1. Check the capture cup on a regular basis depending on how many mosquitoes are being trapped. Start by
checking the trap once a week and adjust according to the catch. Use only clean water to rinse the cup, do
not use any chemical or soap as the fragrance may repel mosquitoes from the trap. In many cases, the large
amount of airflow through the cup, grinds captured mosquitoes against the metal mesh, breaking them into
small pieces, which are then blown through the screen. Mosquito Fact: About 800 dead mosquitoes equals 1
tablespoon! One ounce equals over 65,000 dead mosquitoes!
Contrôler régulièrement le godet de capture, selon la quantité de moustiques piégés. Au début, contrôler le
godet une fois par semaine. N’utiliser que de l’eau propre pour rincer le godet. Ne pas utiliser des produits
chimiques ou du savon, car leur parfum risque d’éloigner les moustiques du piège. Dans de nombreux cas, la
force de l’air à travers le godet propulse les moustiques piégés contre la grille métallique, et les rejette à l’ex-
térieur. Anecdote sur les moustiques : Une cuillère à soupe peut contenir l’équivalent d’environ 800
2. Refill the propane tank, as necessary when using continuously. Turn off the unit and disconnect the electrical
supply before changing the tank.
Remplir la bouteille de propane comme nécessaire pour assurer le fonctionnement continuel de l’appareil.
Éteindre l’unité et déconnecter le cordon électrique avant de remplacer la bouteille.
3. Keep the area around the Mosquito Trap clear and free from combustible materials, gasoline, and any other
flammable vapors and liquids.
La zone autour du piège à moustiques doit être dégagée et ne contenir aucun matériau combustible, carbu-
rant et autres vapeurs ou liquides
4. Keep the propane cylinder enclosure area free and clear from debris.
L’enceinte de la bouteille de gaz propane doit être dégagée et sans débris.

 Loading...