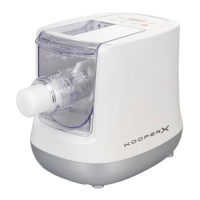
34
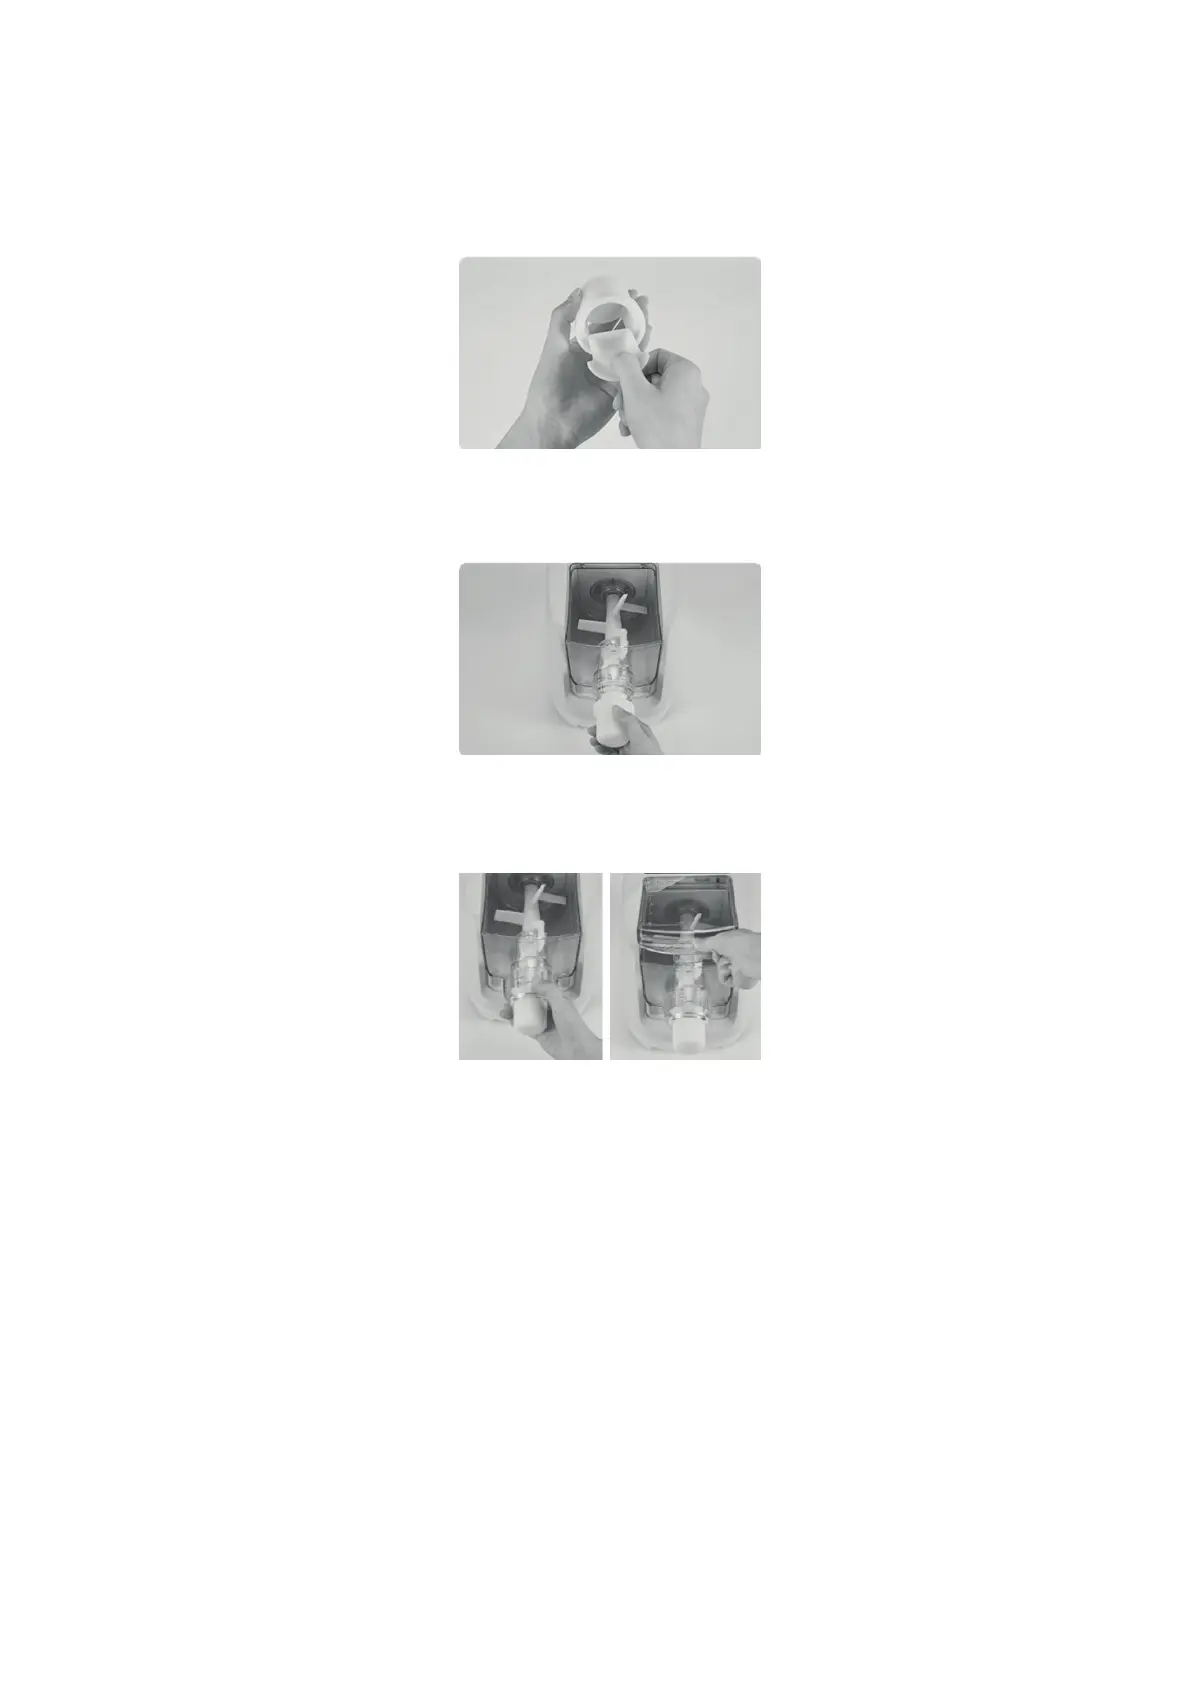
F) Once the mould has been chosen, insert it inside the mould housing and
lock it until a “click” is heard.
Note: To avoid damage to the attachment, insert the mould into the housing
by applying light, not excessive, pressure.
G) With the mould facing down, assemble the mould housing to the extru-
sion tube in the position indicated by the guides on the mould housing.
H) Insert the locking ring nut and turn it clockwise until fully screwed in, then
assemble the compartment cover and gently lock it until you hear a “click”.
CAUTION! BEFORE USING IT, CAREFULLY MAKE SURE THAT ALL
PARTS ARE CORRECTLY AND FIRMLY ASSEMBLED: THE PRESSU-
RES EXERTED DURING OPERATION MAY CAUSE THE BREAKAGE
OF INCORRECTLY ASSEMBLED ACCESSORIES!