42
Teach-in procedure
Assign the radio transmitter to a radio receiv-
er (using the example of a newly installed
radio wall switch):
1. Connect radio receiver to voltage.
2. Press the PROG. button of the radio
receiver with the included programming
pin and keep it pressed for approx.
2 seconds until the LED (red) lights up.
3. The teach-in mode is now activated for 20
seconds.
4. Operate then at the desired universal radio
transmitter input channel the connected
pushbutton / switch. It is best to make
contact between the connecting wires
of the universal radio transmitter input
channel. As a result, a radio transmission
signal is triggered.
5. The radio receiver‘s LED goes o 1x.
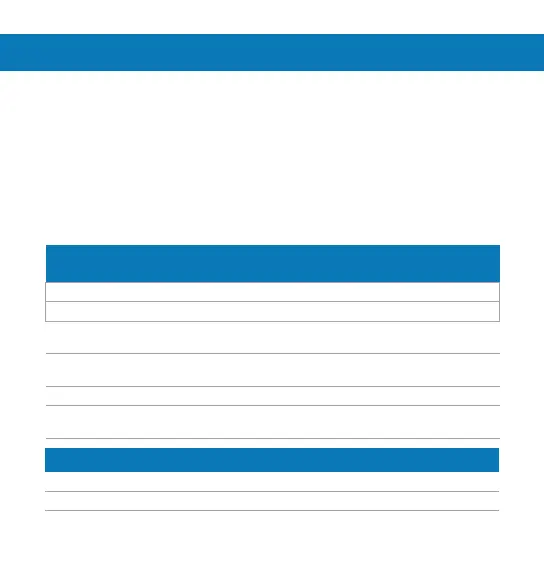
Standard LED signalling of radio receivers
(Please follow the respective Operating Instructions.)
Display Function
LED lights up Teach-in mode activated for 20 seconds.
LED goes o 1x Positive acknowledgment. Radio transmitter was correctly
programmed.
LED flashes at high
frequency
Fault indication. One and the same radio transmitter should
be repeatedly taught-in.
LED flashes 3x long Fault indication. Occupied memory.
LED flashes 2x Positive acknowledgment. Program memory of the radio
receiver was completely deleted.
LED signalling of the universal radio transmitter
LED lights up for approx. 0.5 s Radio signal is transmitted
LED flashes briefly 6x Empty battery
 Loading...