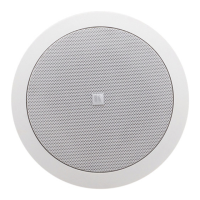
Galil 6-I - Installing the Galil 6-I 2-Way In-Wall Speakers
Figure 4: Galil 6-I Speakers Pinout
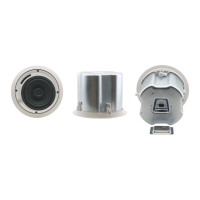
5. Insert the speaker into the opening and tighten the screws.
When tightening the screws, the tabs automatically turn outward (see Figure
3), thus clamping the speaker to the wall from its rear side.
Note: Do not over-tighten the screws. This may cause damage to both the
speakers and the surface.
6. Push the grille firmly into the slot in the speaker baffle.
Do not over-tighten the screws. It may cause damage to both the
speakers and the surface.
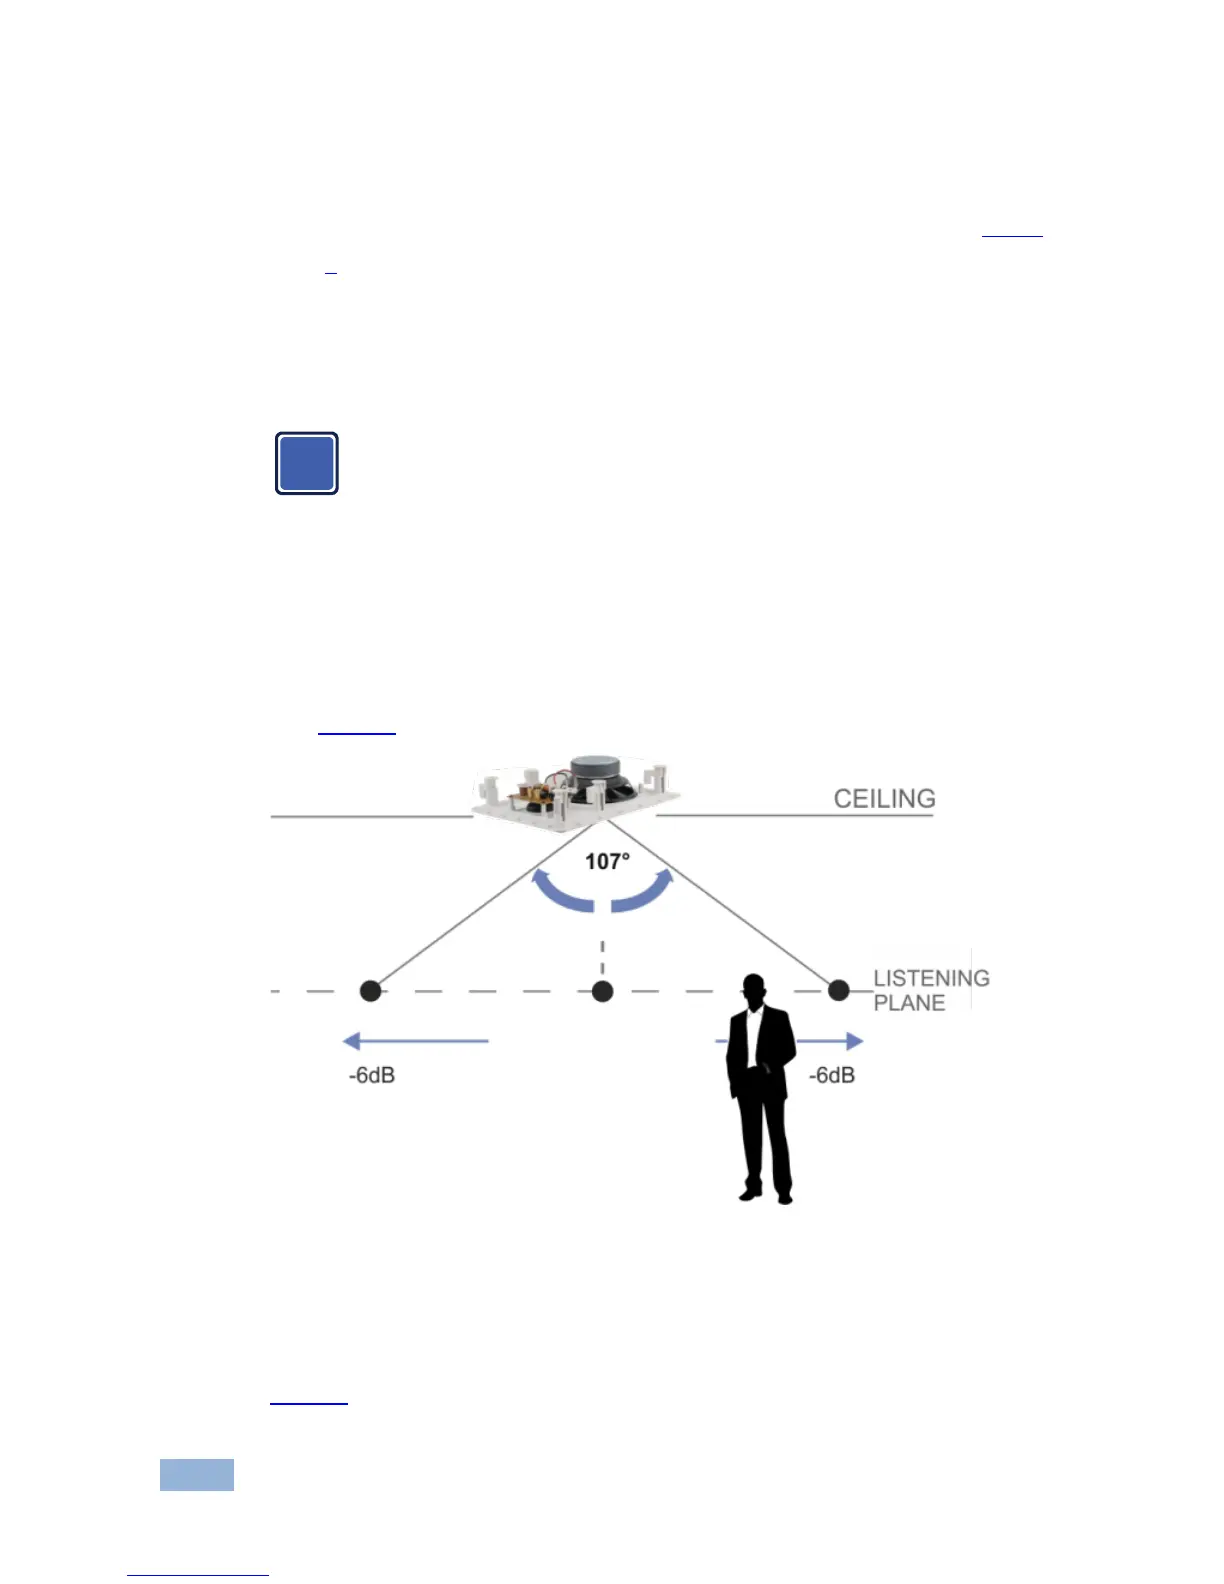
5.4 Understanding the Ceiling Coverage Area
When installing the Galil 6-I in the ceiling, you have to define the distance
between the speakers as well as the layout pattern (square or hexagonal). The
distance between the speakers is set according to the speakers’ coverage angle
(see Figure 5), the uniformity of the coverage desired and the budget.
Figure 5: The Speaker Coverage Area
The coverage angle of the speaker determines the coverage area and the number
of speakers required in an installation.
Figure 6 shows an example of parallel wiring in a square array installation:
 Loading...