Contents
1 Introduction 1
2 Getting Started 2
2.1 Achieving the Best Performance 2
3 Overview 3
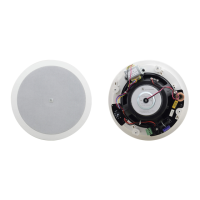
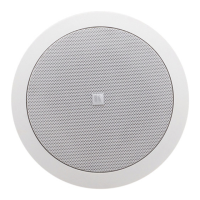
4 Your Galil 8-C Closed-back Ceiling Speakers 4
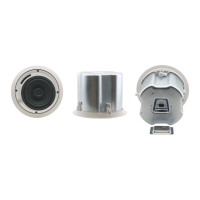
5 Installing the Galil 8-C Closed-back Ceiling Speakers 6
5.1 Choosing the Best Location 6
5.2 Cutting the Ceiling Tile 6
5.3 Mounting the Speakers 7
5.4 Setting up an Array Installation 10
5.5 Painting the Speaker 13
6 Technical Specifications 14
Figures
Figure 1: Galil 8-C in a Boardroom Setup 3
Figure 2: Galil 8-C Closed-back Ceiling Speaker 4
Figure 3: Galil 8-C Schematic Diagram 5
Figure 4: Mounting the Galil 8-C 8
Figure 5: Plugging and Securing the Cable 9
Figure 6: Tighten the Mounting Tabs 9
Figure 7: Adjust Tap Selector 10
Figure 8: Square Layout 11
Figure 9: Hexagonal Layout 11
Figure 10: Square Layout Parallel Wiring 12