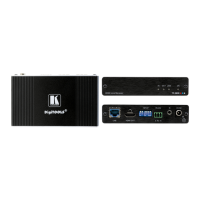
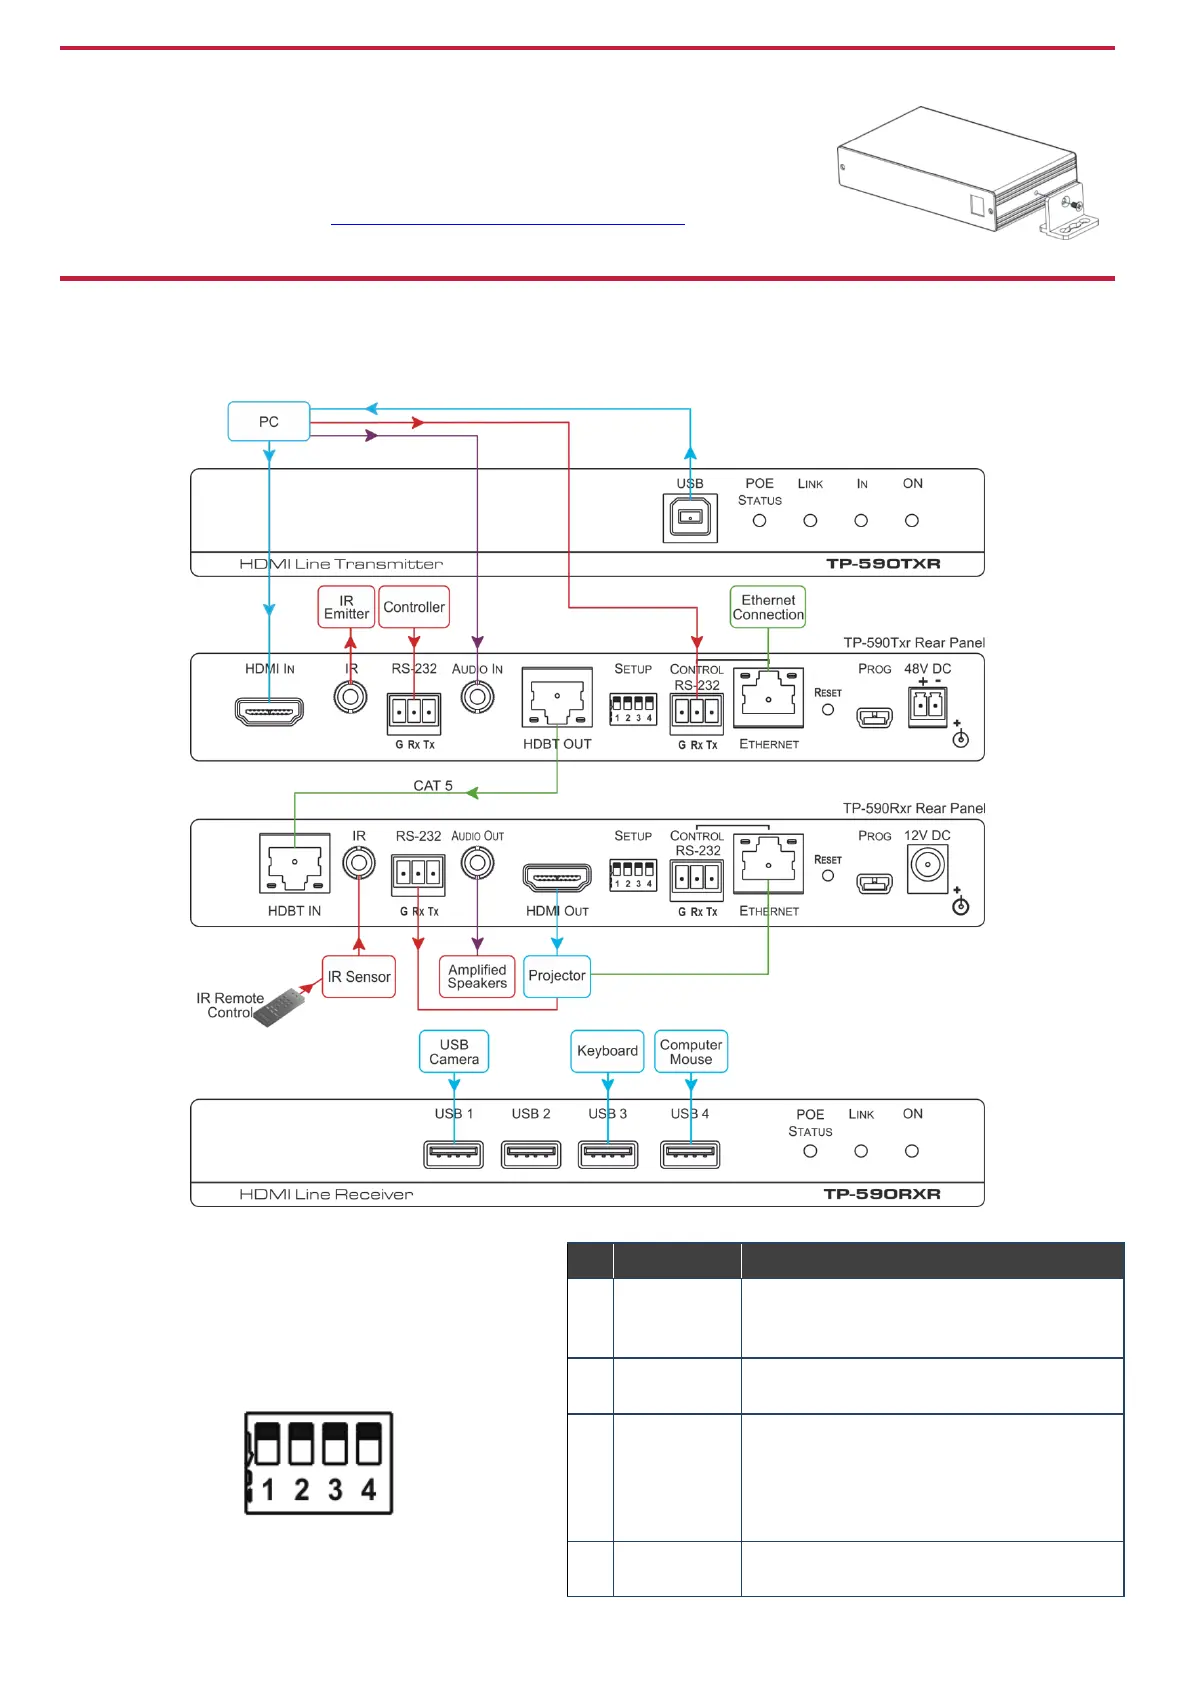
Step 3: Install TP-590TXR
Install TP-590TXR using one of the following methods:
• Attach the rubber feet and place the unit on a flat surface.
• Fasten a bracket (included) on each side of the unit and attach it to a flat surface.
For more information go to www.kramerav.com/downloads/TP-590TXR.
• Mount the unit in a rack using an optional RK-T2B rack adapter.
Step 4: Connect the inputs and outputs
Always switch OFF the power on each device before connecting it to your TP-590TXR. For best results, we recommend that you
always use Kramer high-performance cables to connect AV equipment to TP-590TXR.
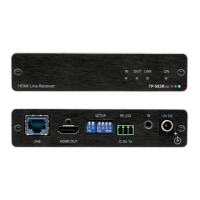
Setting the DIP Switches
Set the DIP-switches using the table on the right. The
ON/OFF positions are as follows:
• Switch down = ON
• Switch up = OFF
Note: Changes to the DIP-switches only take effect
on power-up.
Off—Extended range (provides increased range
at a reduced bandwidth)
On—Normal range (factory default)
Off—Embedded audio (factory default)
On—Analog audio
Off—Automatic EDID acquisition (factory
default)
On—Lock (locks the current EDID so that
changes on the output do not result in changes
to the EDID)
Off—Auto (factory default)
On—Manual
 Loading...