6
Step 3
Step 4
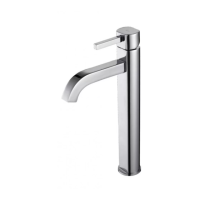
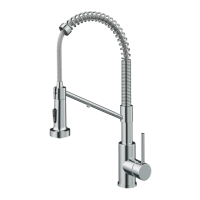
6 7/8”
5 4/5”
3/8”
(10mm)
7/8”
19.7
º
(22mm)
8 5/16”
1 1/4-18UNF-2A
(21mm)
10 1/8”
(257mm)
1 3/8”
(35mm)
3 3/4”
(175.4mm)
(147.3mm)
(96mm)
∅ 1 3/4”
(
∅ 45mm)
∅ 1 15/16”
(
∅ 50mm)
9/16”-18UNEF
27mm ~ 41.3mm
1 1/16” ~ 1 5/8”
∅ 1 15/16”
(
∅ 50mm)
12 7/16”
(316mm)
1 5/8”
(42.5 mm Max)
7A
8B
8C
8D
8A
7A
8B
8C
8D
8A
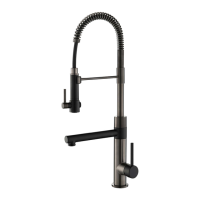
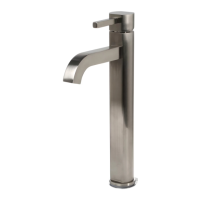
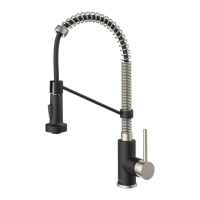
Install ex water supply lines on
the angle stops and tighten with
an adjustable wrench. Turn on
both the cold and hot main valves
Apply pipe tape (optional)
6 7/8”
5 4/5”
3/8”
(10mm)
7/8”
19.7
º
(22mm)
8 5/16”
1 1/4-18UNF-2A
(21mm)
10 1/8”
(257mm)
1 3/8”
(35mm)
3 3/4”
(175.4mm)
(147.3mm)
(96mm)
∅ 1 3/4”
(
∅ 45mm)
∅ 1 15/16”
(
∅ 50mm)
9/16”-18UNEF
27mm ~ 41.3mm
1 1/16” ~ 1 5/8”
∅ 1 15/16”
(
∅ 50mm)
12 7/16”
(316mm)
1 5/8”
(42.5 mm Max)
7A
8B
8C
8D
8A
7A
8B
8C
8D
8A
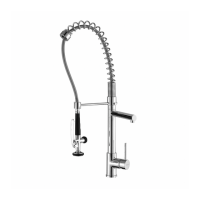
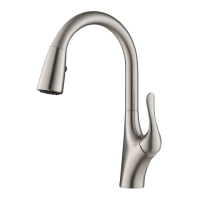
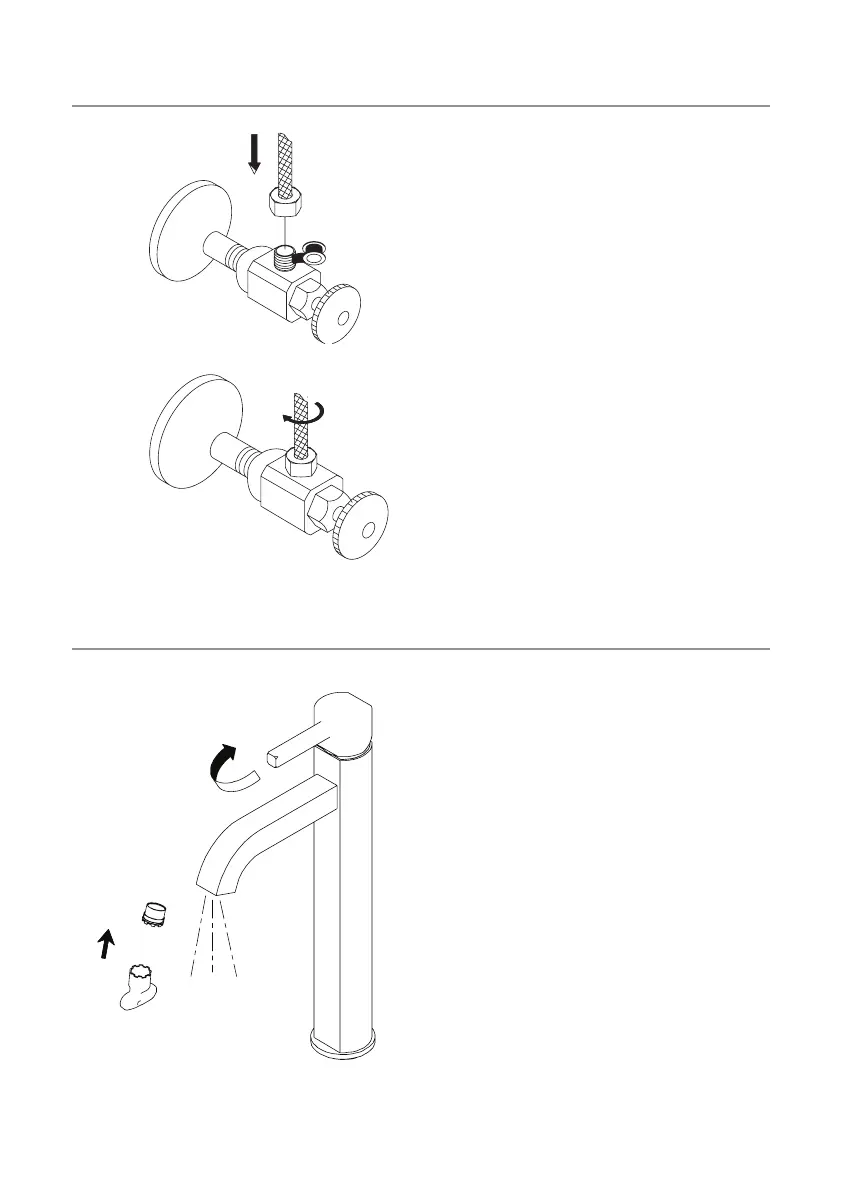
After installing the faucet, remove
the aerator (6) with the included
aerator key (10). Turn on the water
to remove any leftover debris,
then reassemble the aerator (6)