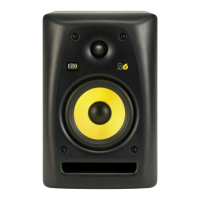
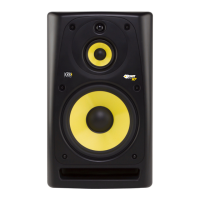
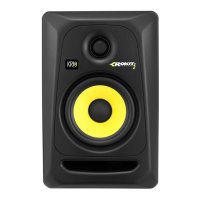
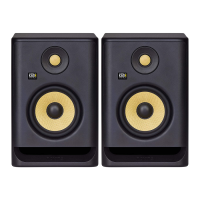
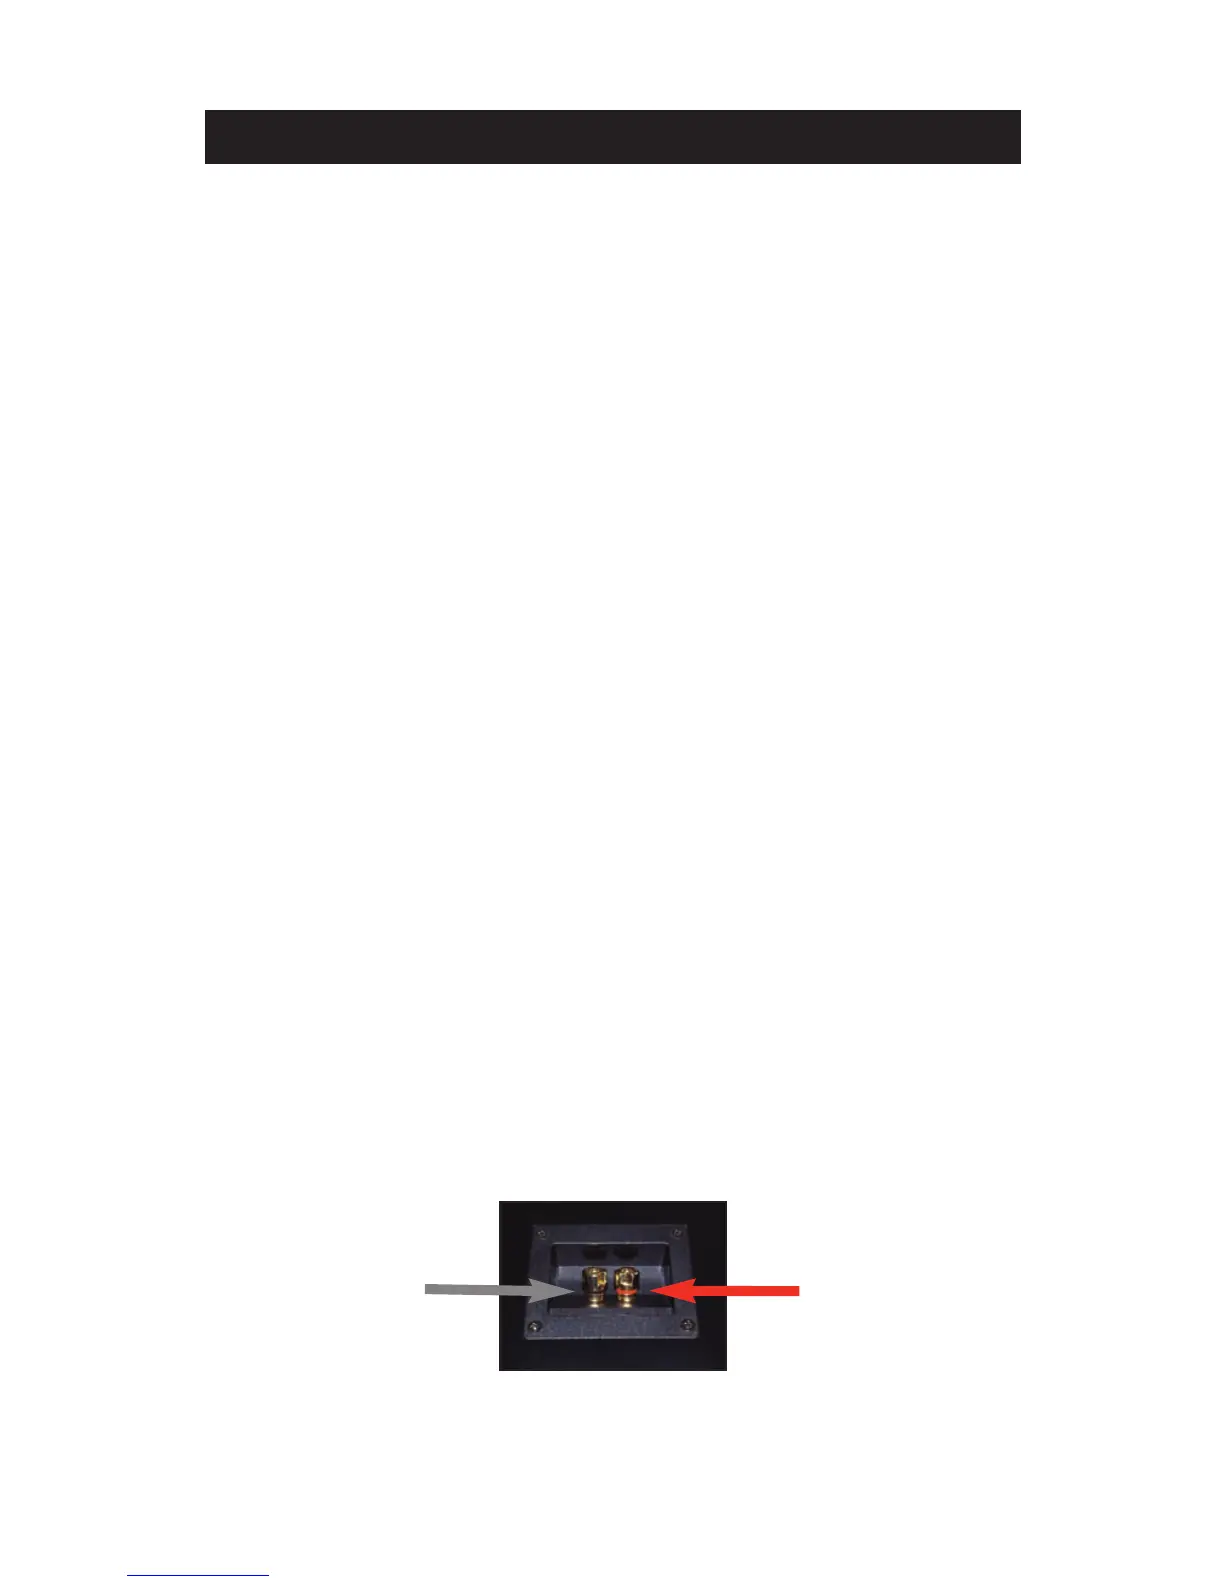
Figure 2.1
5
22.. TThhee BBaassiiccss
22..44 CCoonnnneeccttiinngg yyoouurr MMoonniittoorrss
When hooking up passive (non-powered) speakers such as the R6 studio
m
onitors, you have several choices as to the proper type of cable. First, only use
heavy 14 to 18-gauge unshielded cables. Sonically, the heavier 14-gauge cable
is the best choice. Next, keep the speaker cable runs as short as possible. Just
measure the proper length, leaving a few extra feet for later adjustments and
easy access. Whenever possible, remember to use a heavy-gauge, unshielded
cable, especially for long (over 20 ft) runs.
Also, avoid light-gauge "zip cord.” Light-gauge cables of considerable length
not only rob amplifier power directly by turning it into heat, but they also reduce
the damping factor of your power amplifier, (which can cause inaccuracies in
the bass response of the speakers). Long cable runs can also introduce frequency
response irregularities into the monitor system, especially around the crossover
points where complex impedances exist.
CCaauuttiioonn
Before to start with the following “hookup procedure,” please
t
urn
Off
the amplifier. Some amplifiers will self-destruct if their output
terminals are accidentally shorted together for even a few seconds.
If it is possible, use polarized speaker wire. This type of wire has one of the
conductors marked with a ridge, color stripe, or other identifier such as
copper- and white-colored conductors. This will allow you to easily hook up the
speakers with the proper polarity, (which is very important for proper stereo
imaging and bass response). Simply use the striped, ridged, red, or otherwise
polarity-marked lead of the cable to hook to the hot (red, + or positive)
terminal of the amplifier. Hook the other end of the cable to the red terminal on
the monitor cabinet. Repeat using the black (negative) terminal of the amplifier
being hooked to the black terminal of the speaker cabinet. Make sure there are
no stray strands of copper poking out that might short to the opposite terminal.
(Figure 2.1)
+
-
 Loading...