Instructions
Using the Rocket Blender
The Rocket Blender consists of a high torque power base, which can be used with
the cross or flat blade assembled in the tall or short bullet cup, or in one of the mugs.
• Before you start, ensure the base is unplugged from the electrical outlet.
• Place the base on a flat, level, stable work surface.
• Add the food you want to process to the small or large bullet cup, or to a mug.
• Screw the appropriate blade assembly clockwise onto the cup/mug until secure.
CAUTION!
• Handle with care, the blades are very sharp! Always hold the blade
assembly by the plastic part.
• Check the gasket! Ensure that the rubber gasket, located on the inside
bottom edge of the blade assembly, is in place.
• Turn over the cup assembly so that the blades are on the bottom.
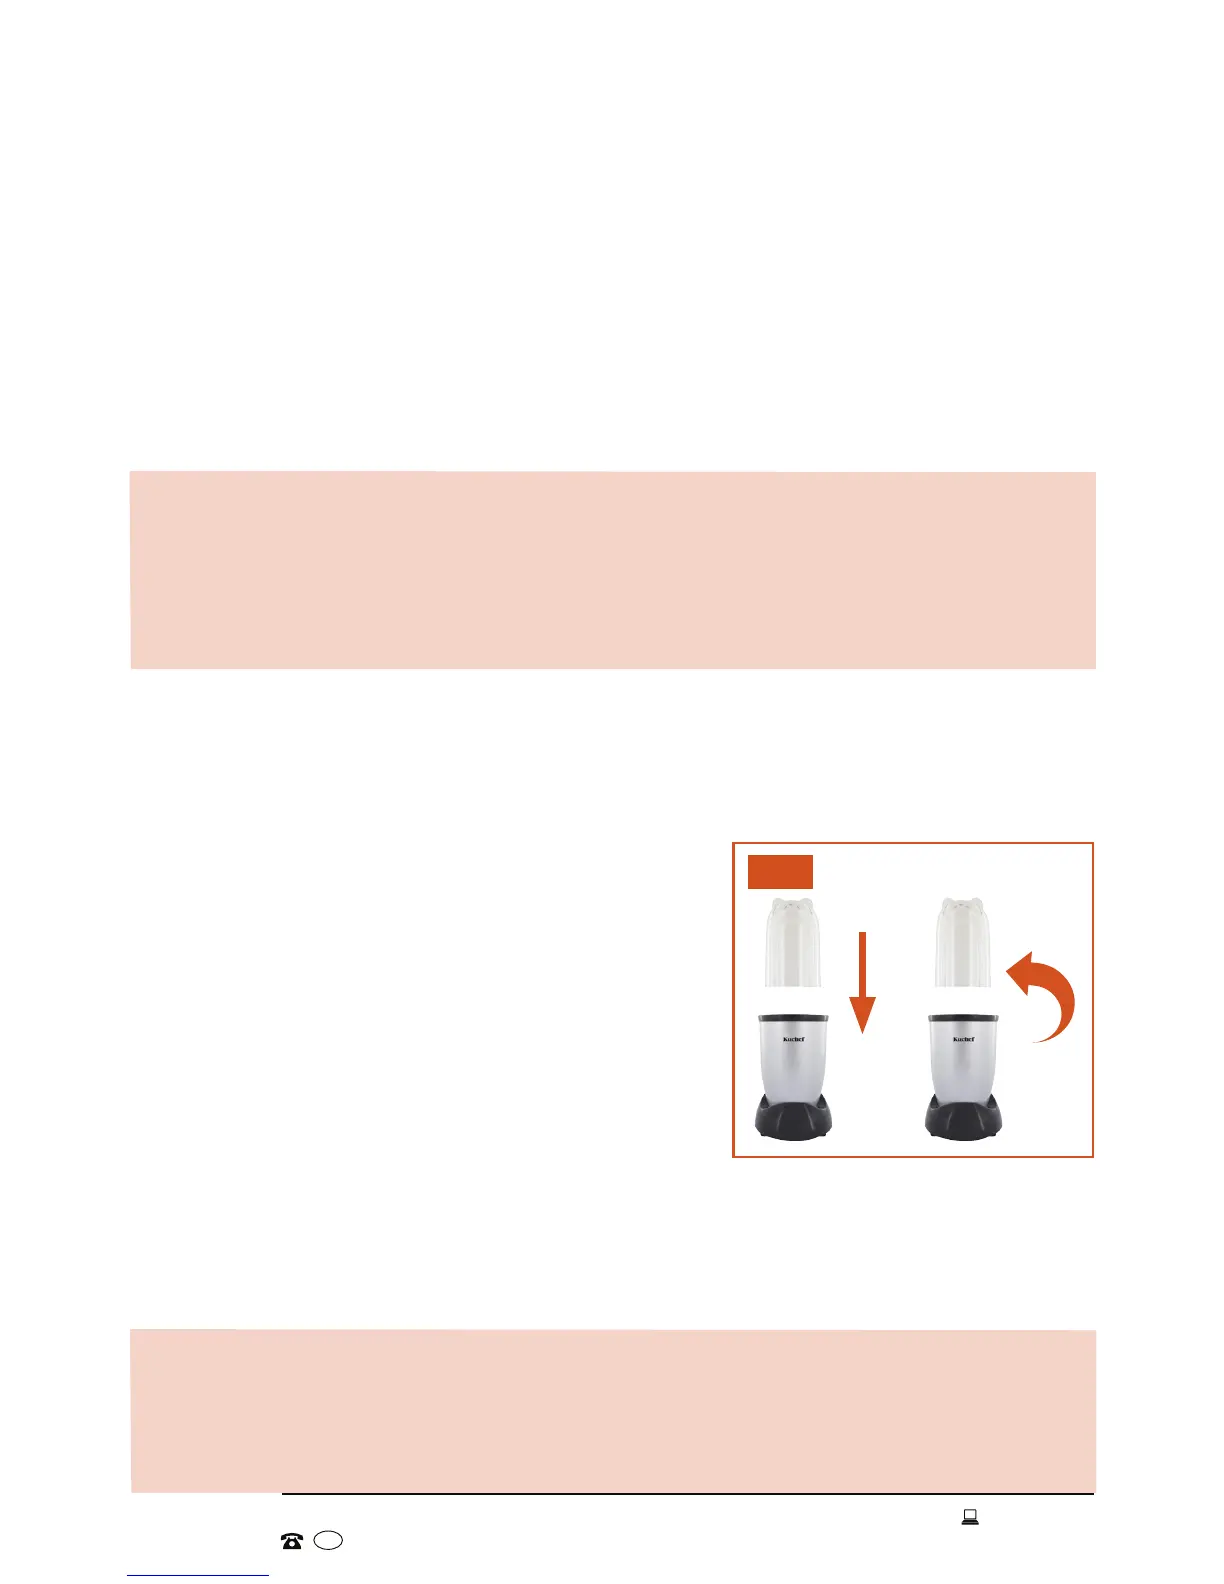
• To attach the cup assembly, align the three tabs on the outside of the cup with
the three notches on the top inner edge of the base.
• Plug the product into a standard 220-240V AC electrical outlet and switch on
power at the outlet.
• Press the cup down slightly and twist it anti-
clockwise to start processing (Fig. 9).
To prevent the motor from overheating, limit
continuous operation to 2 minutes at a time,
or to 15 seconds when processing hard or
dense ingredients.
• To stop processing, press down and twist the
cup clockwise to release it.
• CAUTION: Wait until the blades have
stopped completely before removing the
cup from the base or before removing any food contents.
• Unplug the unit from the electrical outlet when it is not in use or left unattended.
• Use a supplied storage lid to cover the cup/mug when storing leftovers.
TIP
If thicker ingredients do not make it down to the blade area for processing,
unplug the Rocket Blender (cup and power base), pick it up and shake it like a
cocktail shaker until the ingredients have moved into place for processing.
Fig. 9
 Loading...