RESIDENTIAL INSTALLATION INSTRUCTIONS
Model: HT
CAUTION– Always read instructions before beginning the installation.
Check all listed factory built chimneys for concealed damage.
Exercise caution to ensure that all necessary parts are installed correctly.
BEFORE YOU START ensure that there are no major obstructions (i.e. floor joists, ceiling joists, electrical
wires, heat ducts, plumbing, etc.).
Clearance- See figures 3 through 6. Consult your local building official and build your hearth
pad to local building requirements.
Use minimum 6” diameter black or “blued” steel chimney connector, 24 gauge minimum.
EXAMPLE: Typical hearth pad
(must be non-combustible
at least 3/8” thick) 6”
6” 6”
18”
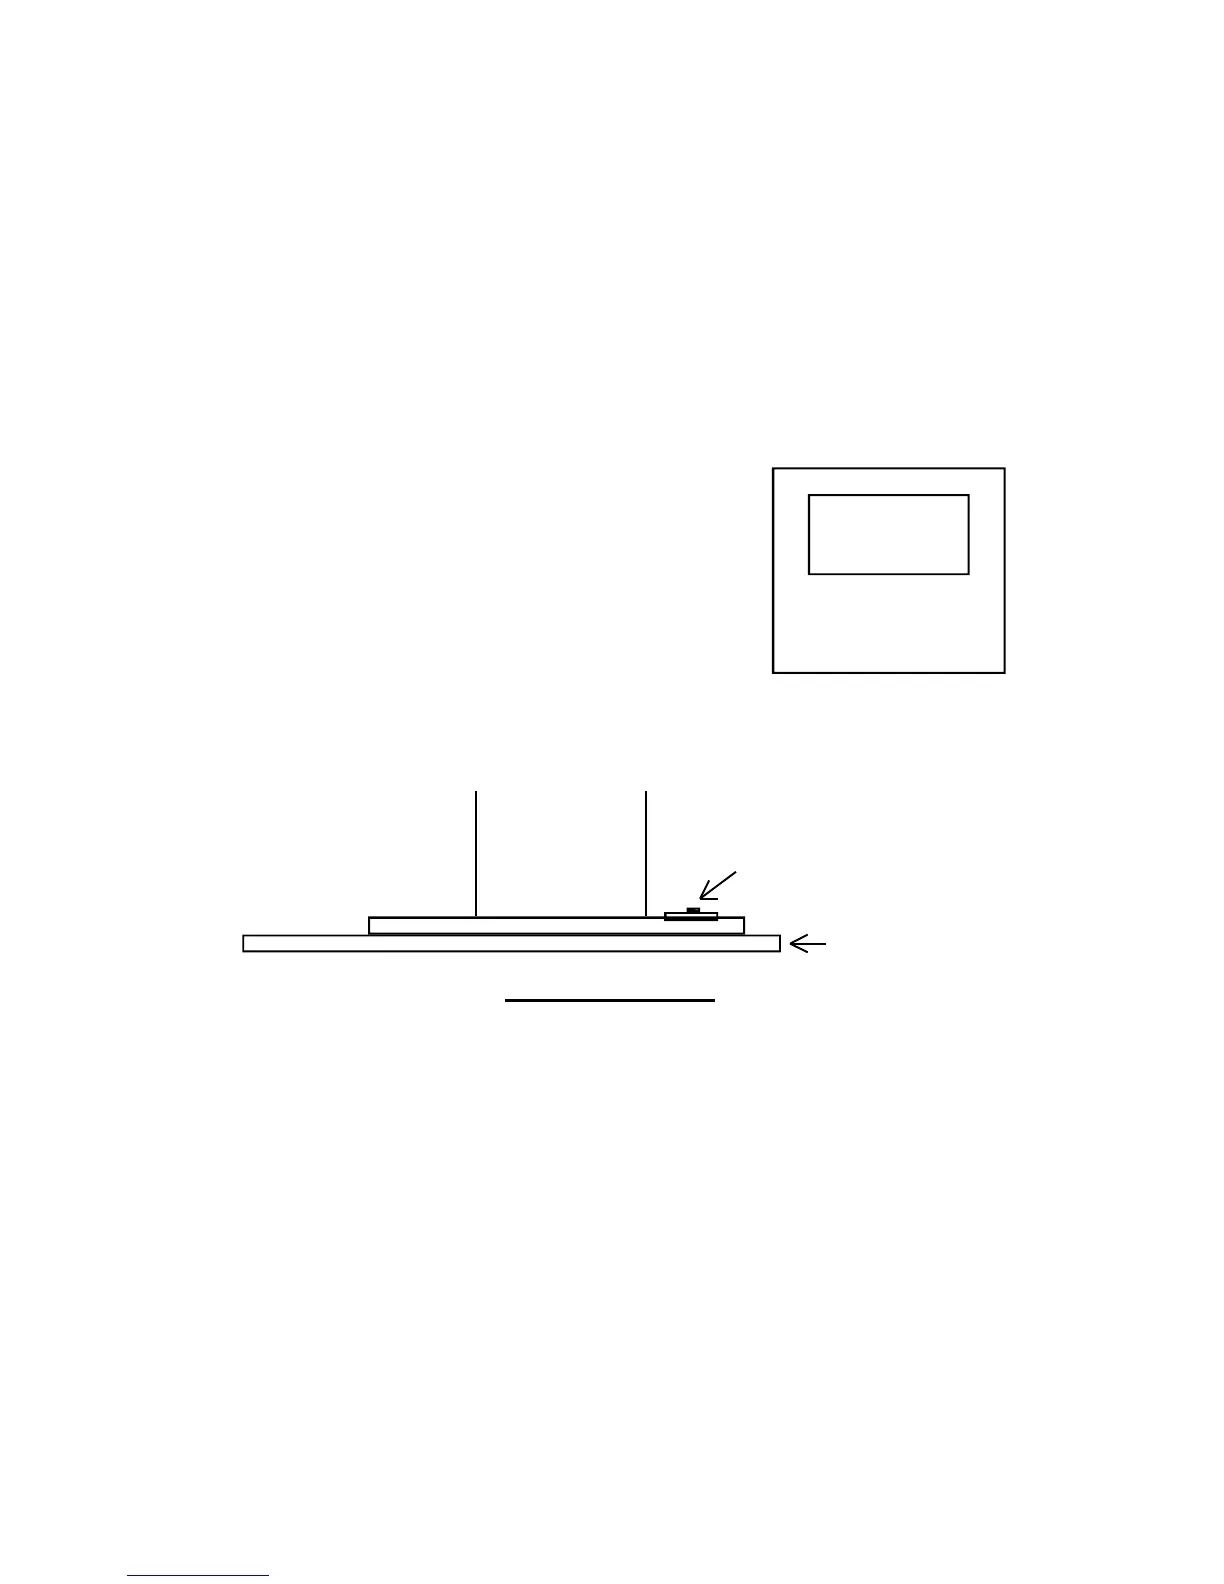
NOTE: For residential installation, in which outside air intake is not desired, remove cover-plate at rear of
pedestal base before installing stove as shown below. In this application, a hole through the floor is not required.
Pedestal and base
side view
Remove air cover-plate
at rear of unit.
Non-combustible hearth pad.
INSTALLATION
1. After locating possible obstructions (joists, pipes, etc.) and taking into account the necessary combustible clearances (fig. 2),
position the stove in the intended installation position. Use a plumb line to locate the position of the ceiling hole for the chimney. Size
the chimney hole to the recommended manufacturer’s clearances for your chimney. Mark the hole.
2. If the ceiling is clear of all obstructions, cut out the hole (NOTE: Do not cut the ceiling trusses.).
3. In case of attic space use a plumb line to locate the hole in the roof. Cut out the opening, keeping in mind the chimney
manufacturer’s recommended clearances.
4. If outside air is desired or required by code, locate and cut a 4” diameter hole through the floor anywhere under the pedestal stove
base. If air through the wall is preferred, a dryer-type vent pipe should be installed from the wall to the 4” diameter hole at the pedestal
base back. A mesh-type screen should be installed to keep out rodents, etc. For your convenience, an outside air kit (part # 4OAVK)
is available through your dealer.
5. Install a hearth pad according to local building codes or manufacturer’s specs (see above figure).
6. Position the stove on the hearth.
7. Check all chimney pipe for damage. Do not use any damaged pipe. Installation procedures may vary from manufacturer to
manufacturer of listed chimney. Install the rest of the chimney up through the hole in the ceiling and roof.
8. In cases when there is an attic space, install a protective joist shield tube or box. Consult local building officials or chimney
manufacturer.
9. Install the roof flashing, sealing water tight. Install the storm collar and seal water tight. Install chimney cap. NOTE: Refer to
chimney manufacturer’s specs. Chimney height, see figure 7.
10. Install the stove pipe connector from the stove top to the chimney pipe, making sure to secure all joints of pipe together as well as
the pipe to the stove flue collar with three sheet metal screws at each joint.
11. Call for final inspection.
12. Read completely the operating and burning instructions.
Your wood stove is ready to burn.
3
 Loading...