See the complete Dog Travel line at kurgo.com
AUTO ZIP LINE - ALTERNATE INSTALLATION OPTIONS
Kurgo products
•
2D Fanaras Drive, Salisbury, MA 01952
•
tel: 877-847-3868
•
kurgo.com
•
info@kurgo.com
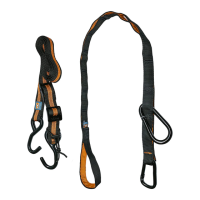
D-ring
Leash
Upper Straps
Padded
Chest
Plate
Lower Straps
Side Release
Buckles
safety/walking harness parts
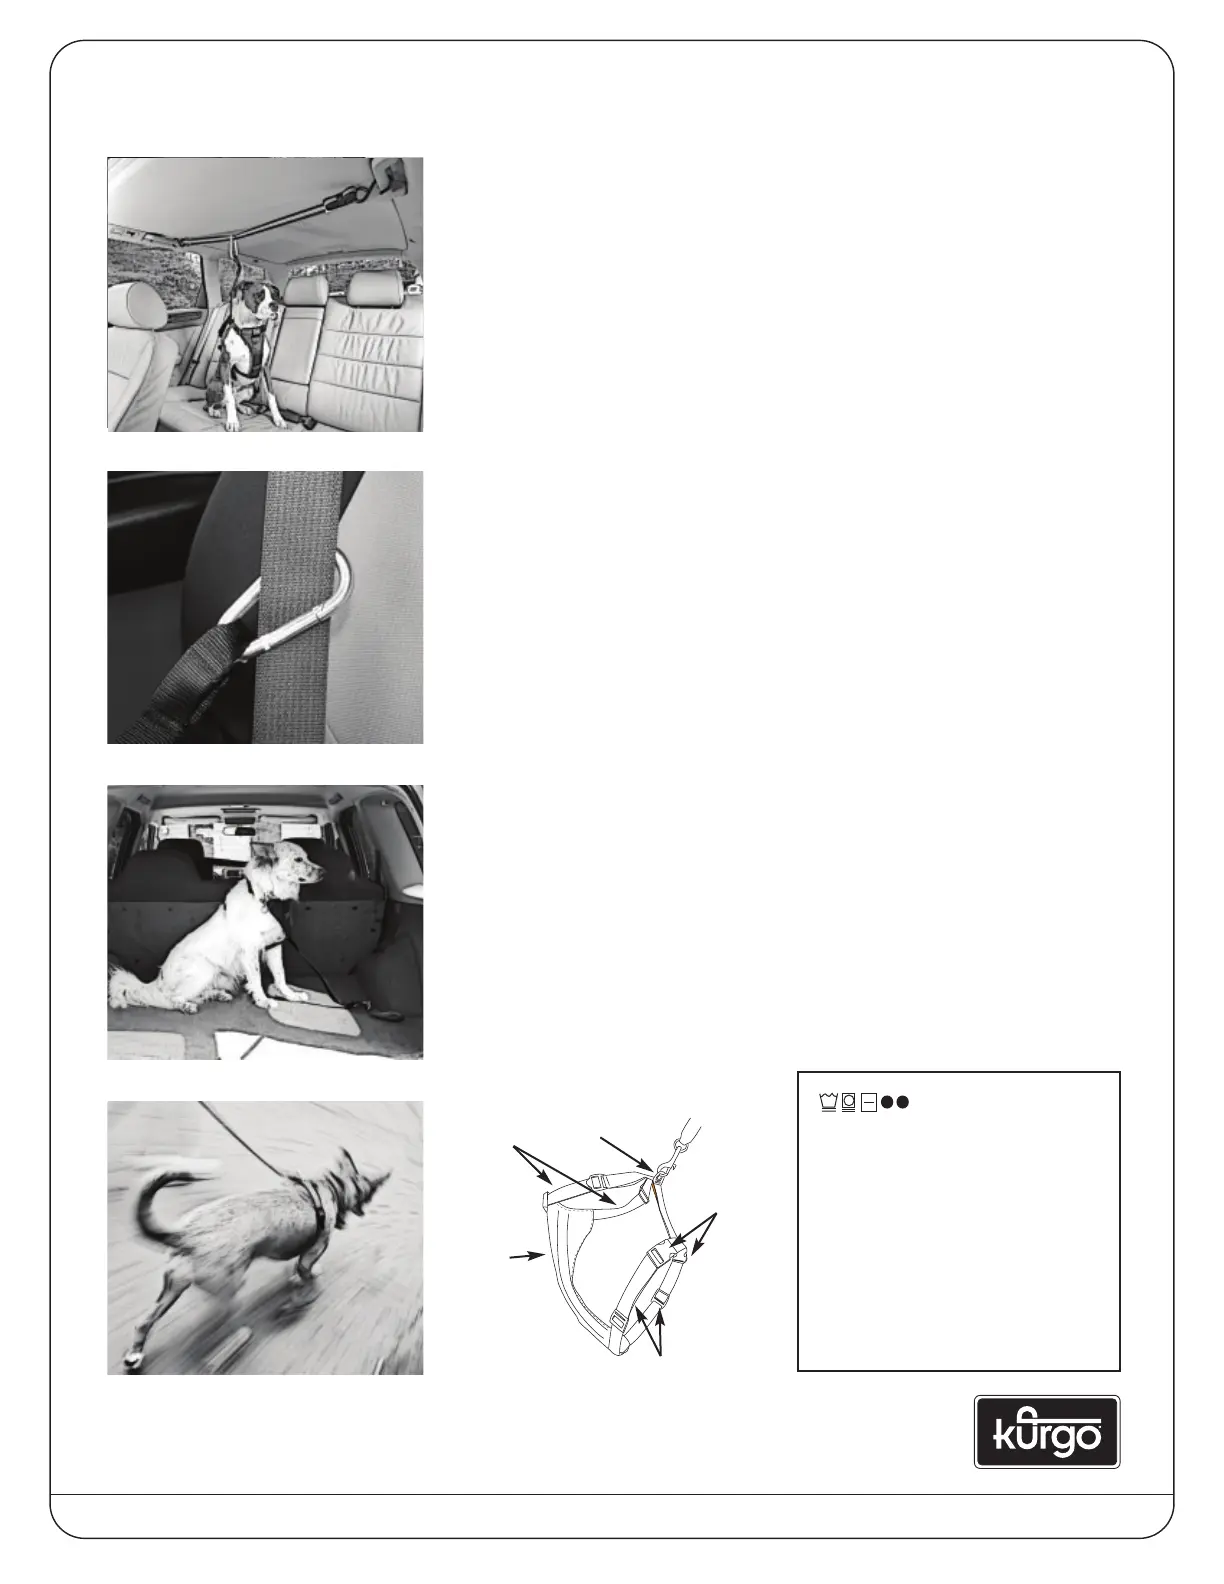
Passenger handle installation (fig.1)
1. Place the two s-hooks onto the rear passenger handles.
2. Tighten the zip line by pulling the extra webbing through the cam buckle.
3. Roll up extra webbing toward cam buckle and secure
using bungee & toggle setup.
4. Place carabineer onto zip line.
5. Attach leash clip to harness D-ring.
6. Locate appropriate leash nook that permits Fido to sit up and lay down and
loop onto the carbineer.
Seatbelt installation (fig.2)
1. Buckle seatbelt and attach the carabineer.
2. Locate appropriate leash nook that permits Fido to sit up and lay down and
loop onto the carbineer.
3. Attach leash to D-ring on harness.
Cargo hook installation (fig.3)
1. Attach carabineer to cargo hook.
2. Locate appropriate leash nook that permits Fido to sit up and lay down and
loop onto the carbineer.
3. Attach leash to D-ring on harness.
Safety/walking harness instructions (fig.4)
1. Place upper strap (with steel D-ring) around pets neck.
2. Place 2 lower straps around pet’s chest and behind front legs.
3. Fasten side release buckles on both sides.
4. Adjust upper and lower straps to t comfortably and securely.
fig.1
fig.2
fig.3
fig.4
8/08
WASHING INSTRUCTIONS:
• Brush off loose dirt with a dry brush
• As needed, wipe off with a damp
sponge and mild soap
• Rinse only, if possible. Use cold water and
a sponge or rinse in a tub without soap
• Machine wash in front-loading unit
(DO NOT use machine with agitator),
with cold water and mild soap etc.
Not detergents
• Rinse thoroughly to eliminate soap residue
• Lay flat to dry
 Loading...