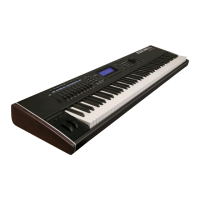
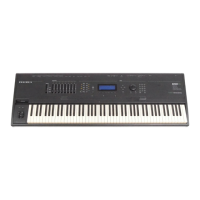
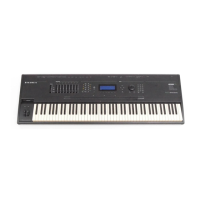
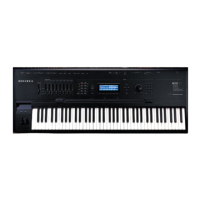
5.1 - KURZWEIL 250
5.1.1 -
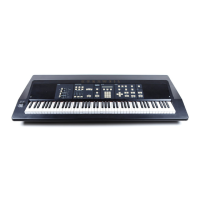
Kurzweil
250
Enclosure
The Kurzweil 250 cabinet enclosure· is two .halves, a top
and
a
bottom half.
Should a repair require the top enclo.sure to
be
removed, you will need to loosen 7 captive screws that secure the
top enclosure. The 7 captive screws are located under the unit.
They come
up
through the bottom enclosure securing the top half.
Loosen the screws until they move freely.
Once
the 7 captive screws are loose, carefully lift the top
enclosure
up.
You
should be standing at the keyboard when
you
begin
to lift the top enclosure. Next disconnect the following: a flat
ribbon cable coming from the Channel board to the Slider board, a
flat ribbon cable coming from the
CPU
board to the Control Panel
board and a ground strap that is connected
to
the right hand side of
the faceplate. You can now completely lift off the top enclosure.
CAUTION.:
When securing the 7 captive screws to the top
enclosure from the bottom enclosure, be sure that
no
cables coming
from the Control Panel or Keyswitch boards to the
CPU
or from the
Slider board to the Channel board get caught between the screw
mounting posts.
5.1.2
-
Kurzweil
250
Slide
Chassis
The Kurzweil 250 Slide Chassis is secured by 3 phillips head
screws. They come
up
through the bottom enclosure securing the
slide chassis. The 3 screws are spaced proportionally along the rear
panel.
To
open the slide chassis, simply remove the screws.
You
will notice 2 handles mounted
on
the rear panel. Once the 3 screws
have been removed,
pull
on
these handles to release the slide
chassis. The
slide chassis will pull out about 14 inches. Please
note that the slide chassis when completely open does not clear the
large printed circuit boards mounted
to
the slide chassis.
Once you have opened the slide chassis, the following boards
will be visible to you:
CPU,
CGP,
Channel
and
Audio.
1
Kurzwell 250 Service Manual, Chapter 5
5-2
(
 Loading...