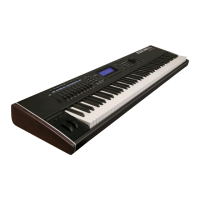
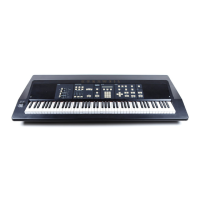
5.2.2 - Removing
the
Front Panel
Assembly
Should you have
to
remove the entire Front Panel assembly,
lift the assembly into its service position and disconnect the Mod
t .
Lever cable, the Slider board cable, the Control, Panel cable and the
ground strap wire. The ground strap wire will
requir~
a
5/16
nut
driver.
Pivot the front edge of the assembly down towards the bottom
enclosure and carefully bend the flange of either the left or right
pivot bracket towards the center of the keyboard. Then lift that end
of the assembly free of the pin. The entire assembly can now
be
removed.
5.2.3 •
Closing
the
Front Panel
Assembly
To
return the Front Panel assembly
to
its operating position,
grasp either end of the panel and pivot it down until it is flat
(parallel to the ground). Now lift the panel up, keeping it level, until
the pivot points are at
the·
bottom of the grooves. Then push the
panel towards the back of the instrument about one inch, lifting the
back of the assembly
so
that the top edge of the assembly is above
the supporting flange
on
the top enclosure, and the three clips
attached underneath the the assembly go under the flange.
As
you push the panel back into place, make sure all the cables
are inside the cabinet. The cables must lie above the damper bar
so
they
do
not rest
on
the keys.
Now gently push the front edge of the assembly down behind
the keys and tighten the 2 captive screws.
Do
not over-torque the
mounting screws.
Kurzwell 250 Service Manual, Chapter 5
5-6
 Loading...