11
When the hotbed and the nozzles reach their set temperatures, lift the Z-axis by 5cm, and pass the filament through the filament detector, then
insert it into the extruder and the nozzle. When you see the melted filament flow out from the nozzle, the filament is successfully loaded.
*When loading the filament, please make sure the distance between the Z-axis and the hotbed is beyond 5 cm.
Tips: How to Replace the Filament?
1.Cut the old filament just above the extruder and slowly feed new filament in.
2.After the nozzle is preheated, push the old filament down a little way and withdraw it quickly, then feed the new filament in.
Load the Filament
ⅲ
10
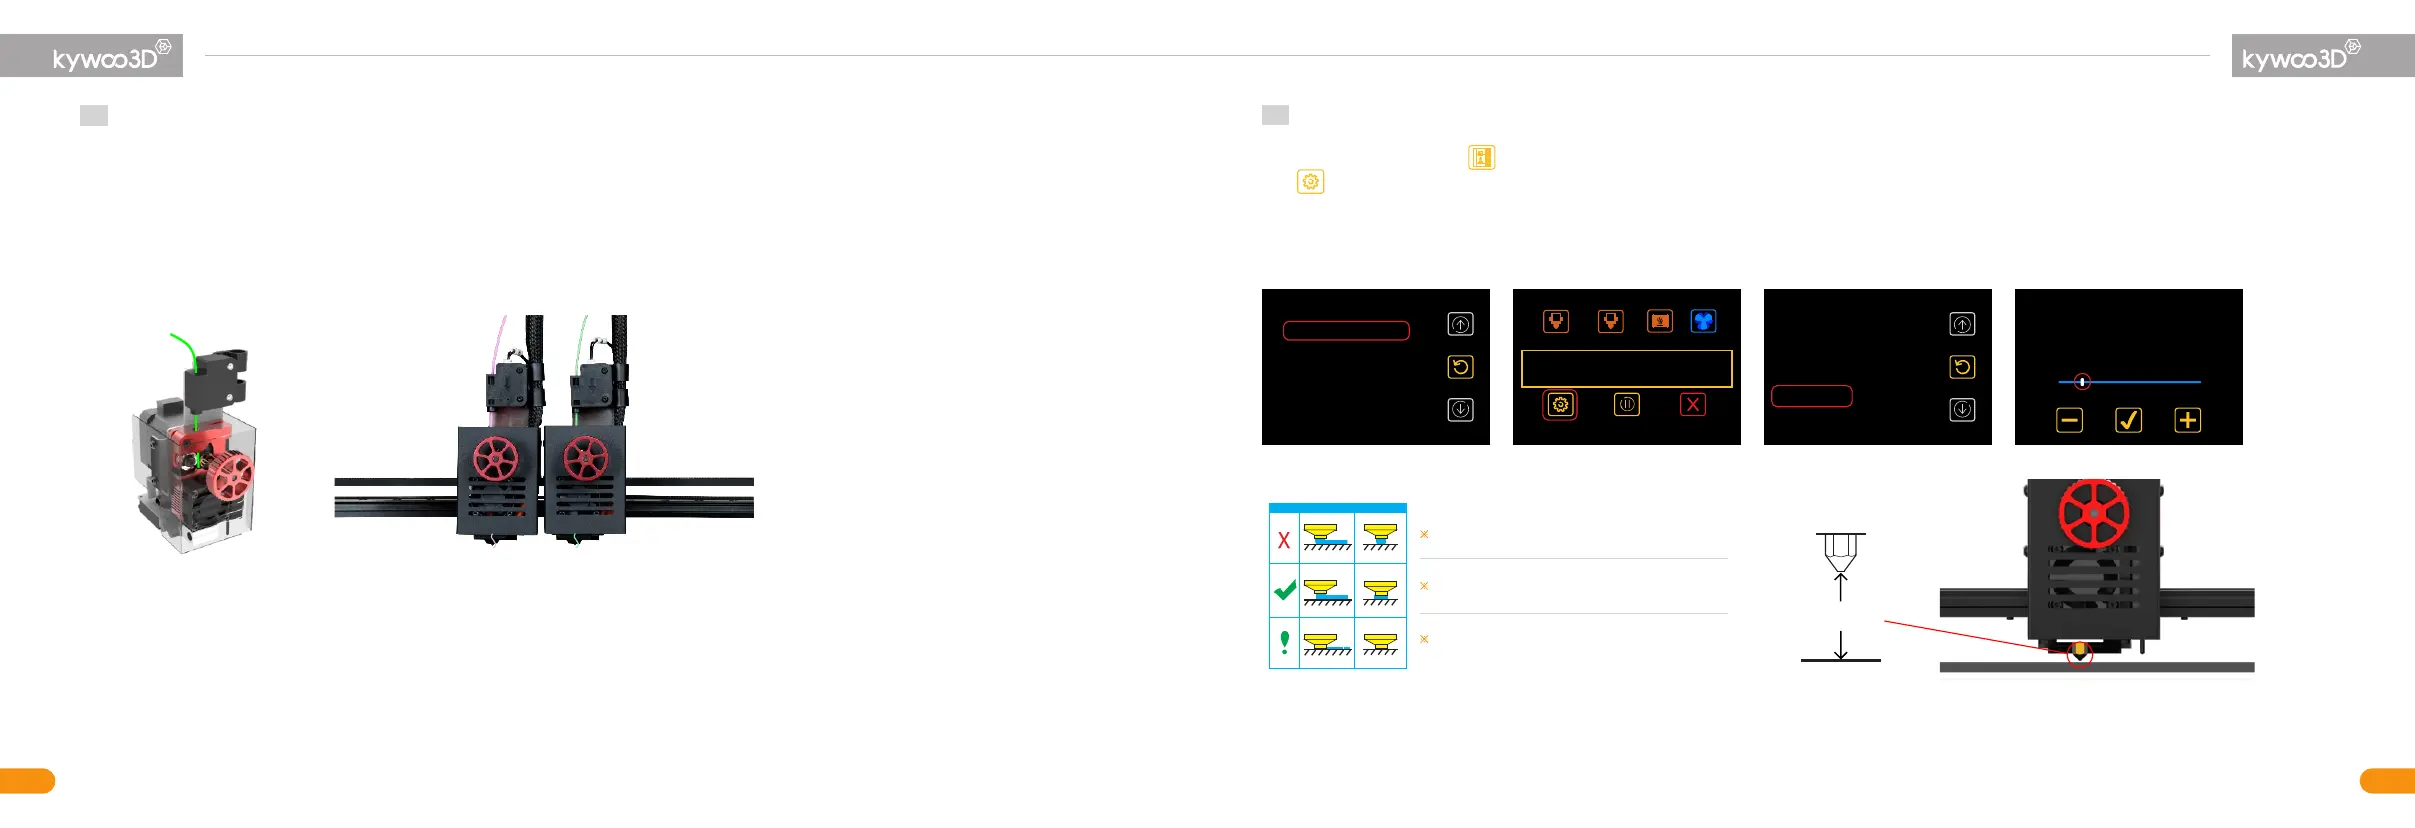
Adjust Z-axis Offset
ⅳ
The nozzle is too far from the hotbed, click —
Perfect printing effect
The nozzle is too close from the hotbed, click +
≈0.2mm
Probe Z Offset
-1.405
Back
Bird whistle-2h.gcode
Ghost-30min.gcode
XYZ.gcode
Auto-leveling Test.gcode
Back
Bird whistle-2h.gcode
Ghost-30min.gcode
XYZ.gcode
Auto-leveling Test.gcode
①
00:00/00:02
Auto-leveling Test.gcode
0%0m
Auto-leveling Test.gcode
200/200°
60/60°
200/200°
100%
②
Speed
Flow1
Flow2
Flow
100
100
Probe Z Offset
Advance K E1
100
100
0.050
③
Insert the storage card > click > choose Auto-leveling Test. When printing the first layer, look at how well the model attaches to the hotbed,
click > Probe Z Offset to adjust the z-axis until the model can stick to the hotbed firmly, as shown in the following picture.
 Loading...