Do you have a question about the La Marche A36D Series and is the answer not in the manual?
Covers essential safety instructions and warnings for operation and maintenance.
Warns about the danger of explosive gases generated by batteries during operation.
Essential personal protective measures when working near batteries.
Guidelines for unit location, grounding, and DC connections for safe operation.
Procedures for inspecting and handling equipment upon arrival and reporting damage.
Warnings and advice for safely handling heavy and top-heavy equipment.
Equipment is identified by part number on the nomenclature plate.
Notes that equipment is factory adjusted and should not be altered unless necessary.
Recommendation to purchase spare parts and contact the Parts Department.
Details the DC voltage and current output specifications for the A36D series.
Specifies the AC input voltage ranges and requirements for different models.
Defines the acceptable input frequency range for nominal 50 Hz and 60 Hz operation.
Refers to Table 1 for input current ratings at 100% load.
Describes the AC input protection via circuit breakers for safe operation.
Details the DC output protection using breakers or fuses.
Explains the circuit that shuts down output if voltage exceeds a preset value.
Describes the feature to move voltage sensing to compensate for cable voltage drops.
Details the rating and function of alarm relay contacts for external monitoring.
Describes AC ON, High/Low Voltage/Current, Summary Fail, Float, Equalize, and DC Fuse LEDs.
Explains gradual current increase and emergency battery connection procedures.
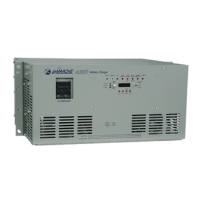
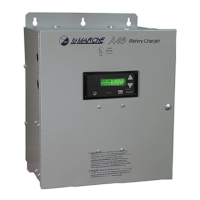
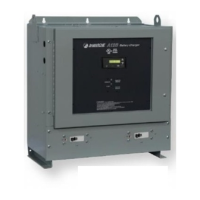
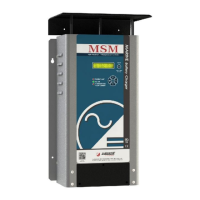
Details unit meters and mounting requirements for different case types.
Describes the microprocessor-based timer for programmable equalize cycles.
Specifies the operating temperature range from 0-50 degrees C.
Defines the storage temperature range from -40 to +85 degrees C.
States the operating humidity range is 0-95% non-condensing.
Lists minimum AC input and DC output wire size requirements for safe installation.
Refers to Table 2 for wire size requirements based on fuse size.
Instructions for connecting the AC input source, checking voltage, and determining breaker/wire size.
Steps for starting up the unit after all connections are made.
Critical steps for pre-charging capacitors before connecting the battery to prevent damage.
Describes the function of various alarm LEDs (AC On, Blown DC Protection, Summary, Float/Equalize).
Explains the high voltage alarm LED and its factory set point.
Details the HVSD circuit, set point, and tripping mechanism for protection.
Describes the low voltage alarm LED and its factory set point.
Explains the low current alarm LED and its function.
Details the adjustable current limit feature and its range.
Lists the six alarms for customer hookup including high/low voltage/current and summary alarms.
Specifies the maximum contact ratings for the alarm relays used.
Explains the controlled ferroresonant circuit design and its key components.
Describes the regulator assembly responsible for sensing and controlling output.
Details the alarm interface board containing relays for various alarms.
Explains the switch that cuts off bleeder resistor during AC failure.
Describes the circuit used for voltage suppression for the triac switch.
Explains the indicator for the main DC protection device.
Steps for a general inspection before complex testing and troubleshooting.
Information needed when calling for troubleshooting assistance from the manufacturer.
Lists common symptoms and their potential causes for diagnosis.
Routine maintenance tasks to be performed annually for optimal performance.
Additional checks to be performed during the 4th year of service.
Replacement of filter, resonating capacitors, and control relays at 7 years.
Checks for magnetics, components, and wiring for excessive heat at 10 years.
| Float Voltage | Adjustable |
|---|---|
| Equalize Voltage | Adjustable |
| Cooling | Convection |
| Dimensions | Varies by model |
| Weight | Varies by model |
| Input Voltage | 120/240 VAC, 50/60 Hz, 1 Phase |
| Output Voltage | 12/24/48 VDC |
| Operating Temperature | -20°C to +50°C |
| Compliance | UL, CE |
| Protection Features | Overload, short circuit |
| Metering | Digital display for voltage and current |
| Alarms | Overvoltage, undervoltage, overtemperature, AC failure |