Duct Installation
Make a hole or holes in the walls and/or ceiling, as necessary, in order to take 150mm diameter ducting from the extractor
spigot(s) to the outside.
The exhaust duct route length should be kept as short as possible with as few bends as possible.
If using FdeF duct kit ensure that holes in external wall will accommodate the ducting and connecting strap (Min 160mm
diameter).
Connecting the Ducting
Connect ducting to extractor exhaust spigot(s). This may have to be done prior to fixing the extractor into the base board.
When the extractor is in position, check that the duct has not been flattened or kinked along its route.
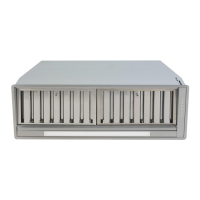
Connect the ducting to the wall louver spigot or alternative outside termination.
Secure the louver to the outside wall. Ensure that the air fins are directed downwards.
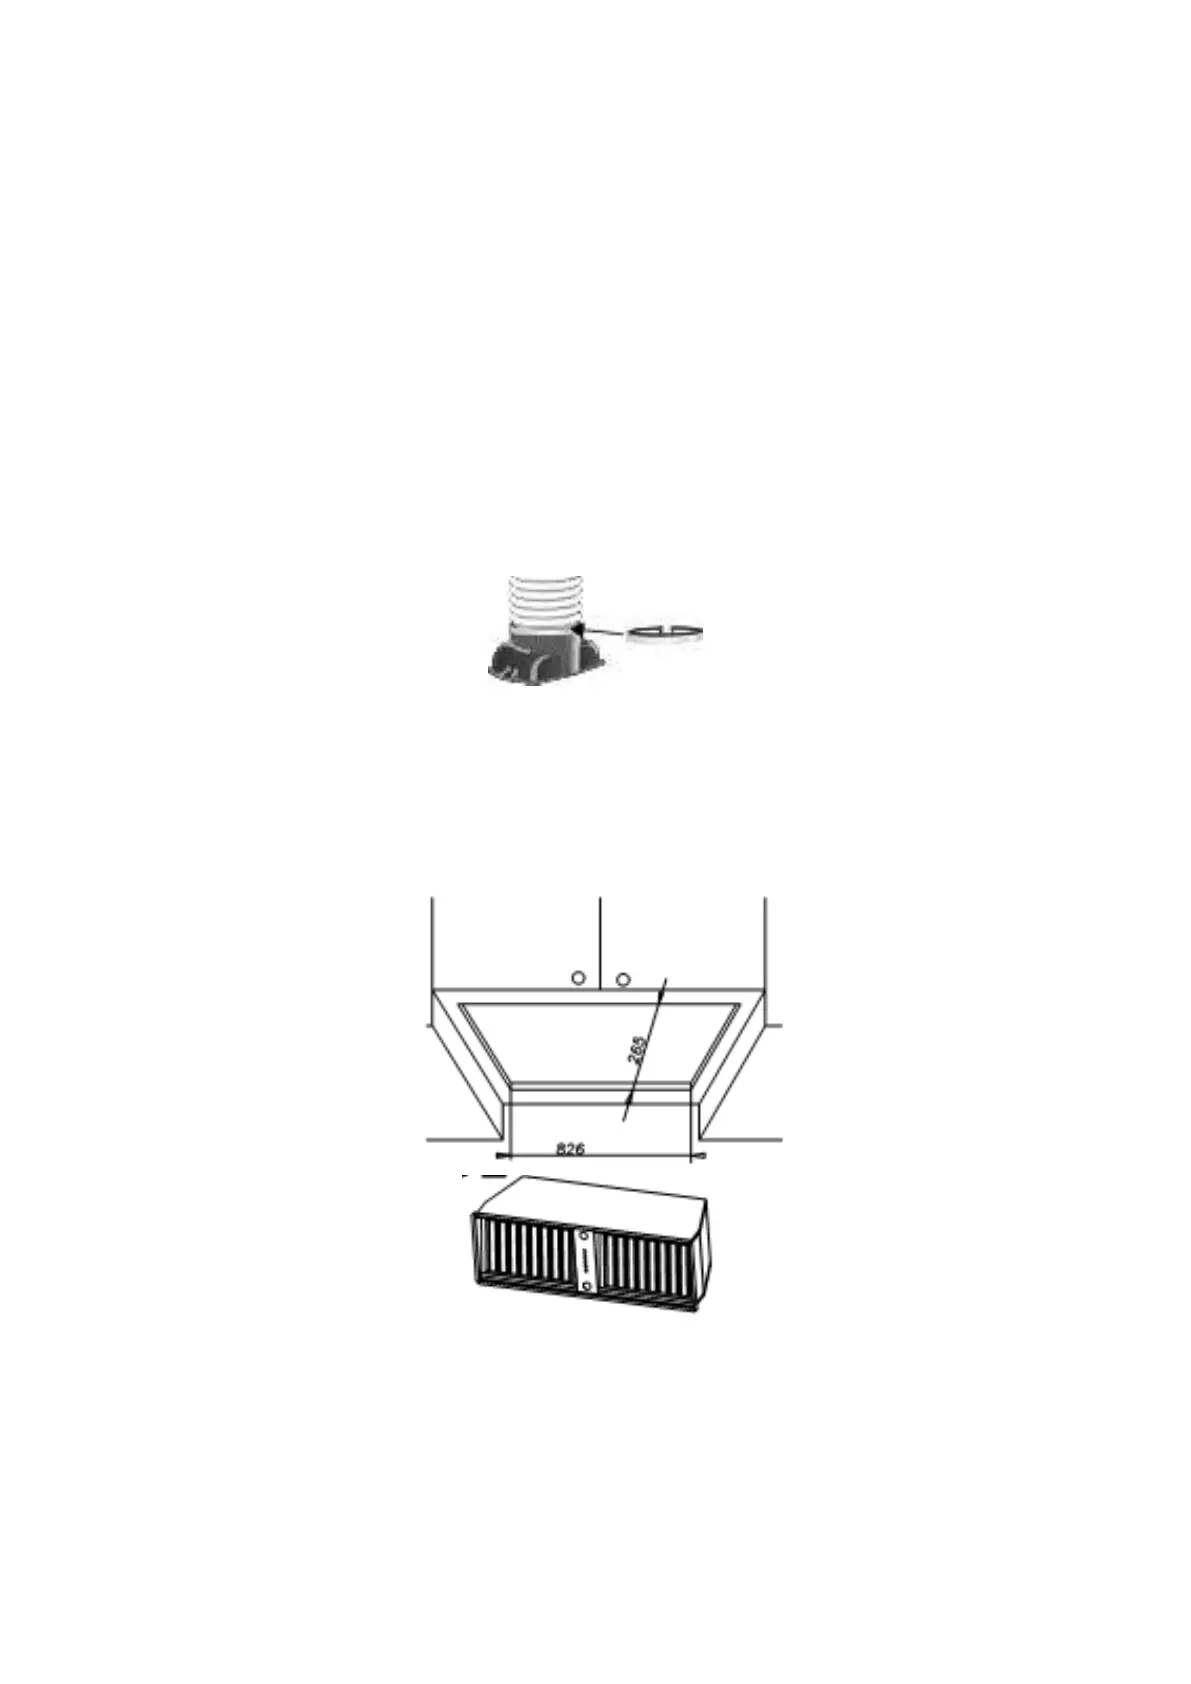
Fig 3 Connecting Ducting to ducting spigot.
Do not reduce the ducting diameter from 150mm as this will affect the performance of the hood and could
damage the motor. Damage caused to the hood by incorrect ducting will not be covered by warranty.
Fixing the Hood into the Over-mantle and kitchen furniture
Ensure that the base board is securely in position.
Remove grease filter see Fig. 4.
Adjust the position of the lateral springs so that they match the thickness of the base board see Fig 5.
Ensure that the electrical and ducting connections are made and are correct.
Using two people inset the hood from below into the base board, making sure that the lateral springs previously adjusted are
strong enough to keep the hood fixed into position as per Fig 5.
With the hood in position using the screws provided secure the hood to the base board as per Fig.6.