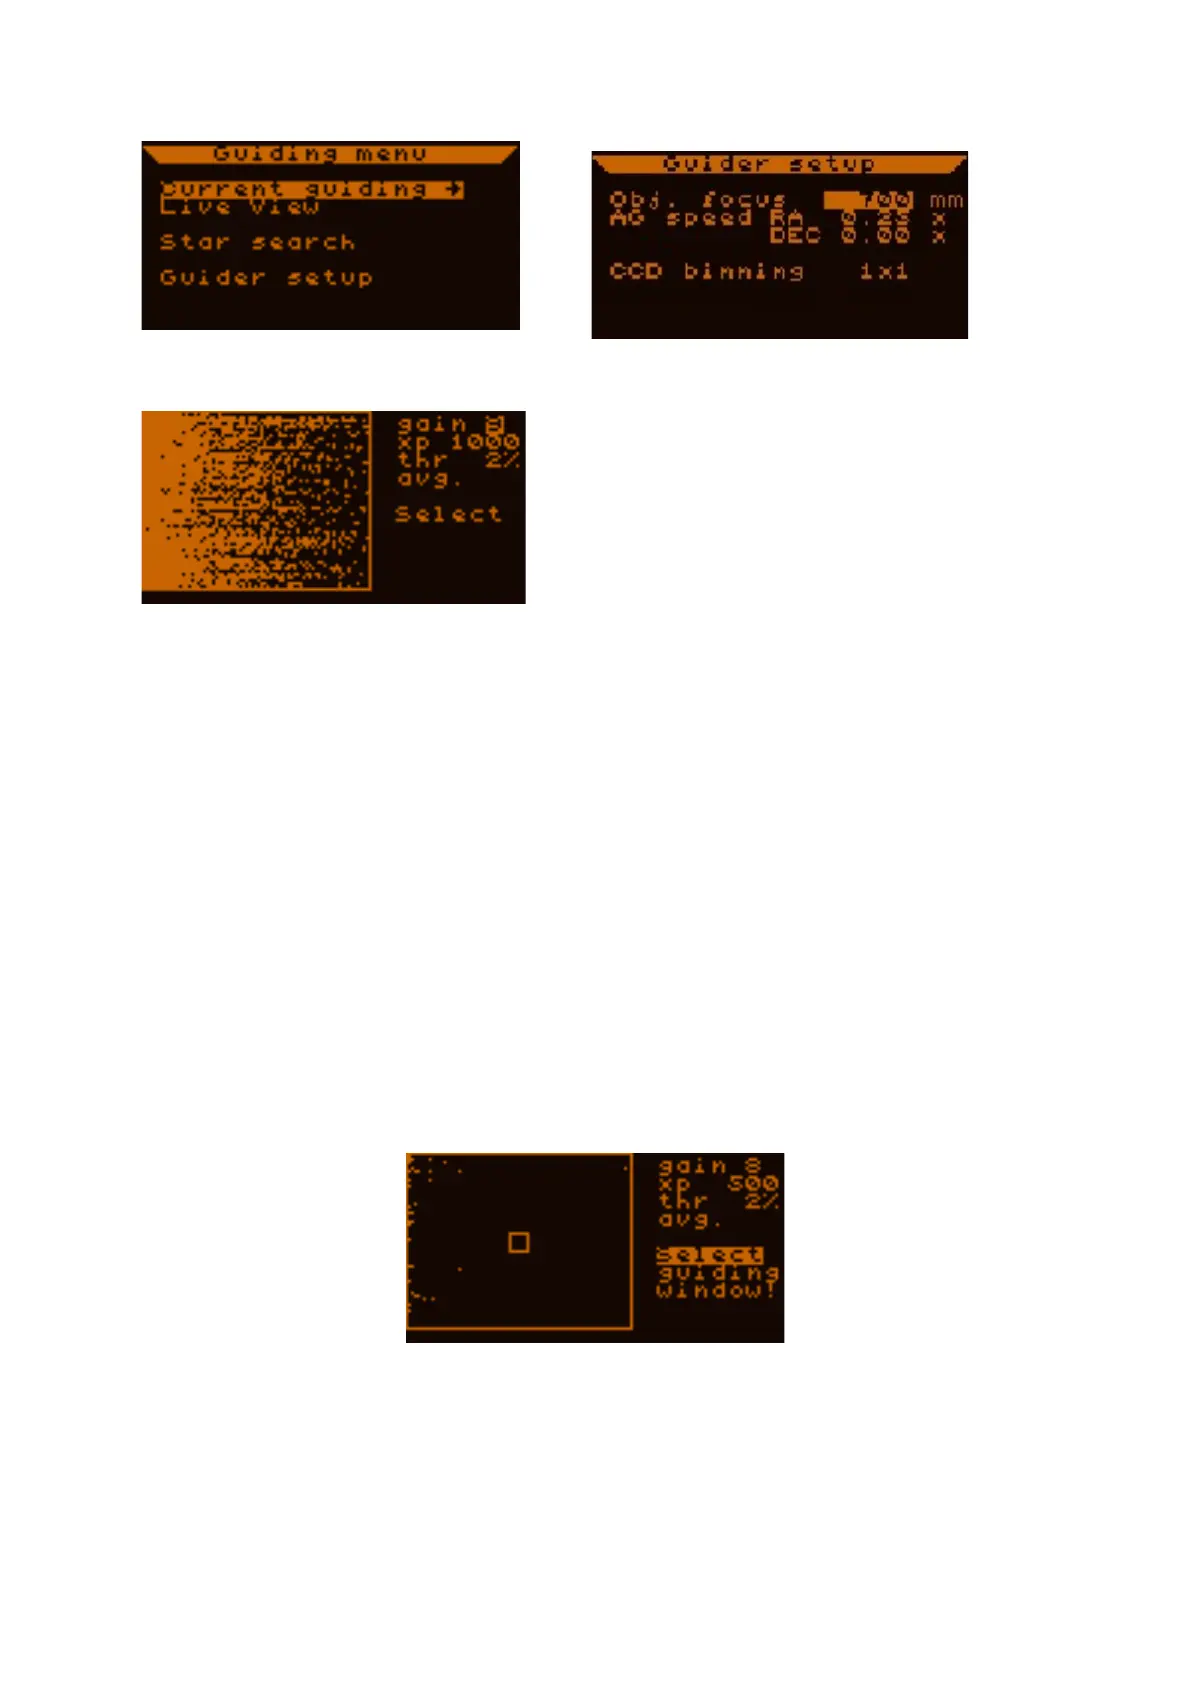
Next, place the cursor on "live view" and press SET to enter live view.
Here you see what the MGEN camera sees. On the
right there are a few values. We recommend these
settings when using a 9x50 finder scope:
gain (sensitivity) = 7
exp (exposure time) = 900ms
thr (threshold) =1%
The threshold is a limit value. Above it, the MGEN interprets signals as stars, beneath it as
noise, which is cut off. Here in live view we want to see even the fainter stars, so we expect to
also see some noise, as seen here on the left side of the screen. You may need to change the
gain and exposure (exp) settings when using other guide scopes, but these values are a good
starting point.
If you have estimated your focal length well, the MGEN camera chip will already be placed
near enough to the focal plane that you can see larger and/or smaller dots on the screen. These
are the stars. If you do not see any, you may need to re-focus or make sure that you really
have pointed your guide scope directly at a cluster using an eyepiece. It helps if you use a
Plössl type eyepiece for focusing the finder. You can exchange it with the camera and focus
should only be off by a few mm, (usually a little too far back). As you slowly re-focus, watch
the screen for stars to appear. The more stars you see, the better.
Focus until the stars appear as small as possible.
Now mark "select" and press SET.
A small rectangle appears on the screen, and you can use the directional buttons to move it
and place it over a brighter star.
Then press SET to enter the guiding window.