
T
Tanya DeckerAug 13, 2025
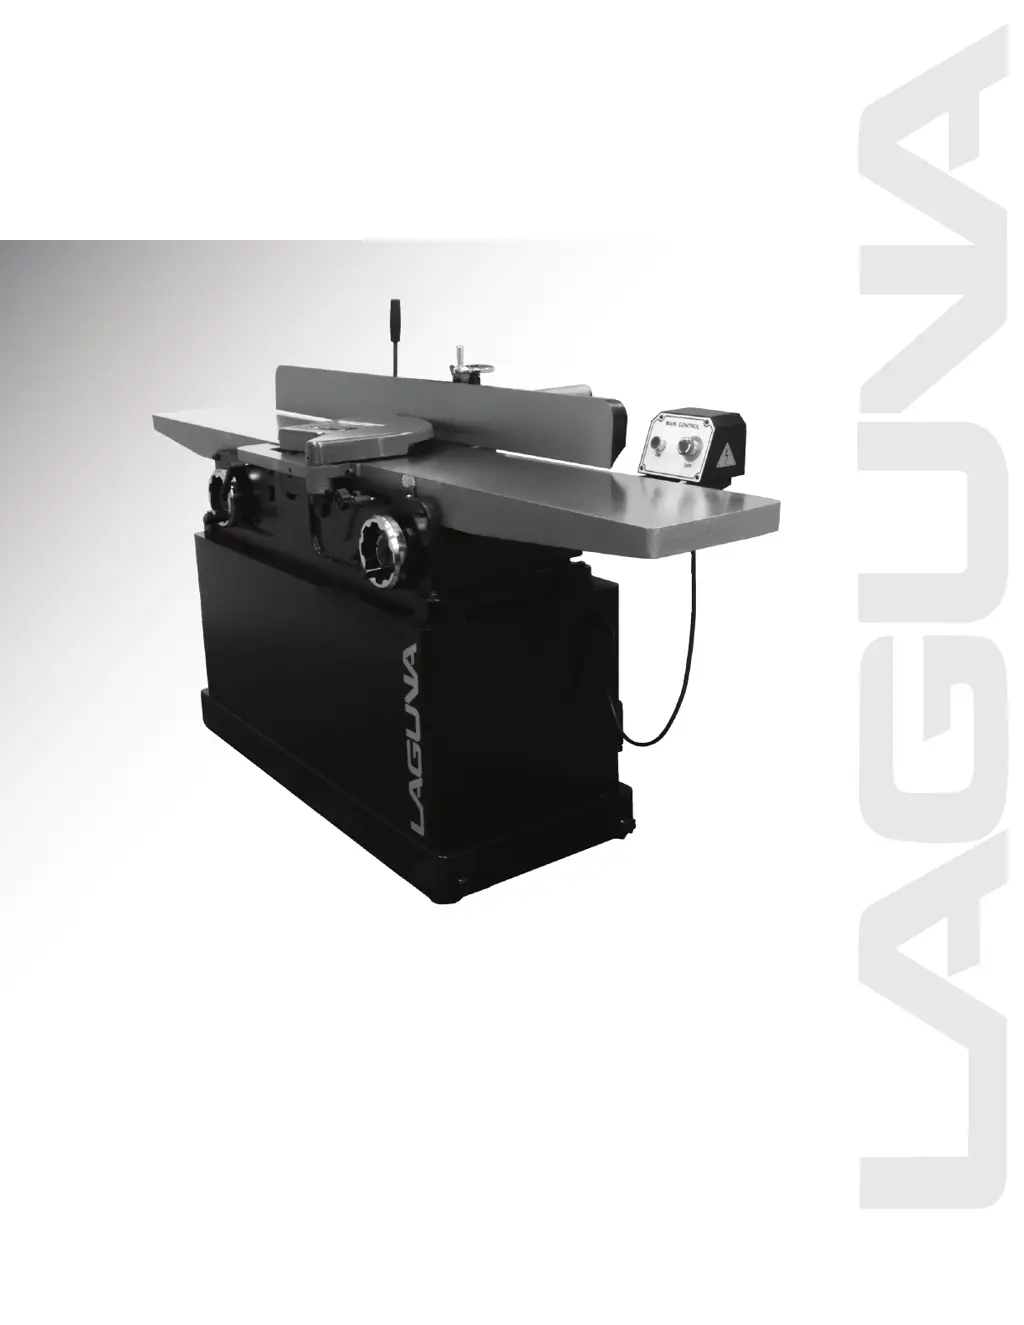
Why laguna MJOIN12X86-5-1-0130 Power Tool machine will not start?
- GGilbert MooreAug 14, 2025
The machine might not start due to several reasons: * A blown fuse or tripped circuit breaker. In this case, replace the fuse or reset the circuit breaker. * A damaged cord. Have the cord replaced. * A faulty switch. Replace the switch. * The machine is not connected to a power source. Check the connection. * There is no power to the machine. Check the voltage. * The emergency stop button is pressed. Rotate the emergency stop button clockwise until it pops out.
