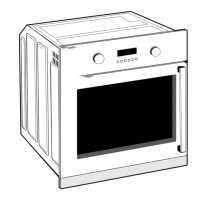
This document is a user and installation guide for the LAMONA LAM3100 Conventional Compact Oven, designed for built-in installation.
Function Description
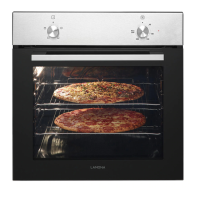
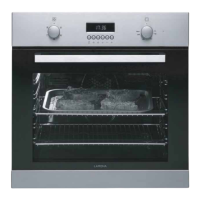
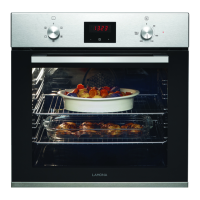
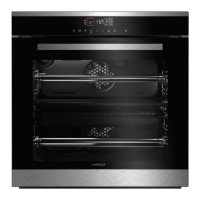
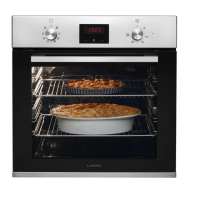
The LAMONA LAM3100 is a conventional compact oven primarily used for domestic cooking, baking, and grilling. It offers several operating modes to cater to different cooking needs:
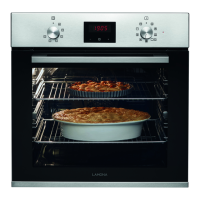
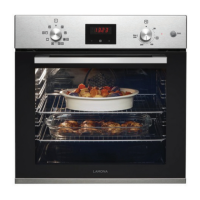
- Top and bottom heat: This mode heats foodstuffs simultaneously from above and below, making it suitable for cakes, cookies, and casseroles. For best results, it's recommended to cook with one tray only.
- Bottom heat: Only bottom heat is used in this mode, which is particularly suitable for dishes like pizza that require baking from the bottom.
- Grill - Full: The full grill element in the top oven operates in this mode, ideal for grilling larger dishes. Users should ensure the correct shelf position is used, set the temperature to maximum, and turn the food as required for even cooking.
- Grill: The small grill element in the top oven operates in this mode, suitable for grilling small dishes. Similar to the full grill, correct shelf position, maximum temperature, and turning the food are recommended for even cooking.
The oven is operated using a function knob to select the desired mode and a thermostat knob to adjust the temperature. An indicator light remains on during heating until the desired temperature is reached.
Important Technical Specifications
- Model: LAM3100
- Type: Conventional Compact Oven, Built-in
- Voltage/Frequency: 220-240 V ~ 50 Hz
- Total Power Consumption: 2.4 kW
- Fuse: min. 13 A
- Cable Type/Section: H05VV-FG 1.5mm², 3 core or equivalent
- Cable Length: max. 2m
- External Dimensions (height / width / depth): 455 mm / 594 mm / 567 mm
- Installation Dimensions (height / width / depth): **450 or 460 mm / 560 mm / min. 550 mm
- Energy Efficiency Class: A
- Inner Lamp: 15/25 W
- Grill Power Consumption: 2.2 kW
The energy efficiency class is determined based on the following prioritization of relevant functions: 1-Cooking with eco-fan, 2- Turbo slow cooking, 3- Turbo cooking, 4- Fan assisted bottom/top heating, 5-Top and bottom heating.
Usage Features
The oven features 5 shelf positions, allowing flexibility in placing dishes. Users are advised to correctly position the wire shelf into the runners.
For baking, the guide suggests using dark-colored or enamel-coated cookware for better heat transmission, preheating if advised, and avoiding frequent opening of the oven door. It also recommends cooking multiple dishes simultaneously or consecutively to utilize residual heat.
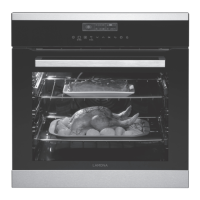
For roasting, tips include seasoning with lemon juice and black pepper for whole chicken or large meat pieces, allowing meat to rest after cooking, and placing fish in a heat-proof dish at medium or lower levels.
Grilling advice includes distributing pieces on the wire rack, using a tray or grill pan to collect fat/juices, and adding water to the grill pan for easier cleaning.
Specific tips for baking cakes and pastries are also provided, addressing issues like dryness, wetness, dark tops, and uneven cooking. For vegetables, it's suggested to use a lidded dish if they dry out or to boil them beforehand if they don't cook through.
A cooling fan is built-in to cool both the front of the appliance and cabinetry. It continues to run for approximately 20-30 minutes after the oven control is turned off, and users are advised not to switch off the oven at the mains isolation switch immediately after cooking.
Maintenance Features
Regular cleaning is recommended to extend the product's service life and reduce problems.
- General Cleaning: The product should be cleaned thoroughly after each use to remove cooking residues. Warm water with washing liquid and a soft cloth or sponge should be used, followed by drying with a clean cloth. Aggressive detergents, cleaning powder/cream, sharp objects, or steam cleaners should not be used. Stainless steel surfaces and the handle should be cleaned with a soft cloth and a non-abrasive liquid detergent, wiping in a horizontal direction.
- Control Panel Cleaning: The control panel and knobs should be cleaned with a damp cloth and wiped dry. Control knobs should not be removed for cleaning.
- Oven Door Cleaning: Harsh abrasive cleaners or sharp metal scrapers should not be used on the oven door glass to avoid scratching or shattering.
- Removing the Oven Door: The door can be removed by unlocking clips at the hinge housing, raising the door to a half-way position, and pulling it upwards from the hinges. Reinstallation is the reverse process, ensuring clips are closed at the hinge housing.
- Removing the Inner Door Glass: The inner glass panel can be removed for cleaning. The top plastic cap can be pulled away from retaining clips, and the inner glass then lifted from its slots. When replacing, the printed surface of the glass should face downwards, and the glass must be fully located in the lower retaining slots before re-fitting the top cap. Caution is advised as the door may spring closed during this process.
- Replacing the Oven Lamp: The oven lamp is a special electric lamp resistant to 300°C. To replace it, the product must be disconnected from the mains, the glass cover turned counter-clockwise to remove, the old lamp turned counter-clockwise and replaced, and then the glass cover reinstalled.
The guide emphasizes safety precautions, including avoiding touching hot surfaces, using heat-resistant oven gloves, and ensuring the appliance is switched off before maintenance to prevent electric shock.