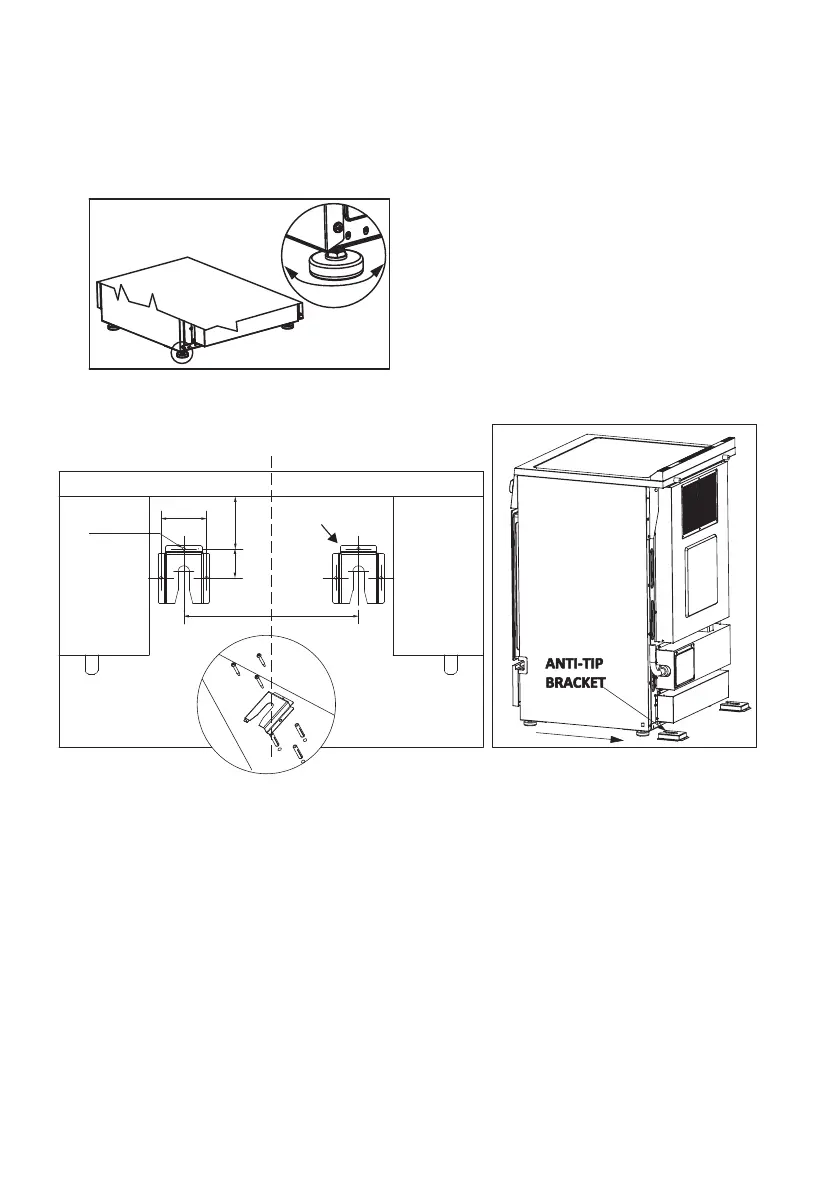
Anti-Tip Bracket Installation
To prevent the range from tipping over due to improper use or overloading the open door, an
anti-tip bracket (included in the package) must be installed properly by following instructions
below. The anti-tipbracket can be fixed at either the left or right side of the appliance.
1. Place the anti-tip bracket on the floor where the range is going to be installed.
2. Locate and mark the drill position through the 6 holes in the bracket. And then place the
bracket aside.
3. Use 5/16’’ masonry drill to drill two holes in suitable depth.
4. Insert 6 plastic anchors into the 6 holes and place the bracket back.
5. Fix the bracket on the floor by using screws supplied.
6. Slide the appliance in position.
NOTE: If range is relocated, the bracket must be removed and installed in new location.
Install the anti-tip bracket either right or left side.
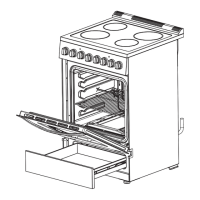
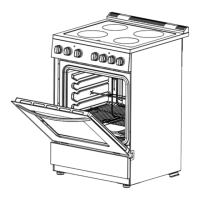
clockwise to rise and counterclockwise to lower the height. Use a leveling instrument to check
the level of the range.
WALL
82.2
45.8
510.8±2
71.6±1
DEPTH45 CABINET
FLOOR
ANTI- TIP BRACKET
6-Φ8
UNIT:mm
Leveling the Range
The electric range must be installed levelly for proper operation. There are four screw-type
leveling legs at the bottom of the range for you to adjust the level of the range, rotating
20