Lanier R/C
Thank you for purchasing our Cap 232 ARF. Before you
begin, please read through this manual and familiarize
yourself with what you have to do. Check all the parts. If you
find any defective or missing, please contact your local dealer.
Warning:Warning: This model is not a toy. It is designed for maximum
performance. Please seek advice if you are not familiar with
this kind of model. Operating this model without prior
preparation may cause injuries. Safety is the most important
thing to remember.
WING ASSEMBLY WING ASSEMBLY
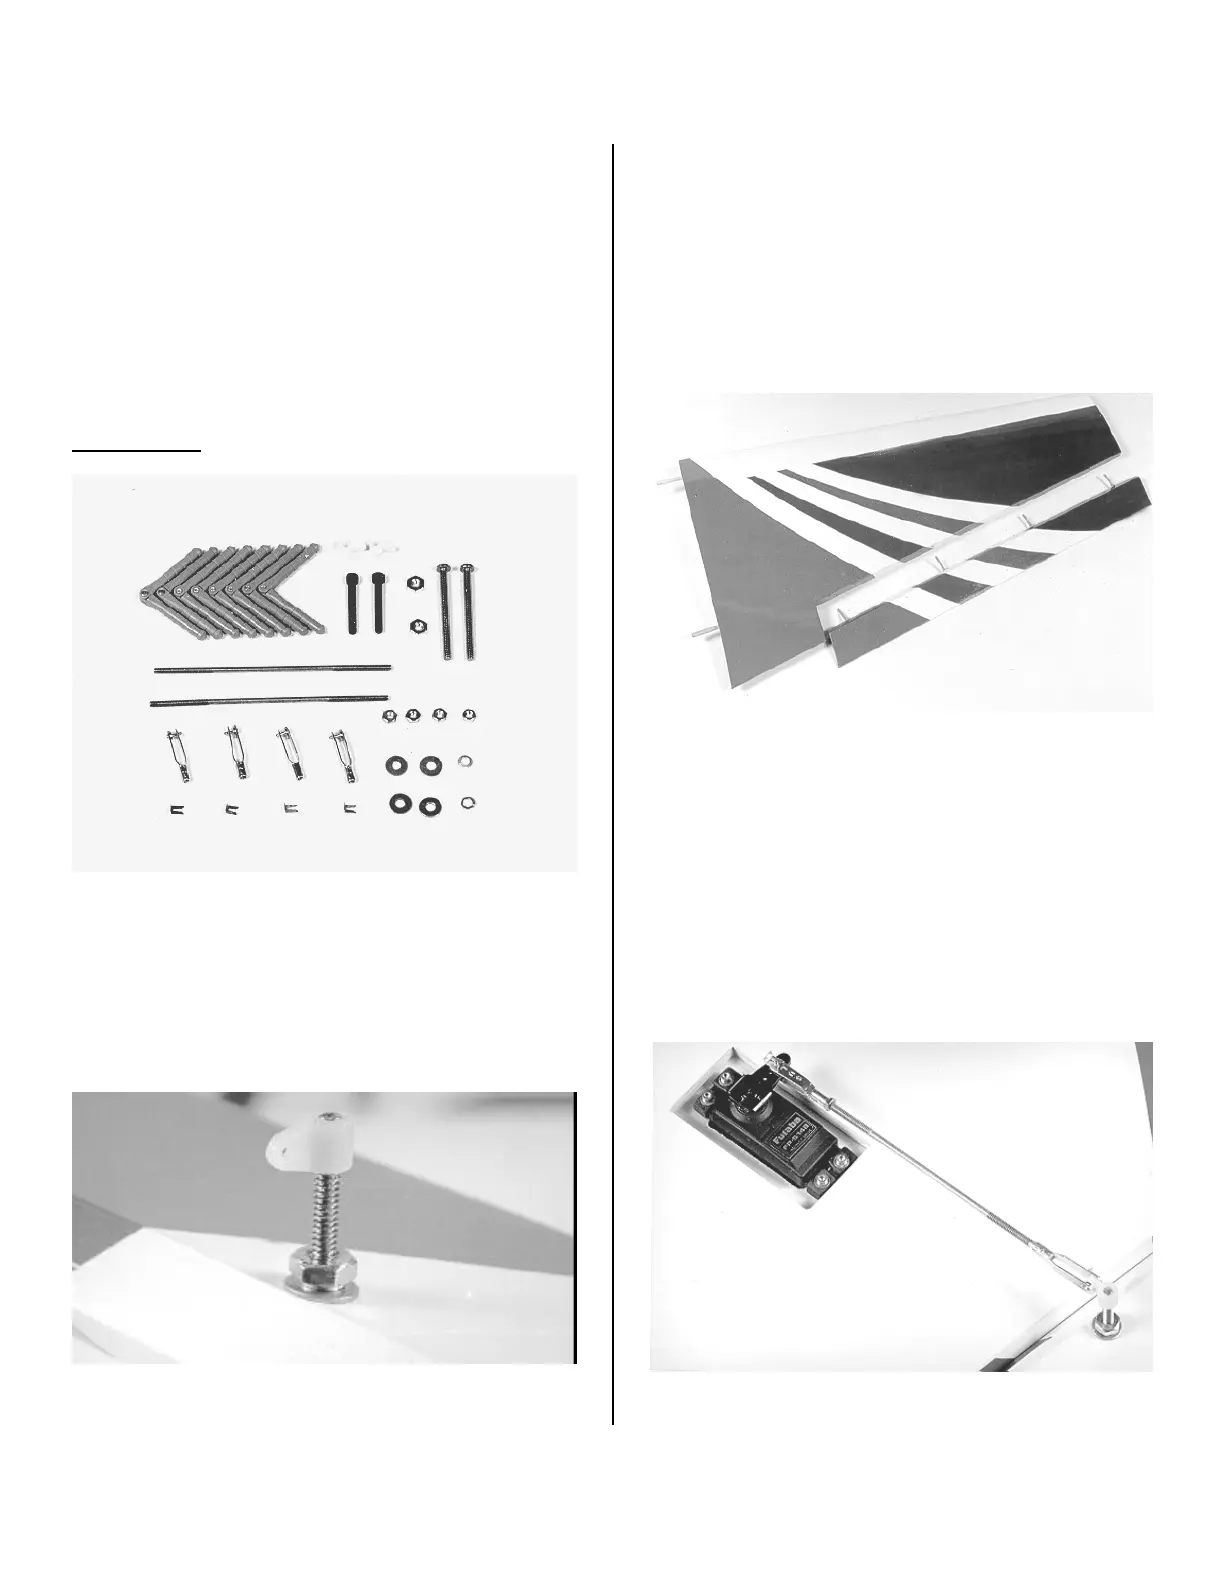
Wing Hardware
1. Locate the two ailerons and the hard points in them
For mounting the control horns. Hold the aileron up to the
wing and they should be behind the servo mount in the wing.
2. Drill out the hole in each with a # 28 drill bit. (9/64”)
3. Install a #6 flat washer on a #6 –32 x 1-3/4” Pan Hd.
Screw. Insert the screw into to hole on the topside of the
aileron.
4. Slip a flat washer, lock washer and #6 hex nut on the
extended end of the bolt and tighten. Thread on a nylon horn
bracket as shown in the photo.
5. Locate the 8 hinge points. Using one, push it into each
hole, on the wing and aileron, with a twisting motion until the
center of the pivot point is aligned with the edge of the hole.
Put a drop of oil on the pivot point of each hinge and blot the
excess with a paper towel. Apply glue in the hole and some
near the end of the hinge point. We recommend Pacer Hinge
Glue or 30-min. epoxy. Do the aileron first, align the hinges,
allow the glue to cure and then mount it to the wing. Make
sure it is aligned properly.


 To Next Page
 Loading...