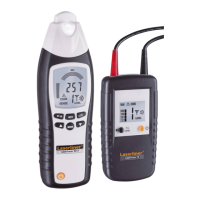
Receiver RECV
1. Press and hold test mode button (14)
2. Move receiver close to the transmitter
3. Both devices are ready when a signal
sounds and status indicator (12) lights
4. Follow signals
Tips
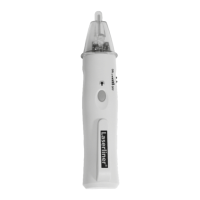
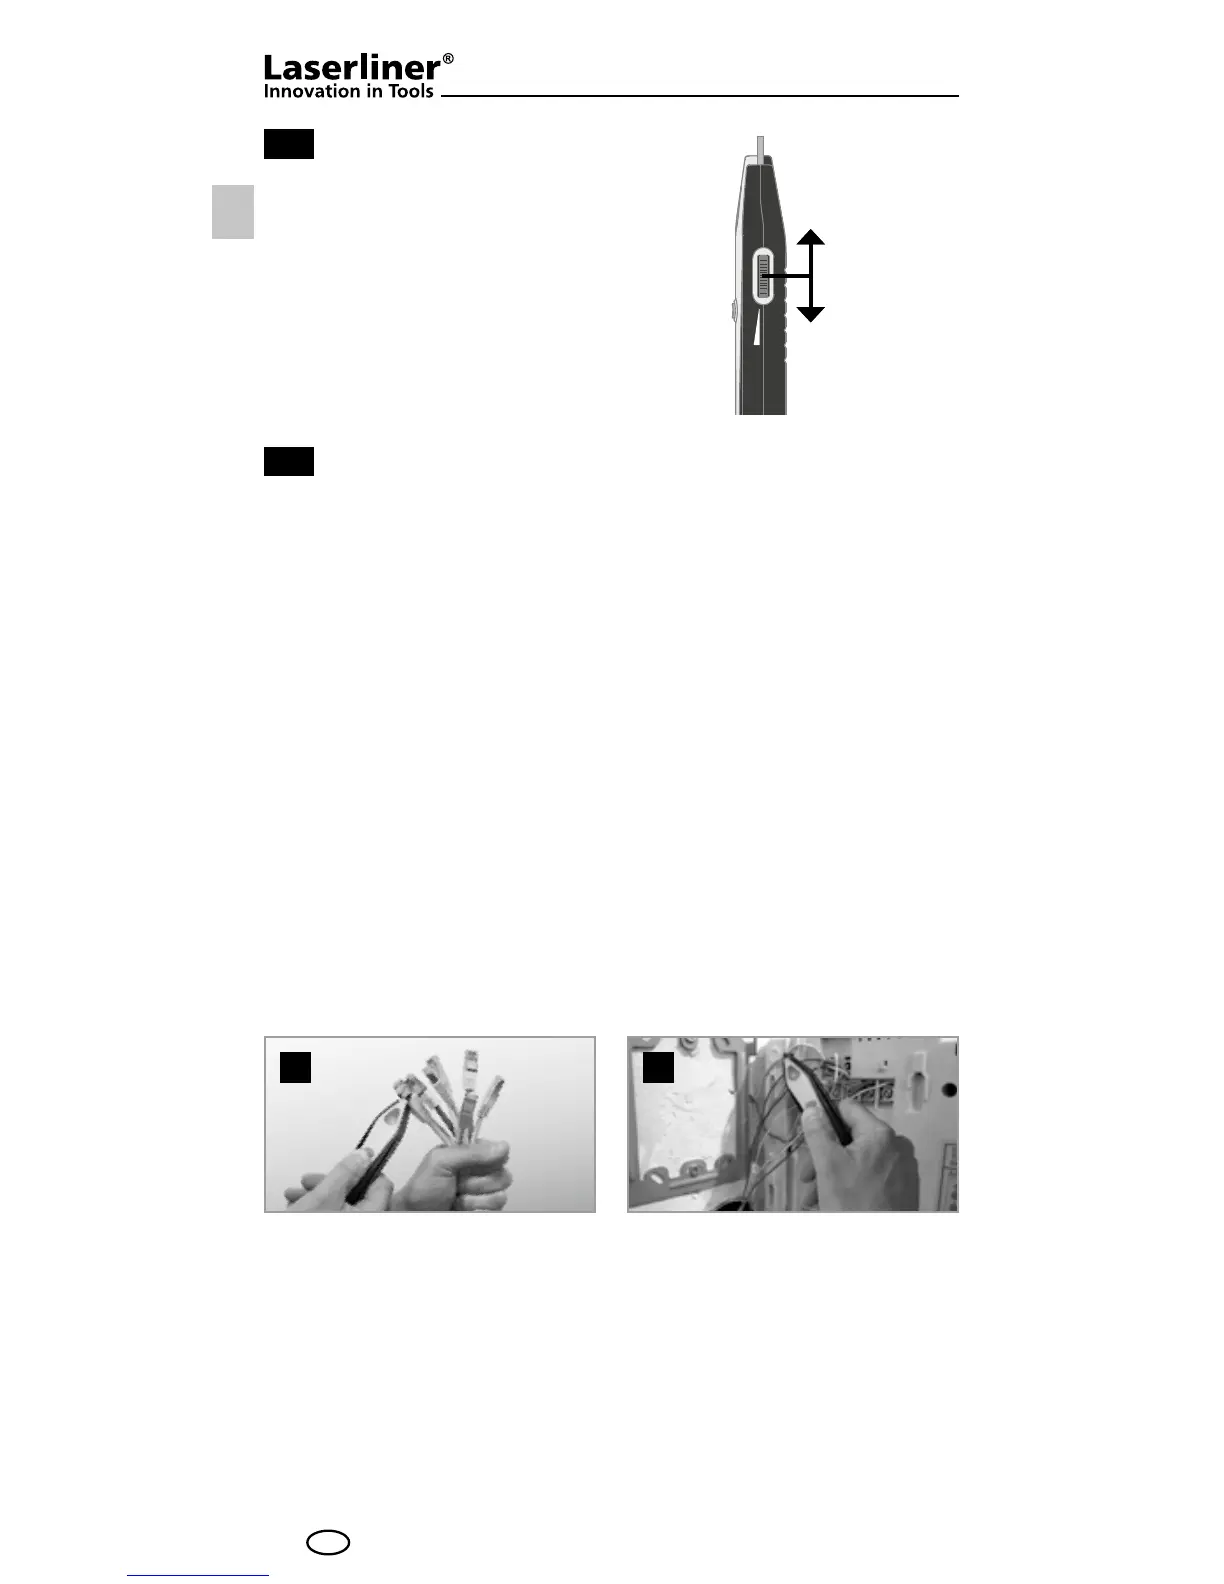
• To locate the cable more efciently, gradually reduce the receiver
signal volume using the control (13). The cable can be located by
means of volume differences and is indicated by the status LED (12)
lighting up at its brightest or by the maximum signal volume.
• The best search results are achieved when the test prod (11) has
a direct metallic contact with the cable being located. This type of
contact will produce a clearly audible jump in the signal. You can
also get stronger signals at the cable ends (g. a)
or directly at
the individual wires (g.
b).
• Parallel supply lines may generate buzzing interference in the
test lead. If the external interference is too great, switch off
the household power supply during measurement if possible.
• Any interference that occurs (buzzing, etc.) can be reduced by
earthing the return conductor or shielding conductor in the test
lead. Earthing by means of your own hand or nger may be
enough, however.
2b
2c
a b
2b
2c
a b
12
GB
Increase
volume /
measuring
depth
Decrease
volume /
measuring
depth