Do you have a question about the latch C2 and is the answer not in the manual?
Select cutsheet for door thickness and identify backset A (2-3/4") or B (2-3/8").
Ensure the deadbolt is extended before installation. Check its state.
Choose mounting screws by door thickness and adjust tailpiece if needed for 1-3/8" doors.
Select screws for door handing and ensure correct orientation for left or right-handed doors.
Prepare the deadbolt by removing plates and attaching the drive-in option to its end.
Insert the deadbolt into the door and screw it in using the rounded-corner faceplate.
Prepare and insert the outer trim into the deadbolt, supporting the tailpiece with your finger.
Separate back cover, mount battery tray assembly, and connect cables and alignment post.
Install batteries and configure the device using the Latch Manager App.
Secure the trim, check operation, and install the strike plate.
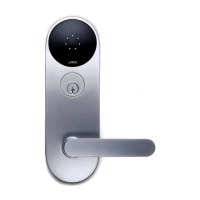
| Brand | latch |
|---|---|
| Model | C2 |
| Category | Door locks |
| Language | English |