EasyManua.ls Logo

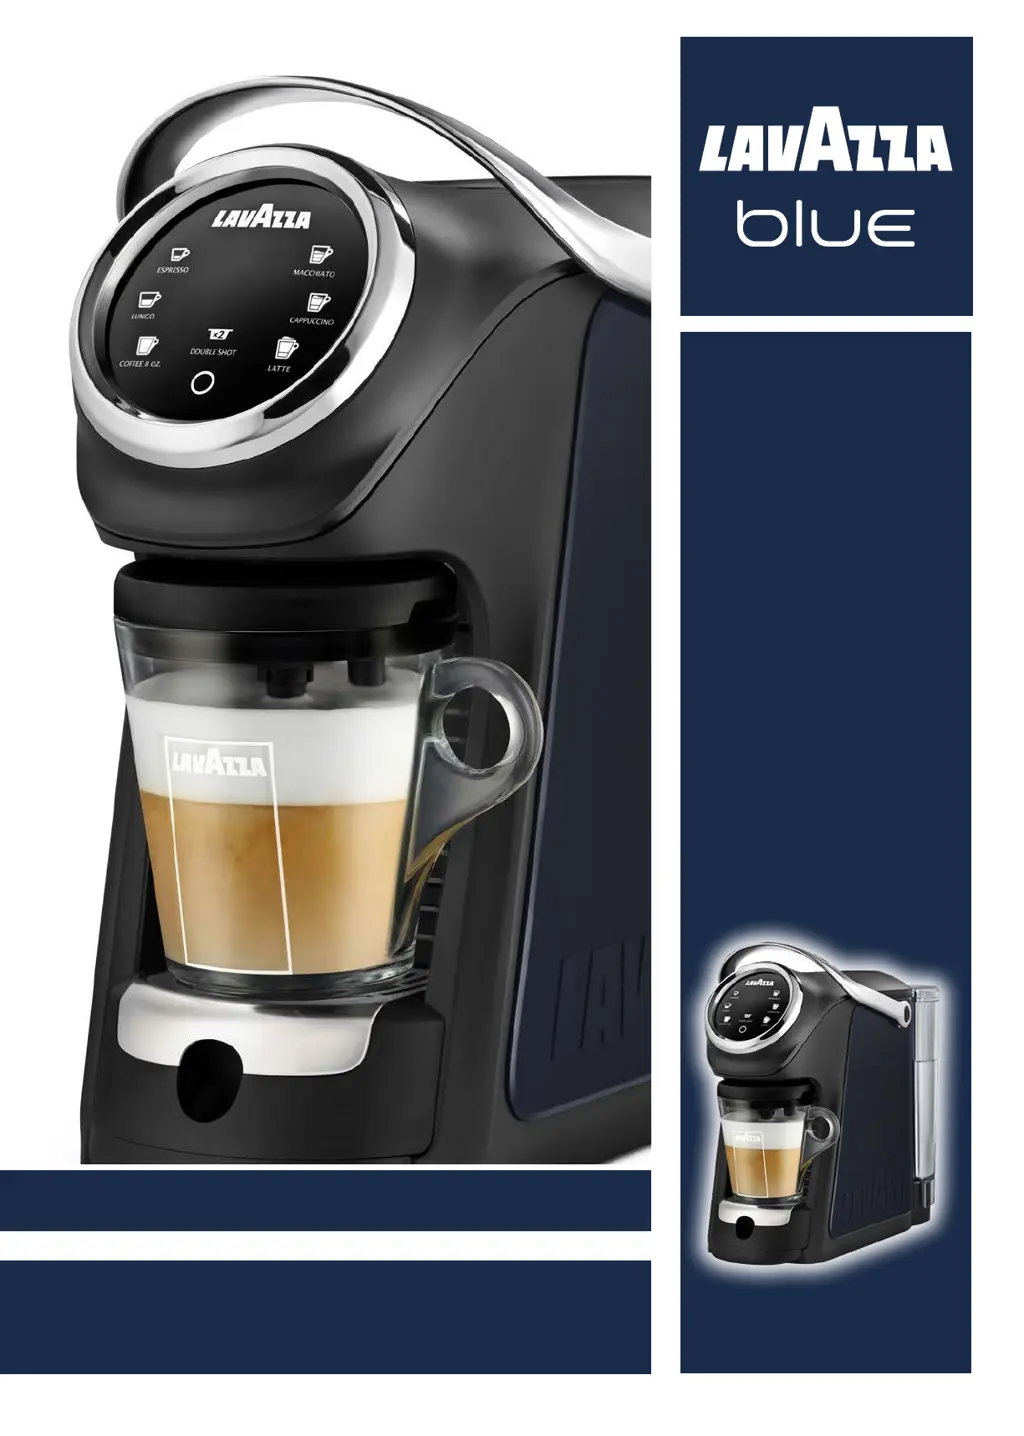
LAVAZZA blue LB 400 CLASSY PLUS - User Manual

LAVAZZA blue LB 400 CLASSY PLUS
46 pages
Print Icon
To Next Page IconTo Next Page
Loading...
LB 400 CLASSY PLUS USA 120V
TECHNICAL SUPPORT
MAINTENANCE MANUAL

Table of Contents

Questions and Answers

  • M
    Michael AdamsAug 3, 2025
    What to do if my Lavazza Kitchen Appliances fails to supply coffee or water?
    • I
      ichavezAug 3, 2025
      If your Lavazza Kitchen Appliance fails to supply coffee or water, first, ensure the tank is filled with fresh drinking water. Then, make sure the tank is correctly inserted. Check that the capsule loading lever is lowered completely. If these steps don't work, disconnect the power cord for 10 seconds, then reconnect it, switch the machine on, and wait for the heating cycle to complete, as the machine will attempt to fill the hydraulic circuit automatically. Also, the capsule might not be compatible, so try a capsule from a different package. Finally, the presence of limescale can also be a factor, so perform a descaling procedure using the Lavazza descaling product.
  • M
    Mackenzie PetersenAug 7, 2025
    How to fix LAVAZZA Kitchen Appliances when it does not turn on?
    • H
      huntkurtAug 7, 2025
      If your Lavazza Kitchen Appliances machine does not turn on and the On/Stand-by warning lamp is off, first ensure that the machine is properly connected to the power source. If it is, check that the power cord is not faulty by connecting the machine directly to the power source. Finally, verify that the household mains are providing power by connecting another device to the same outlet.
  • S
    samantha09Aug 11, 2025
    Why is my LAVAZZA Kitchen Appliances making excessive noise?
    • J
      jonathanduncanAug 11, 2025
      If your Lavazza Kitchen Appliances machine is making excessive noise, ensure it is placed on a flat, stable surface. Check the power supply cable is correctly positioned in the base of the machine and that all movable parts are properly fitted. Additionally, make sure there is water in the tank and that you're using a Lavazza Blue or Expert capsule, or a compatible one.
  • M
    Mrs. Denise WhiteAug 15, 2025
    What to do if my LAVAZZA Kitchen Appliances won't switch on?
    • B
      Blake JohnsonAug 15, 2025
      If your Lavazza Kitchen Appliances machine will not switch on after pressing the “On/Stand-by” button, ensure that the touch interface and your hands are clean and dry. If that doesn't work, you may have accidentally pressed two buttons simultaneously. Wait a few seconds, then press only the “On / Stand-by” button.
  • M
    Martha SmithAug 19, 2025
    What to do if the lever remains closed after the supply in LAVAZZA Kitchen Appliances?
    • D
      Deborah WeaverAug 20, 2025
      If the lever on your Lavazza Kitchen Appliances remains closed after use, it's likely that the used capsule tray is full. Empty the tray and then try to open the lever.
  • M
    Mr. Gary RobinsonAug 25, 2025
    Why is the heating time excessive on my LAVAZZA Kitchen Appliances?
    • E
      eddieharrisonAug 25, 2025
      If your Lavazza Kitchen Appliances is taking too long to heat up (more than 40 seconds), it may be because the machine was stored in a cold environment. Keep the machine in a suitable place for at least one hour before plugging it into the mains socket and attempting to switch it on.
  • M
    Mark MorganAug 28, 2025
    What to do if LAVAZZA Kitchen Appliances unit ready for use but failing to acknowledge the button press?
    • F
      Frederick BarrAug 28, 2025
      If your Lavazza Kitchen Appliances is ready for use but not responding to button presses, ensure you are pressing one of the illuminated buttons with your fingertip. Listen for the acoustic signal (if activated) and watch for the selected icon to blink. Also, check that the used capsule collection tray is correctly fitted, ensuring the alarm warning lamp switches off and that the machine is correctly supplied.

Summary

General Information of Manual

Manual Structure and Usage

Details the manual's organization, scope, messages, personnel, and storage guidelines.

General Safety Standards

Safety Features and Residual Risks

Covers stopping functions, safety devices, and potential risks if standards are not followed.

Handling and Storage

Handling and Storage Guidelines

Provides instructions for safe handling and storage conditions for the machine.

Demolition and Waste Disposal

End-of-Life Disposal Treatment

Instructs on proper procedures for disposing of the appliance at the end of its operational life.

Overview of the Machine

Model, Dimensions, and Technical Features

Lists machine model, identification data, dimensions, weight, and key technical specifications.

Machine Composition Overview

Introduces the machine's composition, leading to external and internal component descriptions.

Overview of the Machine

External Components Identification

Identifies and illustrates the external parts of the coffee machine with numbered labels.

Internal Components Identification

Identifies and illustrates the internal parts of the coffee machine with numbered labels.

Installation, Commissioning and Configuration

Unpacking and Positioning

Provides instructions for unpacking the machine and selecting an appropriate location for placement.

Installation, Commissioning and Configuration

Start-Up Procedures

Guides the user through the initial steps to prepare the machine for operation.

Installation, Commissioning and Configuration

Alarm Messages

Lists and explains various machine states and associated warning indicators.

Installation, Commissioning and Configuration

Programming and Resetting Defaults

Explains how to set beverage doses and reset machine settings to factory defaults.

Routine Maintenance

Descaling Procedure

Details the process for removing mineral buildup from the machine.

Routine Maintenance

Cleaning Procedures

Provides instructions for daily, weekly, and general cleaning of machine components.

Routine Maintenance

Lubrication Guidelines

Specifies which components require lubrication and recommends products for maintenance.

Troubleshooting

Common Problems and Solutions

Lists common issues, their possible causes, and recommended solutions for the machine.

Recommended Tools for Disassembly and Assembly Operations

General Operations

Disconnecting Electric Wiring

Illustrates methods for safely disconnecting electrical wiring on the machine.

General Operations

Removing Hydraulic Connections

Details the procedures for disconnecting various types of hydraulic pipes on the machine.

Disassembling the Body

Extracting Drip Tray and Water Tank

Guides on removing the drip tray, used capsule tray, and water tank assembly.

Disassembling Side Panels and Top Cover

Provides steps to remove the external side panels and the top cover of the machine.

Disassembling the Body

Extracting the User Interface

Details the process for removing the user interface panel from the machine.

Removing Internal Components

Removing Volumetric Doser and Water Tank Inlet

Explains how to extract the volumetric doser and the water tank inlet component.

Removing Milk Frother Support Assy

Guides on disconnecting wires and removing the milk frother support assembly.

Removing Internal Components

Disassembling the Pump

Details the steps involved in removing the pump assembly, including associated pipes and protections.

Removing Internal Components

Removing Solenoid Valve Unit

Provides instructions for disconnecting wiring and removing the 2 and 3-way solenoid valve unit.

Removing Internal Components

Extracting CPU Board and Microswitches

Guides on disconnecting wiring and removing the CPU board and microswitch assemblies.

Removing Internal Components

Extracting Thermoblock Probe

Details how to loosen and remove the thermoblock probe fixing plate.

Removing Thermoblock and Dispensing Unit

Outlines the process for unscrewing and removing the dispensing unit and thermoblock assembly.

Removing Internal Components

Disassembling the Thermoblock

Explains how to unscrew the thermoblock and remove associated pipes and components.

Removing Internal Components

Disassembling the Dispensing Unit

Provides step-by-step instructions for dismantling the dispensing unit and its parts.

Diagrams

Wiring Diagram

Presents the electrical schematic showing connections between machine components.

Diagrams

Hydraulic Diagram

Illustrates the fluid circuit of the machine, showing component interconnections.

LAVAZZA blue LB 400 CLASSY PLUS Specifications

General IconGeneral
Used Capsule Container10 capsules
Voltage220-240 V
Frequency50-60 Hz
MaterialPlastic
ColorBlack
TypeCoffee Machine
Coffee SystemLavazza Blue

Related product manuals