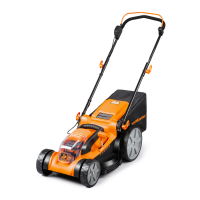
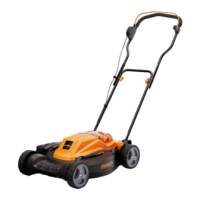
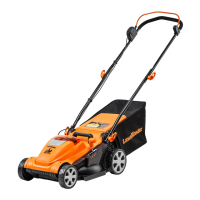
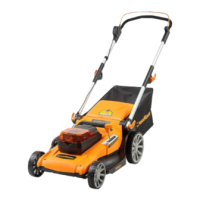
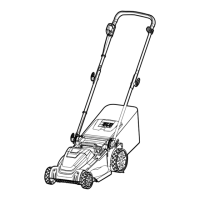
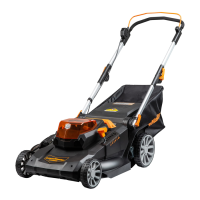
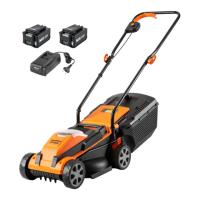
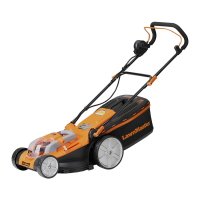
ASSEMBLY
Do not at any time make any adjustment to the lawn mower without first stopping the motor and
removing the safety key. Keep your feet away from the deck when adjusting its height.
When shipped, the rear wheels (14) on the mower are set to a low-cutting position. Before using the
mower
for the first time, adjust the cutting position to the height best suited for your lawn.
The mower can be set to 6 cutting heights between 1.4” (35mm) and 3.4” (85mm). 6 is the highest setting,
1 is the lowest. Choose the proper cutting height according to the types and conditions of the grass.
To set the cutting height:
■ To raise the cutting height, grasp the cutting height adjustment lever (13), then move it toward the
back of the mower and engage the lever in the desired cutting height position on the mower deck.
■ To lower the cutting height, grasp the cutting height adjustment lever (13), then move it toward the
front of the mower and engage the lever in the desired cutting height position on the mower deck.
WARNING
16
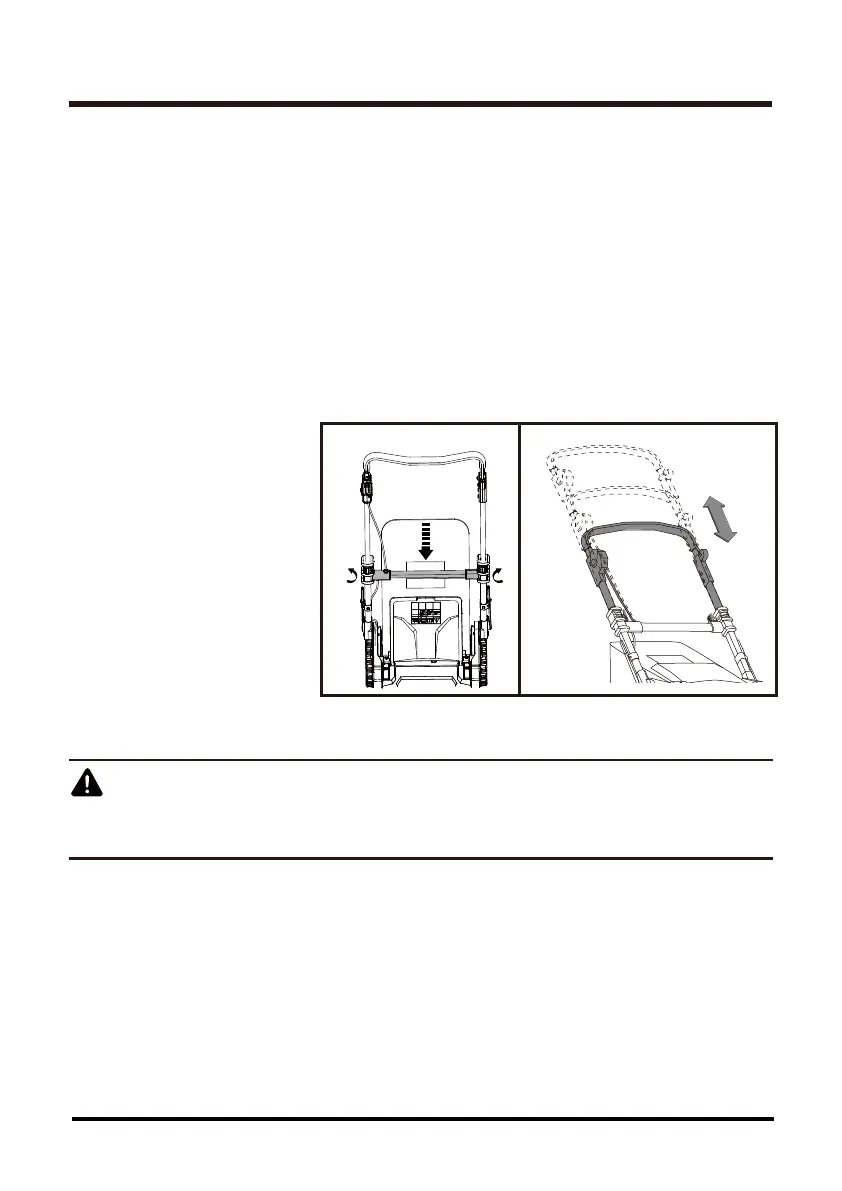
HANDLE BAR HEIGHT ADJUSTMENT (See Figs. 8-9)
To adjust height for working:
■ Rotate handle bar into working position.
■ This mower has 2 working positions for different operation height. Choose the position more
comfortable for you. Adjust handle bar to the desired position by pulling it up, then close the
locking clips (4).
■ Before operating the machine, make sure the handle bars are locked into place with the pins of
locking clips (4) inserted into holes on the bar. If lockings are not closed properly, the unit will
not operate.
NOTE:
The handle bar can also be adjusted to a middle height position different from the highest
working position and the lowest storage position. To adjust, first unlock the locking clips and adjust
the handle bar to the middle designed position, then close the locking clips.
To adjust height for storage:
■ Unlock both locking clips, then
push down the handle bar to
the lowest position.
■ Press and hold the locking
levers (6) on both sides of
handle bar with both hands to
release handle bar from locked
position, then pivot the handle
bar all the way to storage position.
Gently pivot the handle until
you hear and feel the locking
pin engage in storage position.
SETTING CUTTING HEIGHT
(See Fig. 10)
Fig. 8 Fig. 9