15
10 11 12
13 14 15
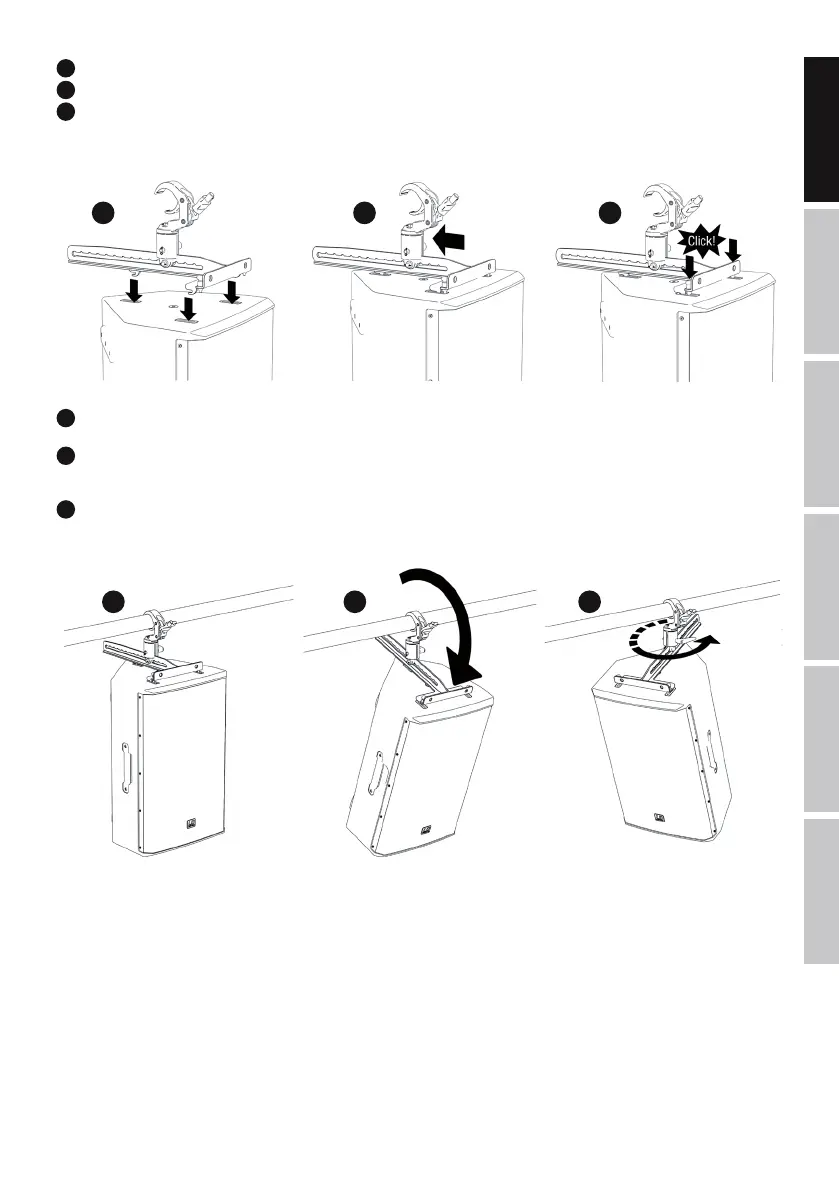
10
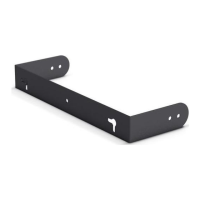
Insert all three steel hooks of the EasyMount bracket into the corresponding retaining sockets on the speaker.
11
Slide the entire bracket towards the back of the speaker.
12
When installing the mounting bracket, ensure that the spring-loaded locking pins engage fully. Ensure that locking pins are functioning
correctly before every installation. For safety reasons, both locking pins must be pulled upwards simultaneously to release the connection
(two-hand release).
13
Before attaching the speaker to a traverse, tighten the T-screw on the mounting bracket No. 3. Using traverse clamp No.1, suspend the
speaker from a horizontal traverse in a suitable position, and fasten it into place with wing nut No. 2.
14
Loosen T-screw No. 3 slightly (approximately 1 turn). To adjust the vertical dispersion of the speaker, lift the speaker slightly and slide
the notched mounting rail No.4 into the desired tilt position. Release the speaker to allow the retaining pin No. 5 to engage in the
corresponding notch.
15
Turn the speaker until the desired horizontal dispersion is achieved and tighten T-screw No. 3.
ITALIANOPOLSKIESPAÑOL
FRANCAISDEUTSCHENGLISH