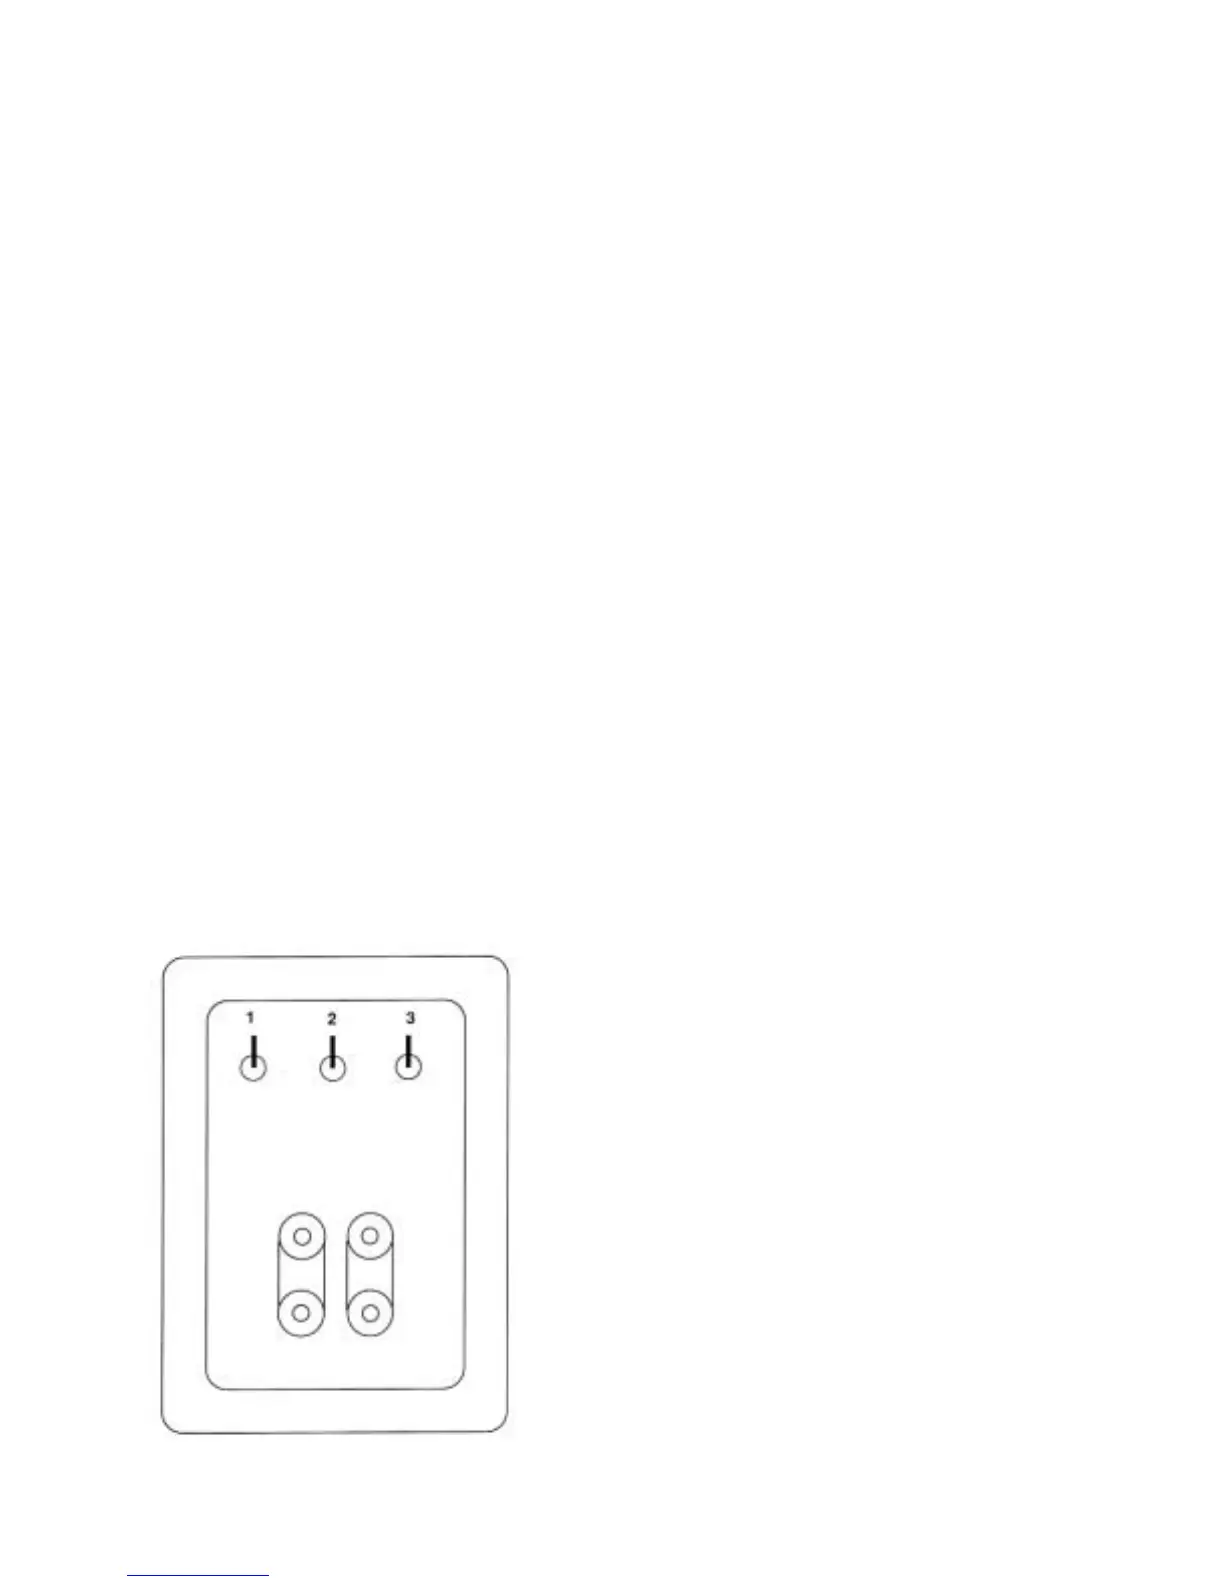
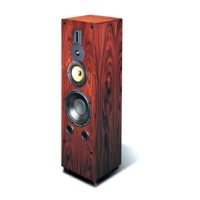
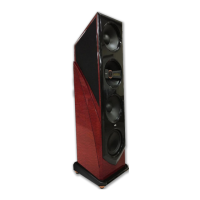
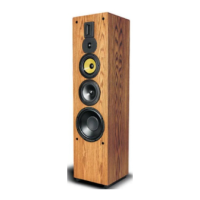
Connections
At the rear of each of your loudspeakers you will find a
terminal plate housing two rows of jumpered binding posts.The
upper row is the input to the “satellite” portion of the speaker.
The lower row is the input to the “subwoofer” portion of the
speaker.When left in place, the factory-installed jumper bars
allow the speaker to be driven with a single channel of
amplification. (if biamping, or biwiring, be sure to remove the
jumper bars. More on this later!).
Connect each channel of amplifier to a loudspeaker via the
five-way gold binding posts provided. Dual banana plugs or gold
plated spade lugs are recommended means of termination.
Be sure that you observe polarity when making the
connections.The positive (+) terminal of the amplifier should be
connected to the positive terminal of the loudspeaker.The
negative (-) terminal of the amplifier should be connected to the
negative terminal of the loudspeaker.
Fine-tuning
To facilitate proper set-up of your speakers in a variety of
room situations, we have included several heavy duty toggle
switches on the terminal plate, located on the back of the
loudspeaker. All switches in the “up” position represent the
“anechoic flat” position.
Switch 1: is a low frequency impedance contour when using
amplifiers with high current capability. It is recommended that
switch 3 be left in the up position which converts the
FOCUS from a traditional B4 alignment to a more
sophisticated sixth-order Butterworth alignment, thus
reducing distortion in the octave above system
resonance.
Switch 2: can be used in the “down” position to soften
midrange presence.This switch can be used to reduce
the forwardness of certain recordings.
Switch 3: can be used in the “down” position to reduce
edginess in the lower treble region due to room flutter
or bright program material.
6