OPERATING Leister LHS SYSTEM
3
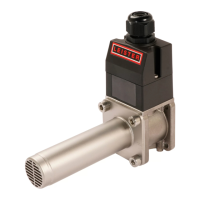
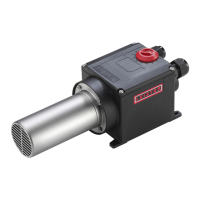
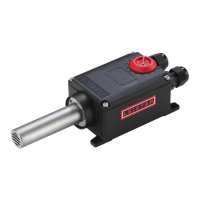
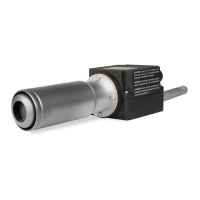
Installation
• When installing the tool, ensure that:
- only cold air is supplied
- no (hot air) back pressure develops
- the tool is not subjected to a hot air flow from another tool
• The tool is protected against mechanical vibration and shaking.
• Installation dimensions on pages 5, 6 and 7.
Air supply
• To protect the tool and the heat element, the stipulated minimum air flow must
under no circumstances fall short, and the maximum temperature (measured
at the hotest point 3 mm in front of the element housing) must also not be
exceeded. In the event that the minimum air flow falls short, the power must
immediately be disconnected.
• The air heater should only be supplied with air up to a max. 80°C.
• Pay attention to the direction of the airflow.
• Leister blowers must be used for the air supply (pay attention to the direction of
rotation and the electrical connection).
• For use in a dusty environment the tool should be fitted with a Leister stainless
steel filter on the air intake connection. Where a particularly critical dust problem
exists (eg metal, electrically charged or damp dust) special filters must be used to
avoid short circuiting of the tool.
Operation
• The tool must be connected by a qualified electrician in accordance with the
circuit diagram (Pages 5,6 or 7).
• Fit a nozzle appropriate to the use.
• It should be checked that the hot air can flow out freely, otherwise a back
pressure of hot air may damage the tool (danger of fire!).
• Attention: Keep to the minimum air flow according to the technical details
(Page 2).
• Switch on mains.
• Allow the tool to cool down after use.
Attention: Never operate tool without air supply!