Front rack installation manual -
Amsterdam+
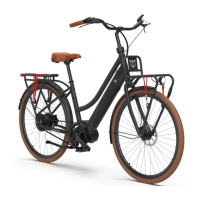
This step-by-step manual will guide you through the installment of your
LEKKER front carrier on your Amsterdam GT. You will need allen keys
sizes 4mm and 5mm, a crosshead screwdriver and a 8mm wrench.
Please note: For the proper installation of the
front rack, you need to remove the front light from
its original holder and attach it to a longer version
(see picture to the right). This holder is
unfortunately only available from the 2nd week of
August onwards. We will ship you the holder
separately. Once you receive this holder, you can
install the rack and lamp correctly. We
recommend waiting with the installation of your
front rack until you receive this holder!