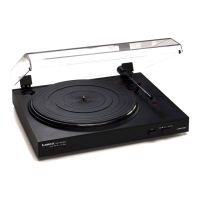
L-3867 USB Turntable
Version 03/10
Item no. 30 48 90
Intended use1.
The product is intended for both private and semi-professional use. This product is equipped to
playgramophonerecordsat331/3or45rpm.Itshouldbeconnectedtoasoundamplierora
mixing desk with the appropriate RCA inputs and may also be connected to a computer by USB.
It is approved only for connection to 230 V/AC, 50 Hz. Use is only permitted indoors and it should
not be used outside. Do not use in humid environments, such as bathrooms.
Unauthorisedconversionand/ormodicationofthe deviceare inadmissiblebecause ofsafety
and approval reasons (CE). Any usage other than described above is not permitted and can
damagetheproductandleadtoassociatedriskssuchasshort-circuit,re,electricshock,etc.
Please read the operating instructions thoroughly and keep them for further reference.
Content of delivery 2.
Turntable•
CD-ROM (Audacity software)•
USB cable•
Mat•
45 rpm record adaptor•
Operating instructions•
Safety instructions3.
We do not assume liability for resulting damages to property or personal injury
if the product has been abused in any way or damaged by improper use or
failure to observe these operating instructions. The warranty/ guarantee will
then expire!
The icon with exclamation mark indicates important information in the
operating instructions. Carefully read the whole operating instructions before
operating the device, otherwise there is risk of danger.
Persons / Product
The product is not a toy and should be kept out of reach of children!•
When used in conjunction with other devices, observe the operating instructions and safety •
notices of connected devices.
The product must not be subjected to heavy mechanical stress.•
The product must not be exposed to extreme temperatures, direct sunlight, intense vibration, •
or dampness.
If there is reason to believe that safe operation is no longer possible, the device is to be •
put out of operation and secured against unintended operation. Safe operation is no longer
possible if the device:
shows visible damages, -
no longer works, -
was stored under unfavourable conditions for a long period of time or -
was subject to considerable transport stress -
As source of voltage only a correct mains socket (230V/AC, 50Hz) of the public supply system •
may be used.
Extra care should be taken when starting up the product. Please follow the operating •
instructions carefully in doing so.
When setting up the product, make sure that the mains cable is not pinched or damaged by •
sharp edges.
Products operated using mains voltage must be kept out of the reach of children. For this •
reason, be particularly cautious when using the product in the presence of children. They may
try to stick objects into it through openings in the housing. Danger of fatal electric shock!
NeverpouroutliquidsaboveelectricalProductsandnever leave objectslledwith liquids•
(e.g.vases)intheirvicinity.Thereisaveryhighriskofreorofafatalelectricshock!Ifuid
does get into the product, immediately disconnect the power plug from the mains socket and
consult an expert.
Do not expose the product to high temperatures, dripping or sprayed water, strong vibration •
or heavy mechanical loads.
Contact a specialist if you have any doubt about how the equipment functions, its safety or •
connecting the product.
Donotplaceopensourcesofresuchasburningcandlesontheproduct.•
Please dispose carefully of all packaging materials. Packaging may prove a dangerous toy •
for children.
Never operate the product without supervision.•
In commercial institutions, the accident prevention regulations of the Employer’s Liability •
Insurance Association for Electrical Systems and Operating Materials are to be observed.
If you are not sure about the correct connection or if questions arise which are not covered by •
the operating instructions, please do not hesitate to contact our technical support or another
specialist. Please consult a specialist in case of doubts about correct operation or product
safety.
Miscellaneous
Servicing, adjustment or repair works must only be carried out by a specialist/ specialist •
workshop.
If any questions arise that are not answered in this operating instruction, contact our Technical •
Advisory Service or other experts.
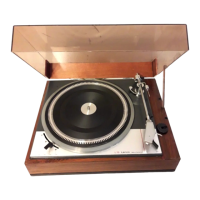
Operating elements4.
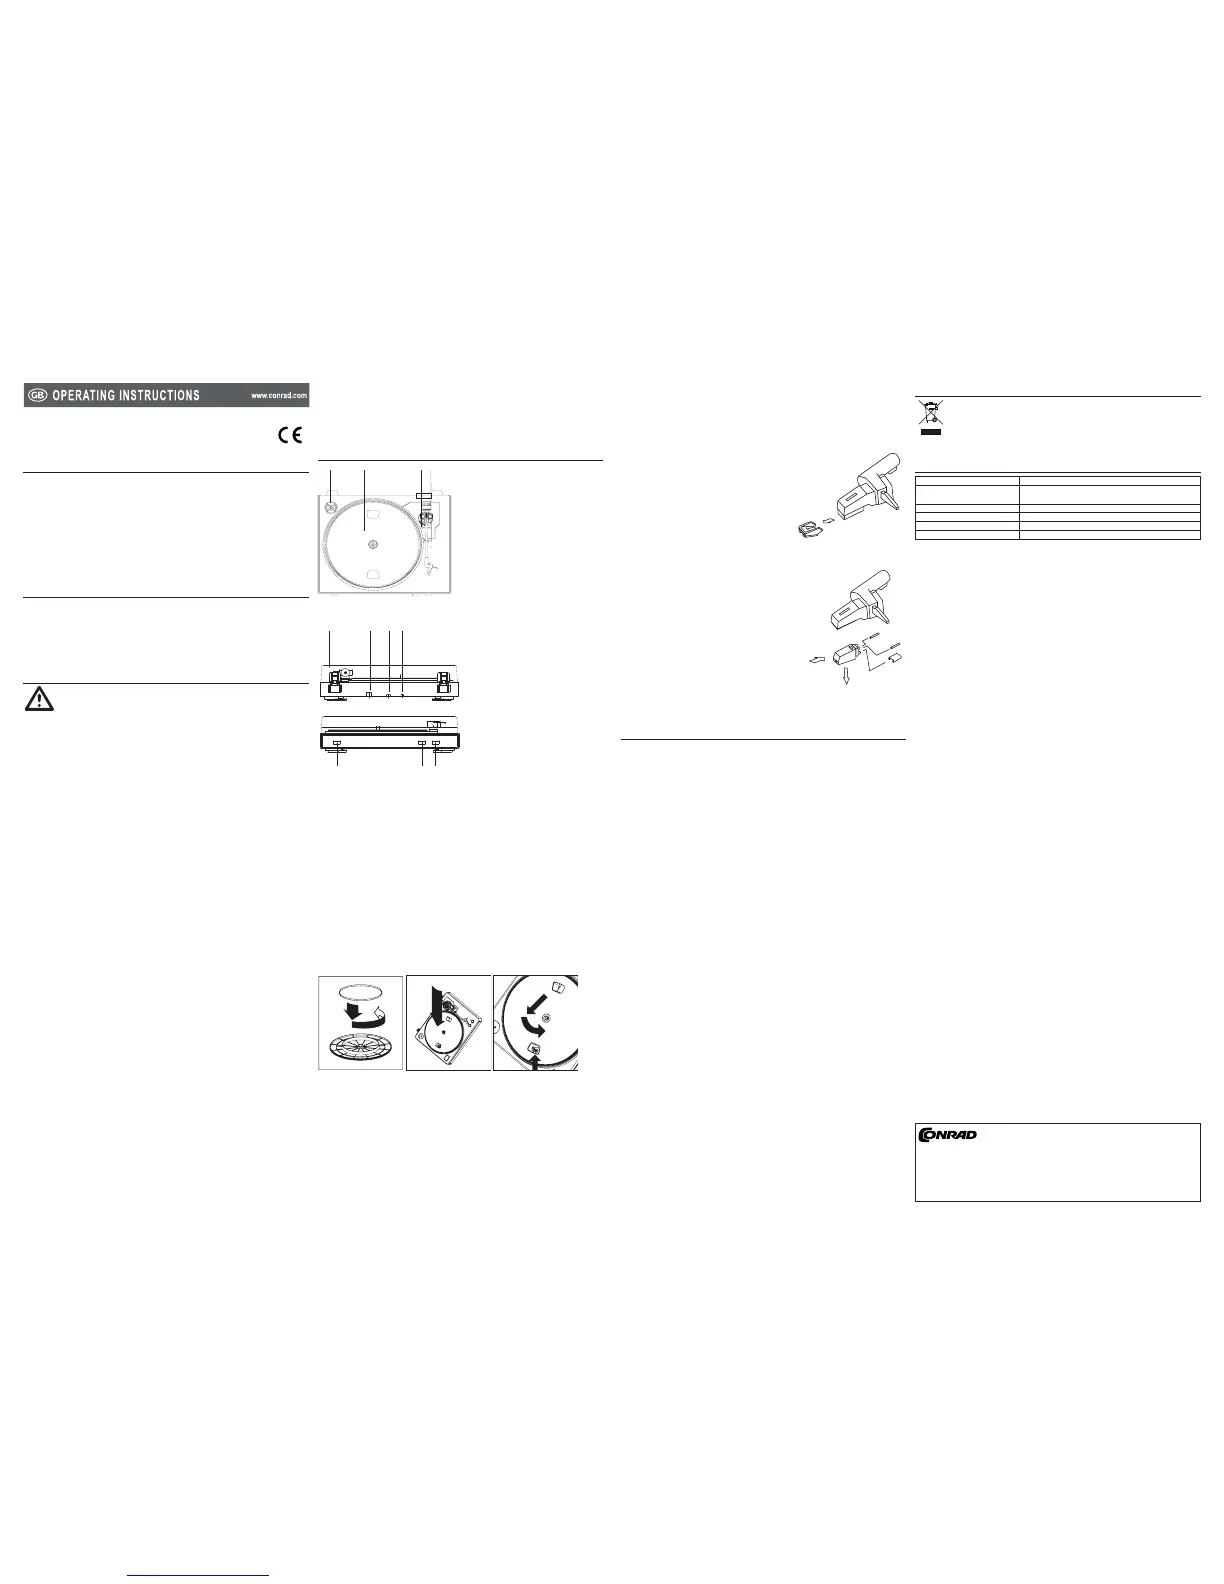
Place the rubber belt around the inner bottom ring of the turntable platter.3.
Installtheplatter on thecentrespindleandpressitdownrmly.Checktomakesurethatit4.
rotatesuniformlyanddoesnotwobbleexcessively.Replacetheu-shapedmetalxer.
Rotate the platter until you see the motor spindle. Carefully pull the rubber belt off the inner 5.
ring and install it over the motor spindle. Take care not to twist the rubber drive belt during
this step. Check that the platter rotates smoothly and uniformly. If the drive belt is properly
installed, there should be a slight amount of tension that brings the platter to a stop after
spinning it freely.
Dust cover installation
Attach the dust cover mounts to the turntable.1.
Attach the dust cover to the turntable.2.
Cover the turntable when it is not in use. 3.
Stylus installation
The stylus has been pre-installed. Before replacing 1.
the stylus, also read the instructions from the
manufacturer of the new stylus.
Put off the protection cap before you change the 2.
stylus.
Pull the stylus carefully outwards to remove the 3.
stylus from the cartridge.
Insert the new stylus into the cartridge carefully.4.
Cartridge installation
The cartridge has been pre-installed. Before replacing 1.
the cartridge, also read the instructions from the
manufacturer of the new cartridge.
Put off the protection cap before you change the 2.
cartridge.
Remove the stylus. (Refer to the chapter “Stylus 3.
installation”)
Detach the wires.4.
Remove the cartridge by pushing the cartridge inwards 5.
gently.
Insert the cartridge by inserting the inner part of the 6.
cartridge and then push it upwards gently until the
cartridgeisxedbythecartridgelockingnut.
Attach the wires, white (Left channel), red (Right 7.
channel) and the other two grey wires (ground).
Operation5.
Playing a gramophone record
Place the mat on the platter. Playing the gramophone record without the mat may cause 1.
damage to the gramophone record and the turntable.
Connect the turntable to the mains outlet.2.
Select the record speed by pressing the 33 rpm / 45 rpm speed select button. 3.
Place the gramophone record on the mat. Use the adaptor (included) for 45 rpm gramophone 4.
records.
Remove the protective cap from the cartridge. Unlock the tone arm and lift the tone arm with 5.
the tonearm control button.
Swing the tone arm to the desire groove position on the gramophone record then the platter 6.
rotates automatically.
Lower the tone arm with the tonearm control button.7.
Press the stop button to stop.8.
The tonearm will be lifted and return to the tonearm stand automatically. Lock the tone arm 9.
properly and cover the cartridge with the protective cap when the turntable is not being used.
Mixing / listening to music
Connectamixer/asoundamplierwiththeRCAcable.1.
Playthegramophonerecordandusetheconnectedmixer/amplierasdesired.2.
Recording music via a computer
Insert the USB type A plug into a vacant USB port on the computer.1.
Insert the USB type B plug into the USB port at the back of the turntable.2.
Select the turntable as the audio input device of your computer. Read the instructions for your 3.
computer before doing this.
Start an audio recording program. The audio recording program Audacity is included on the 4.
CD-ROM in the delivery content.
Read the instructions for the audio recording program, select the turntable as the input 5.
source.
Press the record button on the audio recording program and then play the gramophone record. 6.
Audio signals from the cartridge are being recorded on the computer.
Disposal6.
In order to preserve, protect and improve the quality of environment, protect human
health and utilise natural resources prudently and rationally, the user should return
unserviceable product to relevant facilities in accordance with statutory regulations.
The crossed-out wheeled bin indicates the product needs to be disposed separately
and not as municipal waste.
Technical data7.
Supply voltage: 230 V/AC, 50 Hz
System requirement: Microsoft Windows® XP, Vista, 7™, Mac OS® 10.3.9 or
above
Driving method: Belt drive
Speed: 33 1/3 rpm, 45 rpm
Dimensions (W x H x D): 420 x 94 x 330 mm
Weight: 2300 g
These operating instructions are published by Conrad Electronic SE,
Klaus-Conrad-Straße 1, D-92240 Hirschau/Germany.
All rights including translation reserved. Reproduction by any method, e.g. photocopy,
microlming,orthecaptureinelectronicdataprocessingsystemsrequire theprior
written approval by the editor. Reprinting, also in part, is prohibited.
Theoperatinginstructionsreectthecurrenttechnicalspecicationsattimeofprint.
Wereservetherighttochangethetechnicalorphysicalspecications.
© 2010 by Conrad Electronic SE.
*02_03/10_01-HL
 Loading...