Page 6
Diagnostic LED (Figure 3)
The seven-segment diagnostic LED displays operating
status, error codes and other information. Table 4 lists
diagnostic LED codes.
Diagnostic Push Button (Figure 3)
The diagnostic push button is located adjacent to the
seven-segment diagnostic LED. This button is used to
enable the Error Code Recall “E” mode and the Flame
Signal “F” mode. Press the button and hold it to cycle
through a menu of options. Every five seconds a new
menu item will be displayed. When the button is released,
the displayed item will be selected. Once all items in the
menu have been displayed, the menu resumes from the
beginning until the button is released.
Error Code Recall Mode
Select ”E” from the menu to access the most recent 10
error codes. Select “c” from the Error Code Recall menu
to clear all error codes. Button must be pressed a second
time while “c” is flashing to confirm command to delete
codes. Press the button until a solid “≡” is displayed to exit
the Error Code Recall mode.
Flame Signal Mode
Select ”F” from the menu to access the flame signal
mode. The integrated control will display the flame
current on seven-segment LED in in micro amps (uA).
Flame signal mode is exited after any of the following:
D Power is reset
D Pressing and holding push button until 3 horizontal
lines “≡” are displayed
D 10 minutes after entering the flame sense mode.
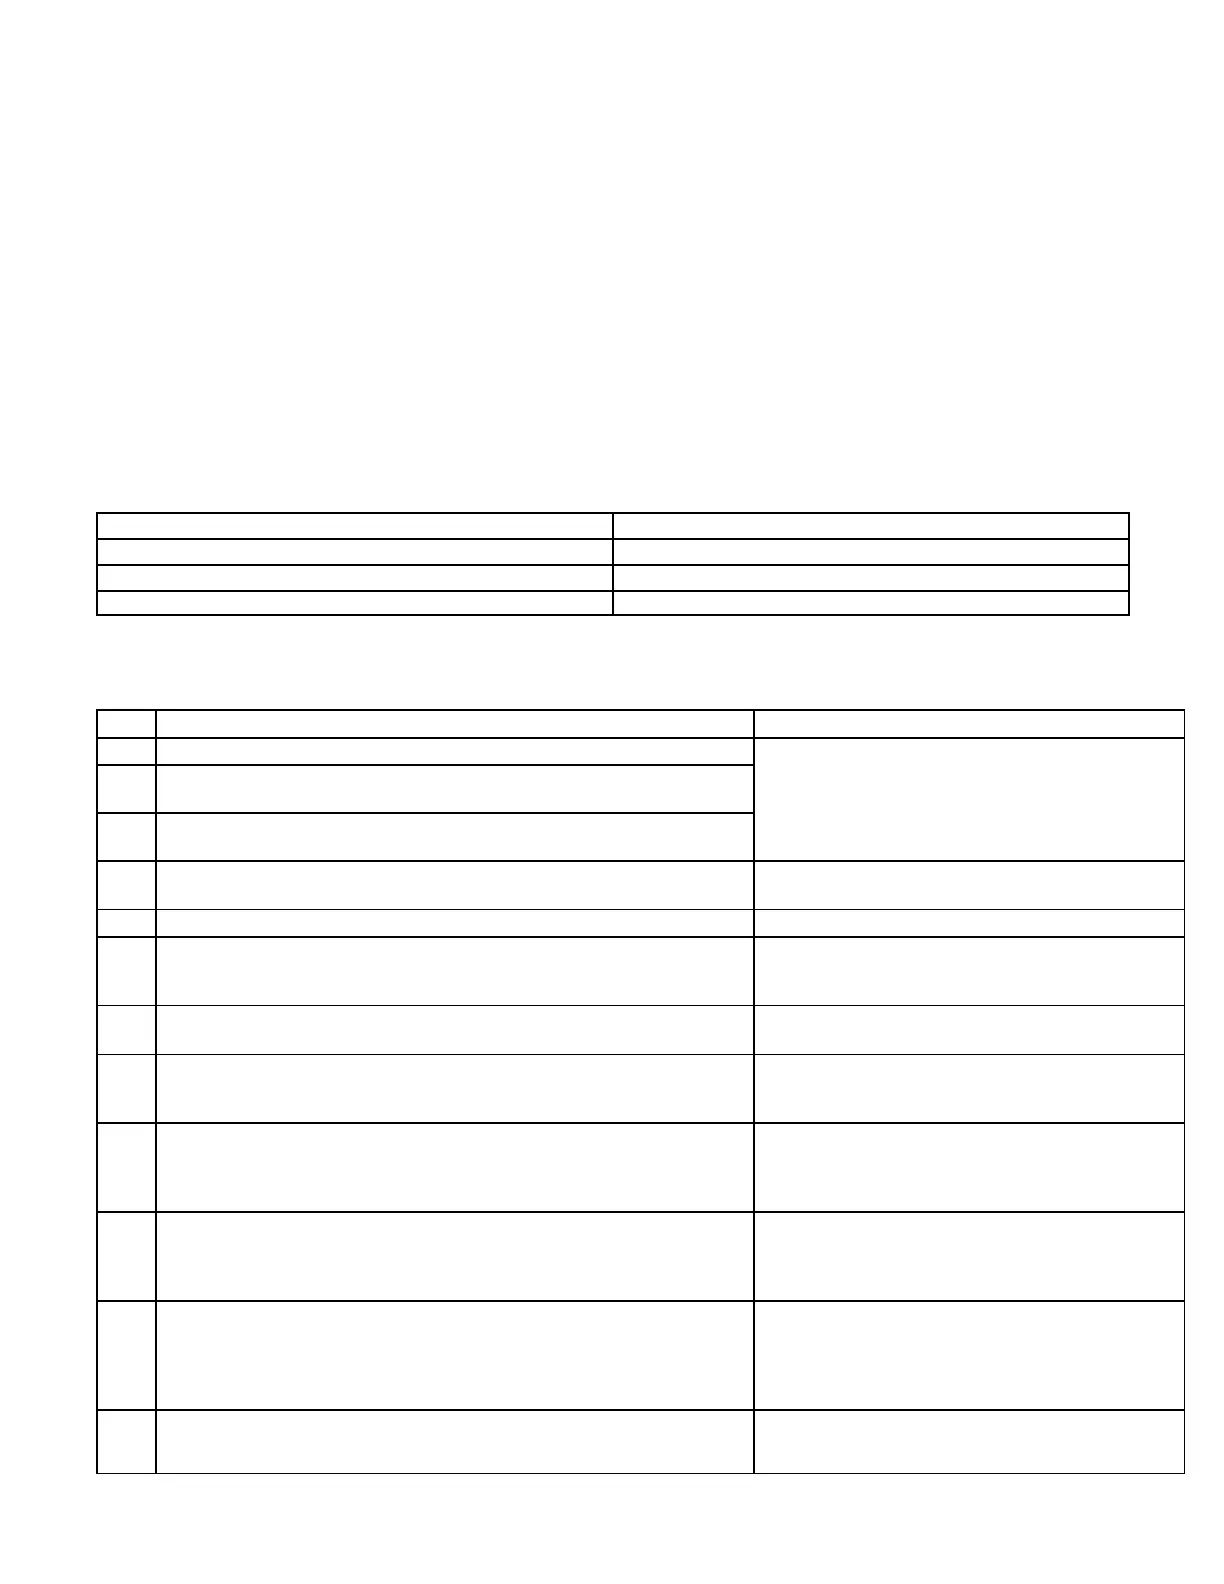
TABLE 3
Integrated Control Diagnostic Modes
Display Action (when button released)
No change (idle)* Remain in idle mode
Solid “E” Enter diagnostic recall mode
Solid “F” Enter flame signal mode
TABLE 4
Integrated Diagnostic Codes / Status of Equipment
Code Diagnostic Codes/Status of Equipment Action Required to Clear and Recover
.
Idle mode (Decimal blinks at 1 Hertz -- 0.5 second ON, 0.5 second OFF).
C
Cooling stage (1 second ON, 0.5 second OFF) 1 or 2 displayed / Pause
/ Repeat codes.
d
Dehumidification mode (1 second ON, 1 second OFF) / Pause / Repeat
Codes).
H
Gas Heat Stage (1 second ON, 0.5 second OFF) 1 or 2 displayed /
Pause / Repeat codes. Blinking during ignition.
h
Heat pump stage.
E 110
Low line voltage. Line Voltage Low (Voltage lower than nameplate
rating). Check power line voltage and correct. Alarm
clears 5 seconds after fault recovered.
E 111
Line voltage polarity reversed. Reverse line power voltage wiring. System resumes
normal operation 5 seconds after fault recovered.
E 112
Ground not detected System shuts down. Provide proper earth ground.
System resumes normal operation 5 seconds after
fault recovered.
E 113
High line voltage. Line Voltage High (Voltage higher than nameplate
rating). Provide power voltage within proper range.
System resumes normal operation 5 seconds after
fault recovered.
E 114
Line voltage frequency out-of-range. No 60 Hertz Power. Check voltage and line power
frequency. Correct voltage and frequency problems.
System resumes normal operation 5 seconds after
fault recovered.
E 115
Low 24V - Control will restart if the error recovers. 24-Volt Power Low (Range is 18 to 30 volts). Check
and correct voltage. Check for additional power-rob
bing equipment connected to system. May require
installation of larger VA transformer to be installed
in furnace / air handler. Clears after fault recovered.
E 117
Poor ground detected (Warning only) Provide proper grounding for unit. Check for proper
earth ground to the system. Warning only will clear
30 seconds after fault recovered.
* No change implies the display will continue to show whatever is currently being displayed for normal operation (blinking decimal, active error code, heat state, etc..)
 Loading...