Do you have a question about the Lenovo ThinkCentre M910q and is the answer not in the manual?
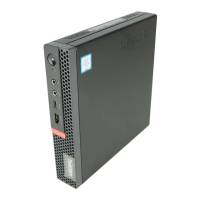
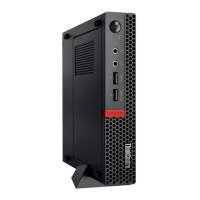
Identifies and describes front panel connectors and status indicators on the computer.
Details the various ports and connectivity options available on the computer's rear panel.
Illustrates and identifies key components and connectors on the computer's system board.
Explains the location and importance of the machine type and model identification label.
Overview of the optional I/O box, its connectors, and recommended usage guidelines.
Step-by-step guide on attaching a Kensington-style cable lock for physical security.
Details power supply options, storage drive capabilities, and network connectivity features.
Outlines the computer's audio, video capabilities, and input/output port configurations.
Lists physical measurements, weight, and available expansion slots or bays.
Crucial safety warnings and preparation steps before undertaking hardware replacements.
Distinguishes between Customer-Replaceable Units (CRUs) and Field-Replaceable Units (FRUs).
Visual references showing the physical locations of various replaceable internal and external components.
Detailed procedures for replacing keyboard and mouse components.
Steps for replacing the power adapter, vertical stand, VESA mount bracket, and power adapter bracket.
Instructions for replacing external optical drives and external I/O boxes.
Procedures for removing and replacing the computer cover, dust shield, and bottom cover.
Steps for replacing the main storage drive and the M.2 storage drive.
Guides for replacing internal speaker, system fan, Wi-Fi card, and memory module.
Final steps to reassemble the computer and reconnect cables after CRU replacement.
Essential guidelines and cautions for certified technicians before replacing FRUs.
Procedures for replacing illuminated red dot cable and advanced speaker.
Steps for replacing Wi-Fi antennas and the storage drive cable.
Detailed instructions for replacing the heat sink and microprocessor components.
Steps for safely removing and replacing the coin-cell battery.
Procedures for replacing major components like the antenna bracket, system board, and chassis.
| Storage | Up to 1TB HDD or 512GB SSD |
|---|---|
| Operating System | Windows 10 Pro |
| Chipset | Intel Q270 |
| Wireless | Wi-Fi 802.11ac, Bluetooth 4.2 |
| Processor | Up to Intel Core i7-7700T |
| Memory | Up to 32GB DDR4 2400MHz |
| Graphics | Integrated Intel HD Graphics 630 |
| Ports | HDMI, Ethernet |
| Dimensions | 179mm x 34.5mm x 182.9mm |
| Weight | 1.32 kg |
| Power Supply | 65W |