Do you have a question about the Leroy Merlin DELINIA ID C15/215 and is the answer not in the manual?
| Category | Indoor Furnishing |
|---|---|
| Color | White |
| Power | 15 W |
| IP Rating | IP20 |
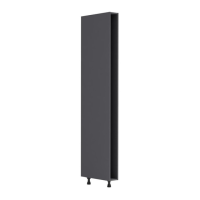
| Product Name | DELINIA ID C15/215 |
| Voltage | 230 V |
| Light Source | LED |
Furniture must be securely attached to the wall to prevent tipping risks. Check wall strength.
Use screws, washers, and plugs suited to wall material. These are not included.
Attach base panels to side panels using fasteners I, F, and dowels J, N.
Connect side brackets (B) to side panels using fasteners (K) and dowels (C).
Attach the top panel (D) to the assembled frame using fasteners.
Secure panels using fasteners (K) and specific hardware (M).
Assemble components for drawer slide mechanism.
Attach the adjustable feet (E) to the base of the unit.
Adjust feet (E) for stability and leveling. Use a saw for specific cuts if needed.
Drill pilot holes (Ø 2mm) at specified locations for mounting.
Attach the unit to the wall using appropriate fasteners and ensuring correct alignment.
Attach drawer runners (G) to the unit using screws (L) and appropriate hardware.
Clean the unit with a damp cloth and mild detergent. Avoid abrasive cleaners.
Keep this manual for future reference. Read carefully.
Note the product's traceability label and reference for any requests.
Dispose of the furniture responsibly at a waste recycling centre if no longer usable.
