""vM¬M"vM
®v|¬f¤"¬WÄ6f"\M
¨Yf
³
"À¬"\MjvM
"¬¬MÁ""6j¬Á
"Àf"\j|\µM|¬
Ä℃i®W℃
Ä℃i®W℃
Y³
nj|\MvM"µM
f"\j|\MvM"µM
"Àf"\j|\o¬"\M
jij|+"¬¬MÁ
®iYfµ¤
®¨
""vM¬M
ÁM
f"\j|\jvM
o¬"\M
Y"¬¬MÁ|¤¬µ6¬j|¤
These instructions show how to charge and maintain the battery, some safety notices and the specifications.
Please use the battery properly according to this manual to prolong the battery life and its performance.
4.1 Battery Parameters
Y³"¬¬MÁ"VM¬Á
|¬6|¬j|µM¬µ¤M¬fM+"¬¬MÁ¿fM|¬fMVoo¿j|\6|Cj¬j|¤66µ>
|oÁVVM¤¤j|"o¤¬Cj¤"¤¤Mv+oM¬fM+"¬¬MÁ?C|¬"¬¬Mv¬¬M|¬fM+"¬¬MÁ6"¤M
CMÀ6M¤¤j¾MfM"¬¦oM"nV"|Á¤µ+¤¬"|6M
|¬oM¬6fjoCM|"|jv"o¤¬µ6f¬fM+"¬¬MÁµ¤¬µ|oµ\¬fM6f"\M+MVMj|¤¬"ooj|\¬fM+"¬¬MÁjCj|\
VÁµ¿"|¬¬fMMoM6¬j6¤6¬M¬µ|v¤¬MVVj6jM|¬oÁ?¬fM+"¬¬MÁvµ¤¬+M6f"\MC"|Cµ¤MC¿j¬fj|¬fM¬MvM"¬µM"|\Mj|Cj6"¬MC
j|¬fM+"¬¬MÁ¤M6jVj6"¬j|¤
j¬fjµv+"¬¬MjM¤"M6|¤jCMMCC"|\Mµ¤¬¬"¾Mo¾j""jfM6n¿j¬f"joj|M+MVM"¬¬Mv¬j|\¬VoÁ¿j¬f¬fM¤6¬M
fM+"¬¬MÁ6|¬"j|¤C"|\Mµ¤¤µ+¤¬"|6M¤oM"¤MC|¬M|¬fM+"¬¬MÁ|¬j|¤M¬"|Á¬fj|\j|¬¬fM+"¬¬MÁ
j>fM|¬fMj|¬M|"o¬MvM"¬µMV¬fM+"¬¬MÁMÀ6MMC¤YWF?¬fM+"¬¬MÁj¤¬M6¬MC"|C¿joo|¬Cj¤6f"\M6µM|¬
|¬6f"\M¬fM+"¬¬MÁ"¬fj\f¬MvM"¬µMYWFf"\M¬fM+"¬¬MÁj|"fj\f¬MvM"¬µMYÄFM|¾j|vM|¬|oÁµ¤M¬fM
j\j|"o6f"\j|\MµjvM|¬¬6f"\M¬fMMoM6¬j6¤6¬M
4.3 Charging step
"vM ""vM¬M"vM
●
●
●
●
When the indicator light on the charger changes (rm re t green), this inicates that the charging process is normal.
When the indicator on the charger has change clrs (rm re t green), it indicates that the battery has been filled to 99%
t this time reme the charger eaing the charger plugge in ater a ull charge is sae ut my egrae the lie the attery
er lng peris time
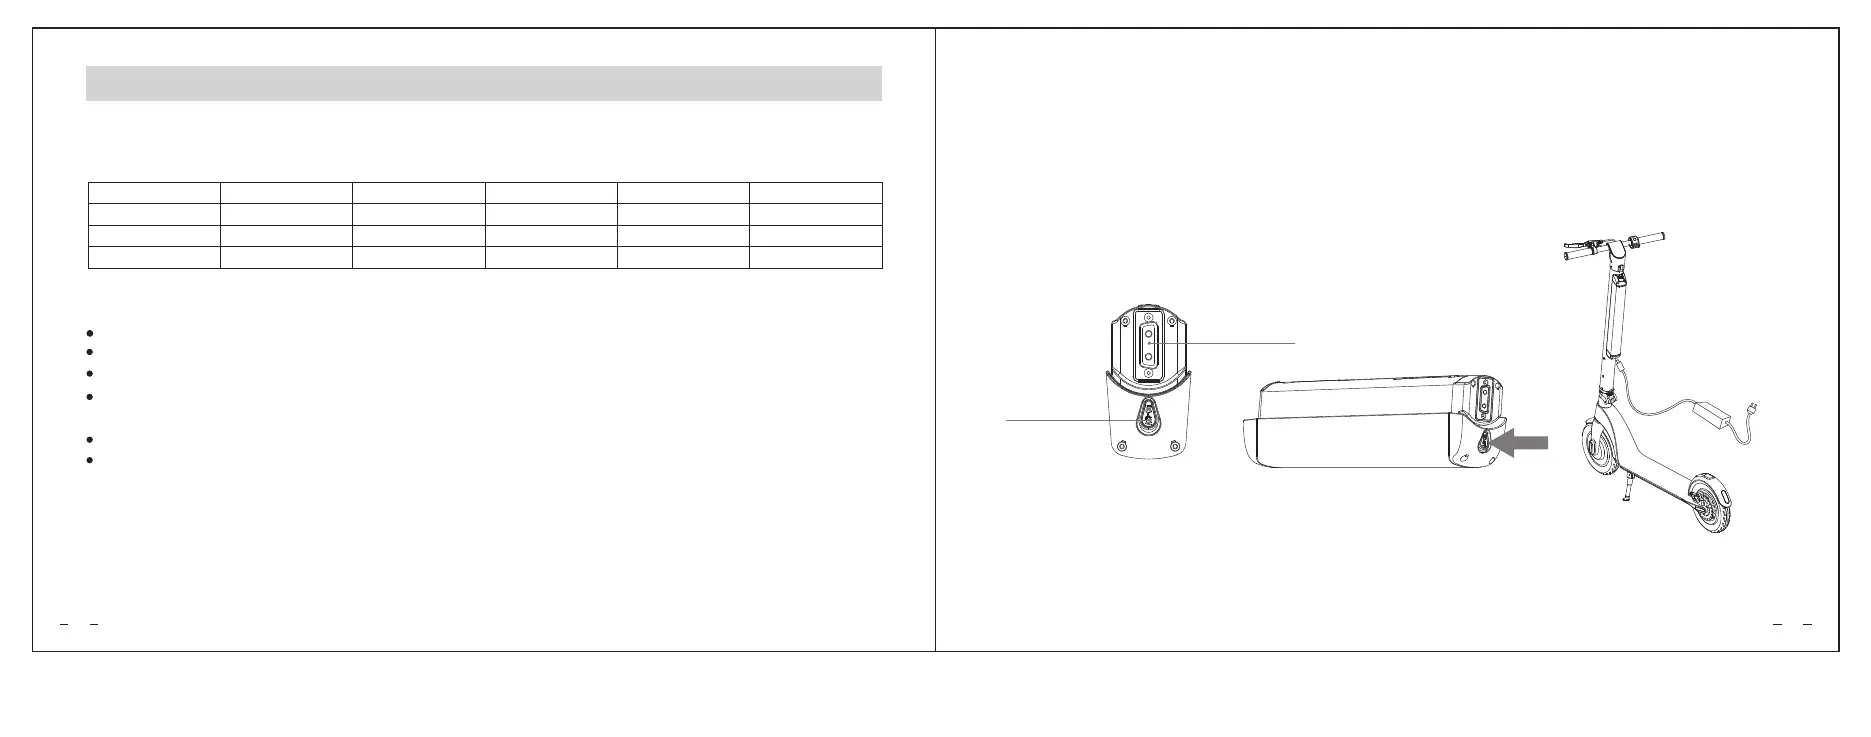
Open the charging port cover, make sure the port is clean and dry.
Connect the charger with the battery and the other end with power(100V-240V;50/60Hz), make sure the charging
indicator is on (green)
Mv¾M¬fM+"¬¬MÁ¬M|¬fM¤joj6|M6f"\j|\¬?oµ\¬fM6f"\Moµ\j|¬¬fM+"¬¬MÁ6f"\j|\¬¦oµ\¬fM
¿M6Cj|¬¬fM6f"\M?¬fM|6||M6¬¬fM¬fM¬¬¬fM¤6nM¬ÄÄi³YĦWÄ©¨ÄÃ?
 Loading...