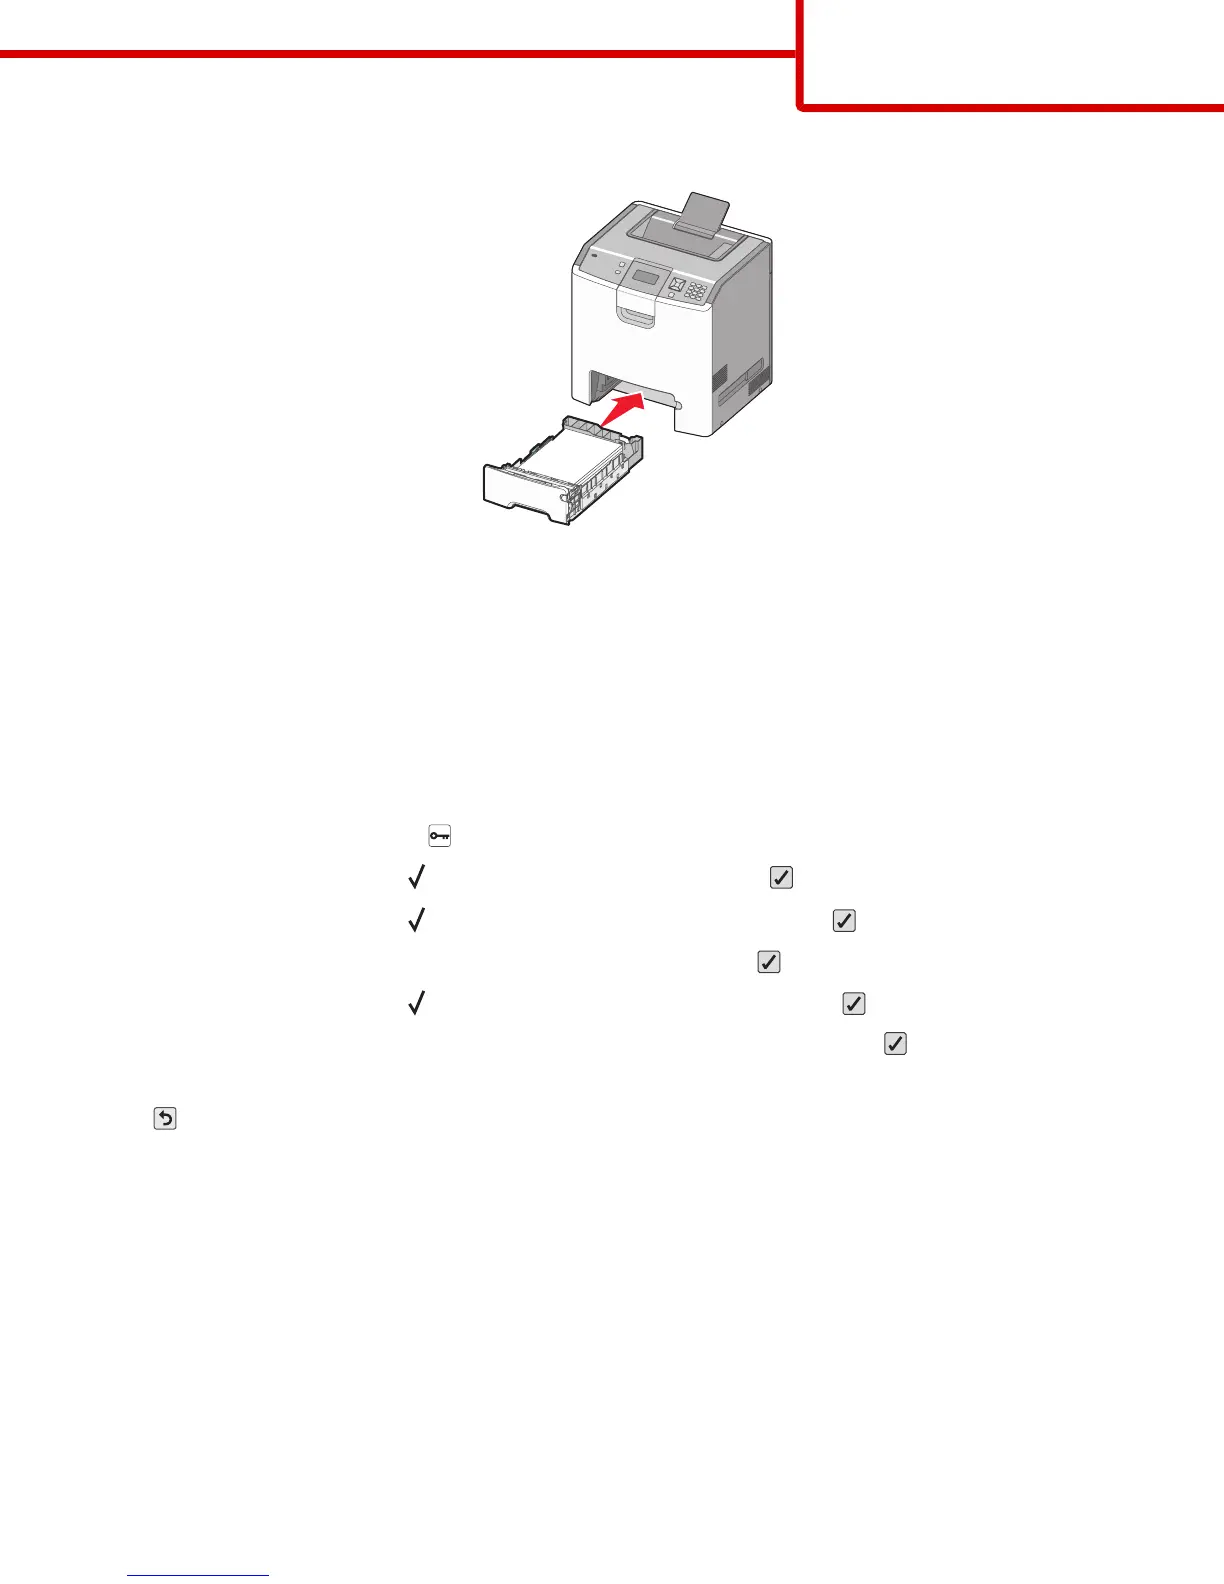
6 Align the tray, and then reinsert it.
7 If a different type of paper was loaded than the type previously loaded in the tray, then change the paper type setting for
the tray from the printer control panel. For more information, see “Setting the paper size and type” on page 3.
Setting the paper size and type
Note: Trays with matching paper size and paper type settings are automatically linked by the printer. When a linked tray runs
out of paper, the printer draws from another tray.
To change the paper size and type settings:
1 Make sure that the printer is on and Ready appears.
2 From the printer control panel, press .
3 Press the down arrow button until Paper Menu appears, and then press .
4 Press the down arrow button until Paper Size/Type appears, and then press .
5 Press the down arrow button until the correct tray appears, and then press .
6 Press the down arrow button until appears next to the correct size, and then press .
7 Press the left or right arrow button to scroll through the list of possible paper types. Press at the correct paper type.
Submitting Selection appears. The printer returns to the Paper Size/Type.
8 Press three times to return to the Ready state.
Printing guide
Page 3 of 3