Installation
GA09616_002_C0 – (2016-10) – Leybold
7
3 Installation
3.1 Vacuum Connection
The PS 113 A is connected to the vacuum system via a DN 16 KF small flange.
The PS 113 A should preferably be mounted standing on its flange. Inclined
mounting is also permissible, including the horizontal position. Downward installa-
tion is not permissible because in such a case condensate may collect in the pres-
sure switch. This affects the measurements and may damage the pressure switch.
3.2 Electrical Connection
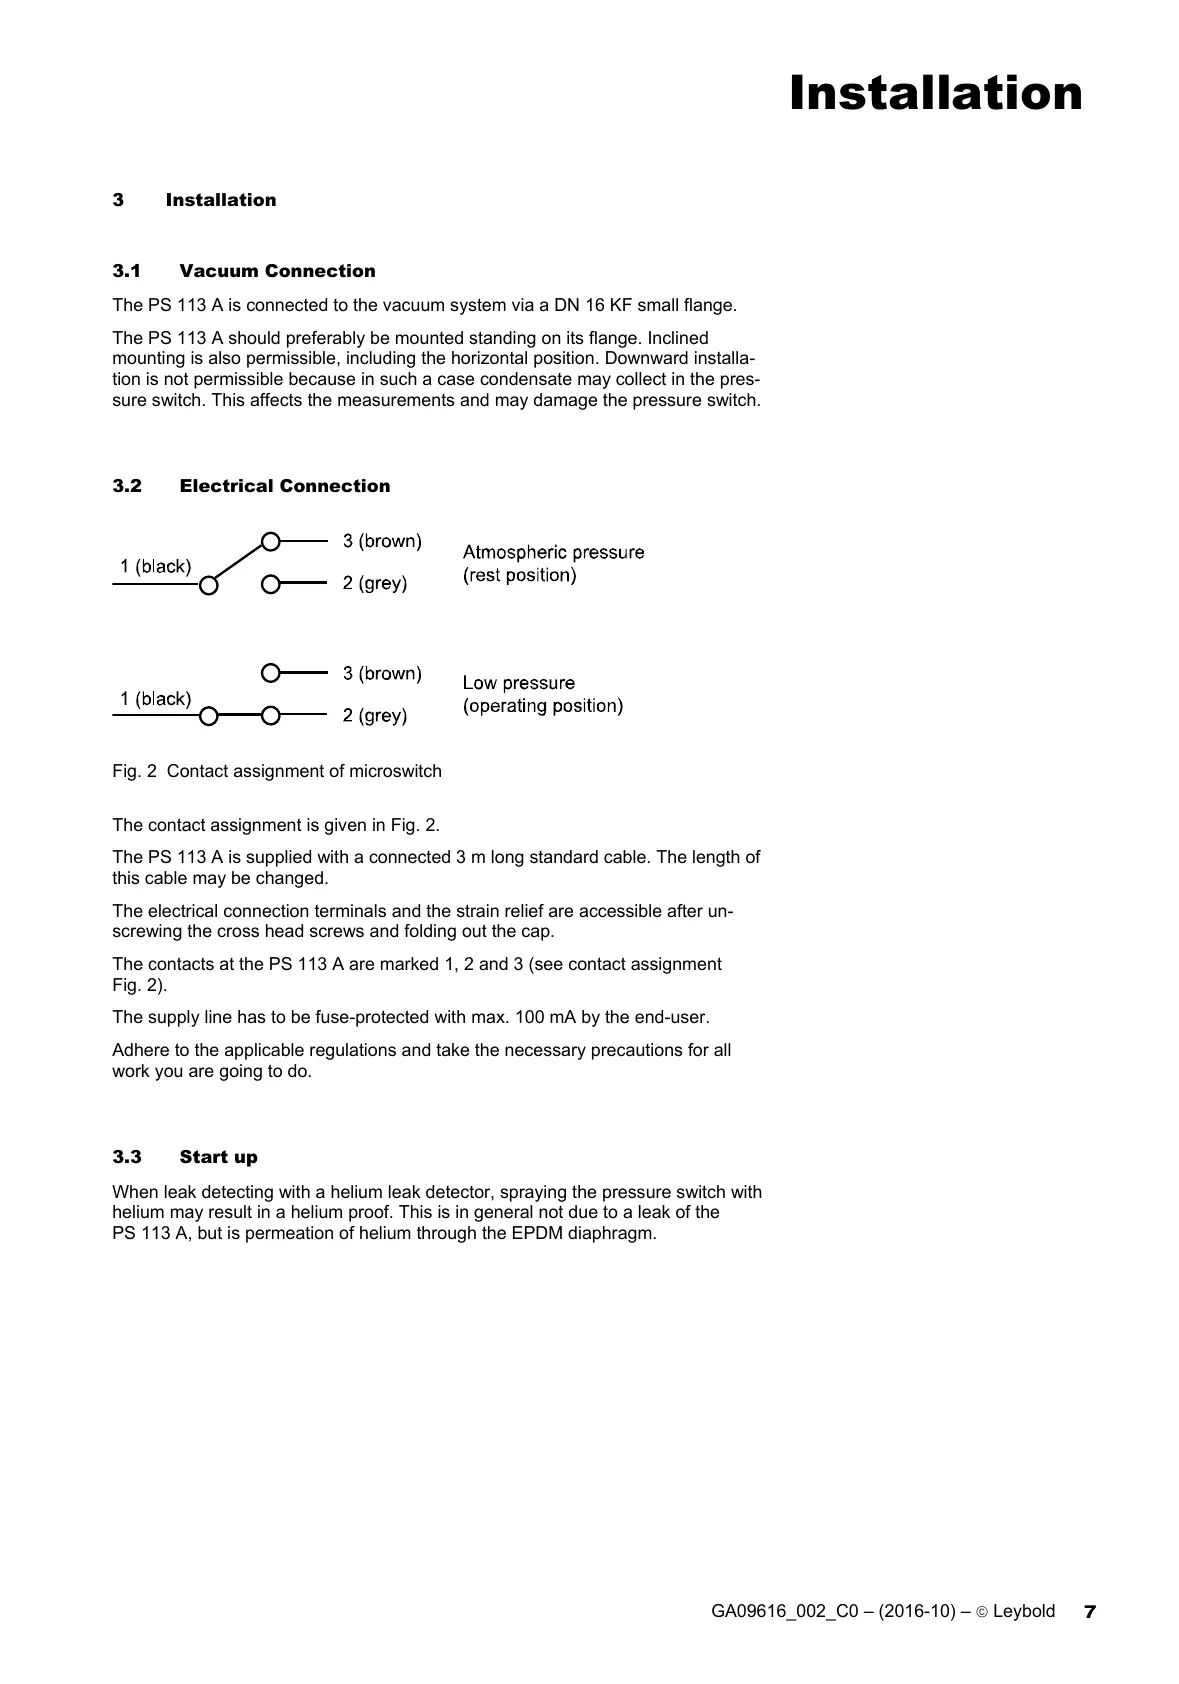
Fig. 2 Contact assignment of microswitch
The contact assignment is given in Fig. 2.
The PS 113 A is supplied with a connected 3 m long standard cable. The length of
this cable may be changed.
The electrical connection terminals and the strain relief are accessible after un-
screwing the cross head screws and folding out the cap.
The contacts at the PS 113 A are marked 1, 2 and 3 (see contact assignment
Fig. 2).
The supply line has to be fuse-protected with max. 100 mA by the end-user.
Adhere to the applicable regulations and take the necessary precautions for all
work you are going to do.
3.3 Start up
When leak detecting with a helium leak detector, spraying the pressure switch with
helium may result in a helium proof. This is in general not due to a leak of the
PS 113 A, but is permeation of helium through the EPDM diaphragm.

 Loading...