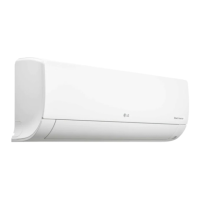
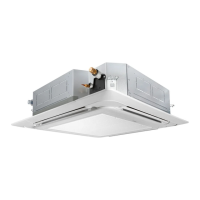
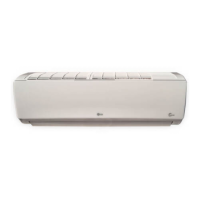
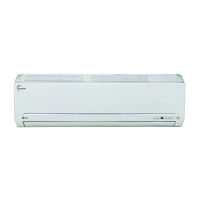
MULTI/SINGLE Indoor unit
8. Installation
32
[Unit : mm (inch)]
Wall Mounted Unit (2)
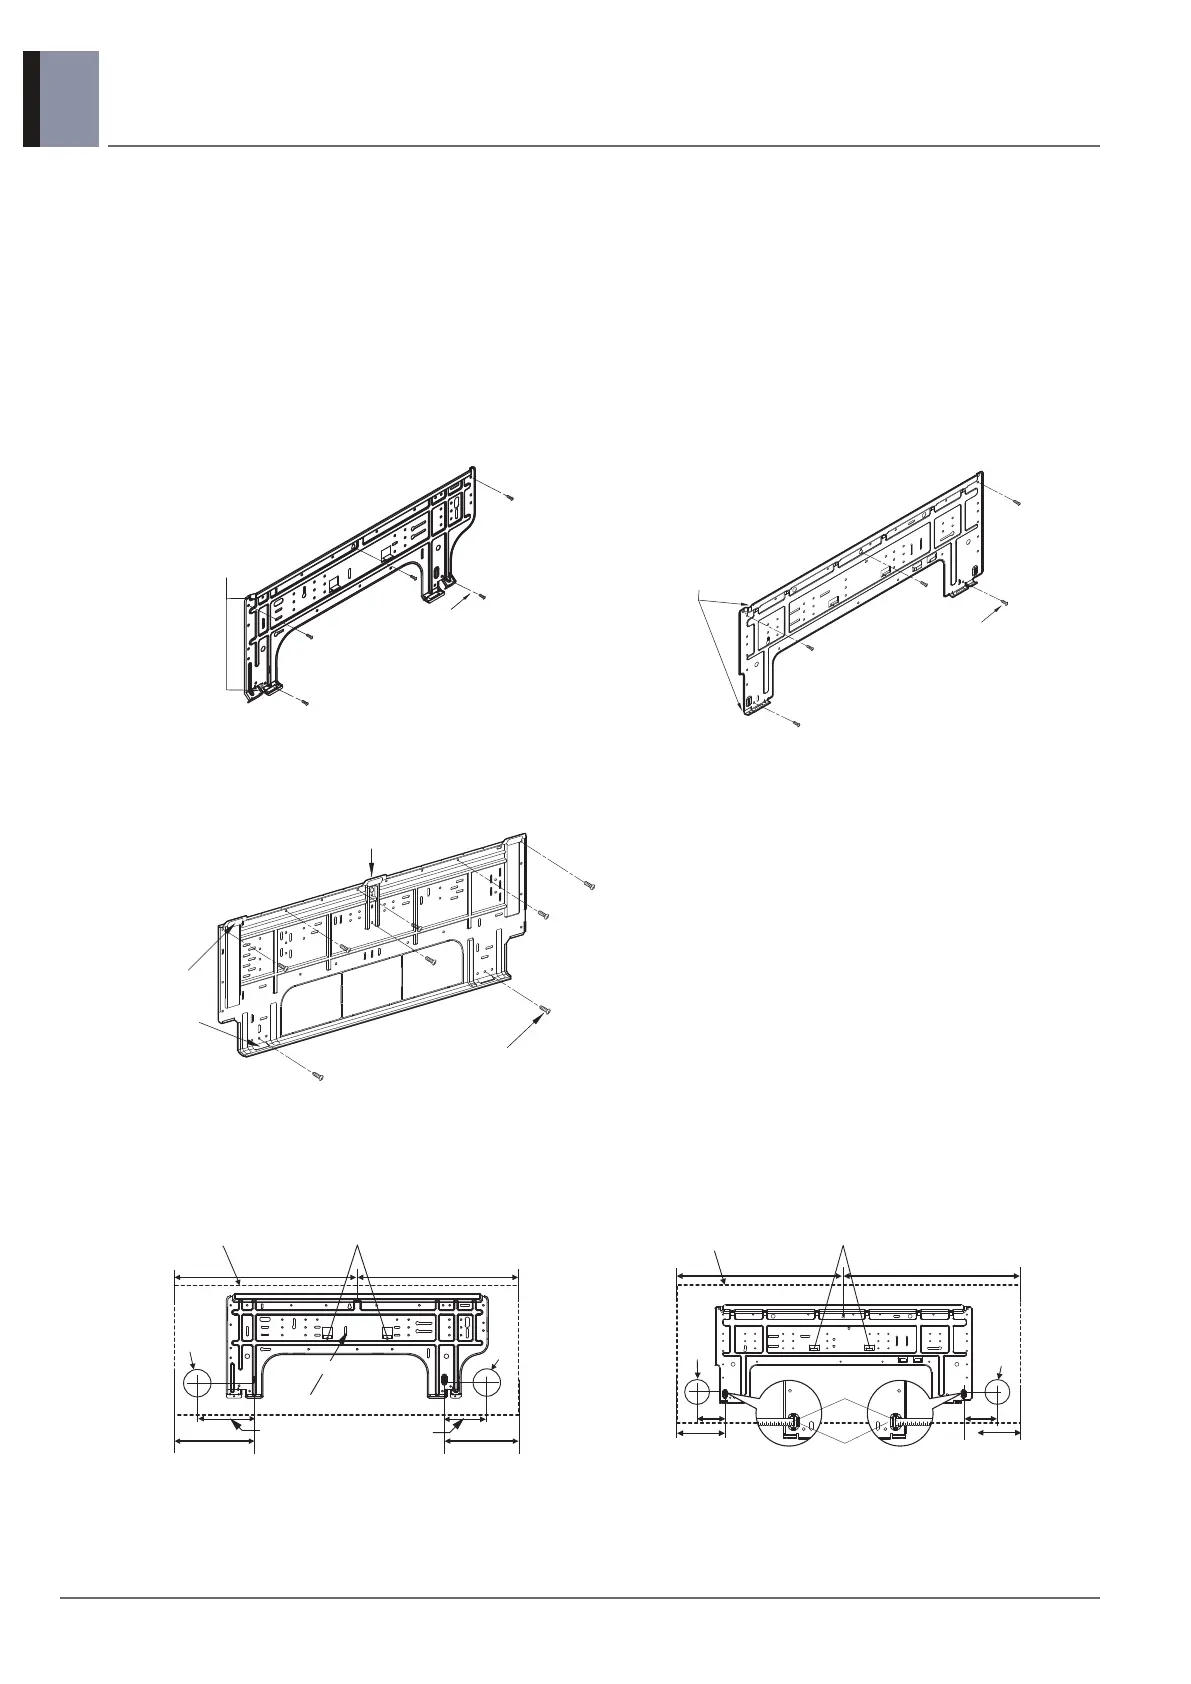
Fixing Installation Plate
• The wall you select should be strong and solid enough to prevent vibration.
1. Mount the installation plate on the wall with type "A" screws which are provided with product. (Refer to the
Installation manual.) If mounting the unit on a concrete wall, use anchor bolts.
• Mount the installation plate horizontally by aligning the centerline using Horizontal meter.
2. Measure the wall and mark the centerline. It is also important to use caution concerning the location of the
installation plate. Routing of the wiring to power outlets is through the walls typically. Drilling the hole through
the wall for piping connections must be done safely.
* According to product type, model line up, sales region..etc, applicability of each chassis could be different.
* According to product type, model line up, sales region..etc, applicability of each chassis could be different.
The lower left and the right side piping of Installation Plate
* According to product type, model line up, sales region..etc, applicability of each chassis could be different.
SJ Chassis SK Chassis
SV Chassis
SJ chassis SK chassis
Installation Plate
Chassis
Hook
Type "A" Screws
pGw
j o
{GIhIGz
Installation Plate
Type "A" screw
Chassis
Hook
(Unit : mm)
152 194
Ø65
Right rear piping
Left rear piping
Ø65
C Ty p e : 9 8 C Ty p e : 1 3 4
C Type
C Type : 418
Unit Outline
Place a level on raised tab
C Type : 418
Installation Plate
83
Unit Outline
Place a level on raised tab
C Type: 494 C Type: 504
C Type: 134
Ø65
Measuring Tape
83
Hanger
Ø65
Measuring Tape
(Unit : mm)
C Type: 150
Right rear piping
Left rear piping
 Loading...