50 51
49
12
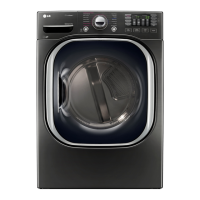
DISASSEMBLY INSTRUCTIONS
TOP PLATE
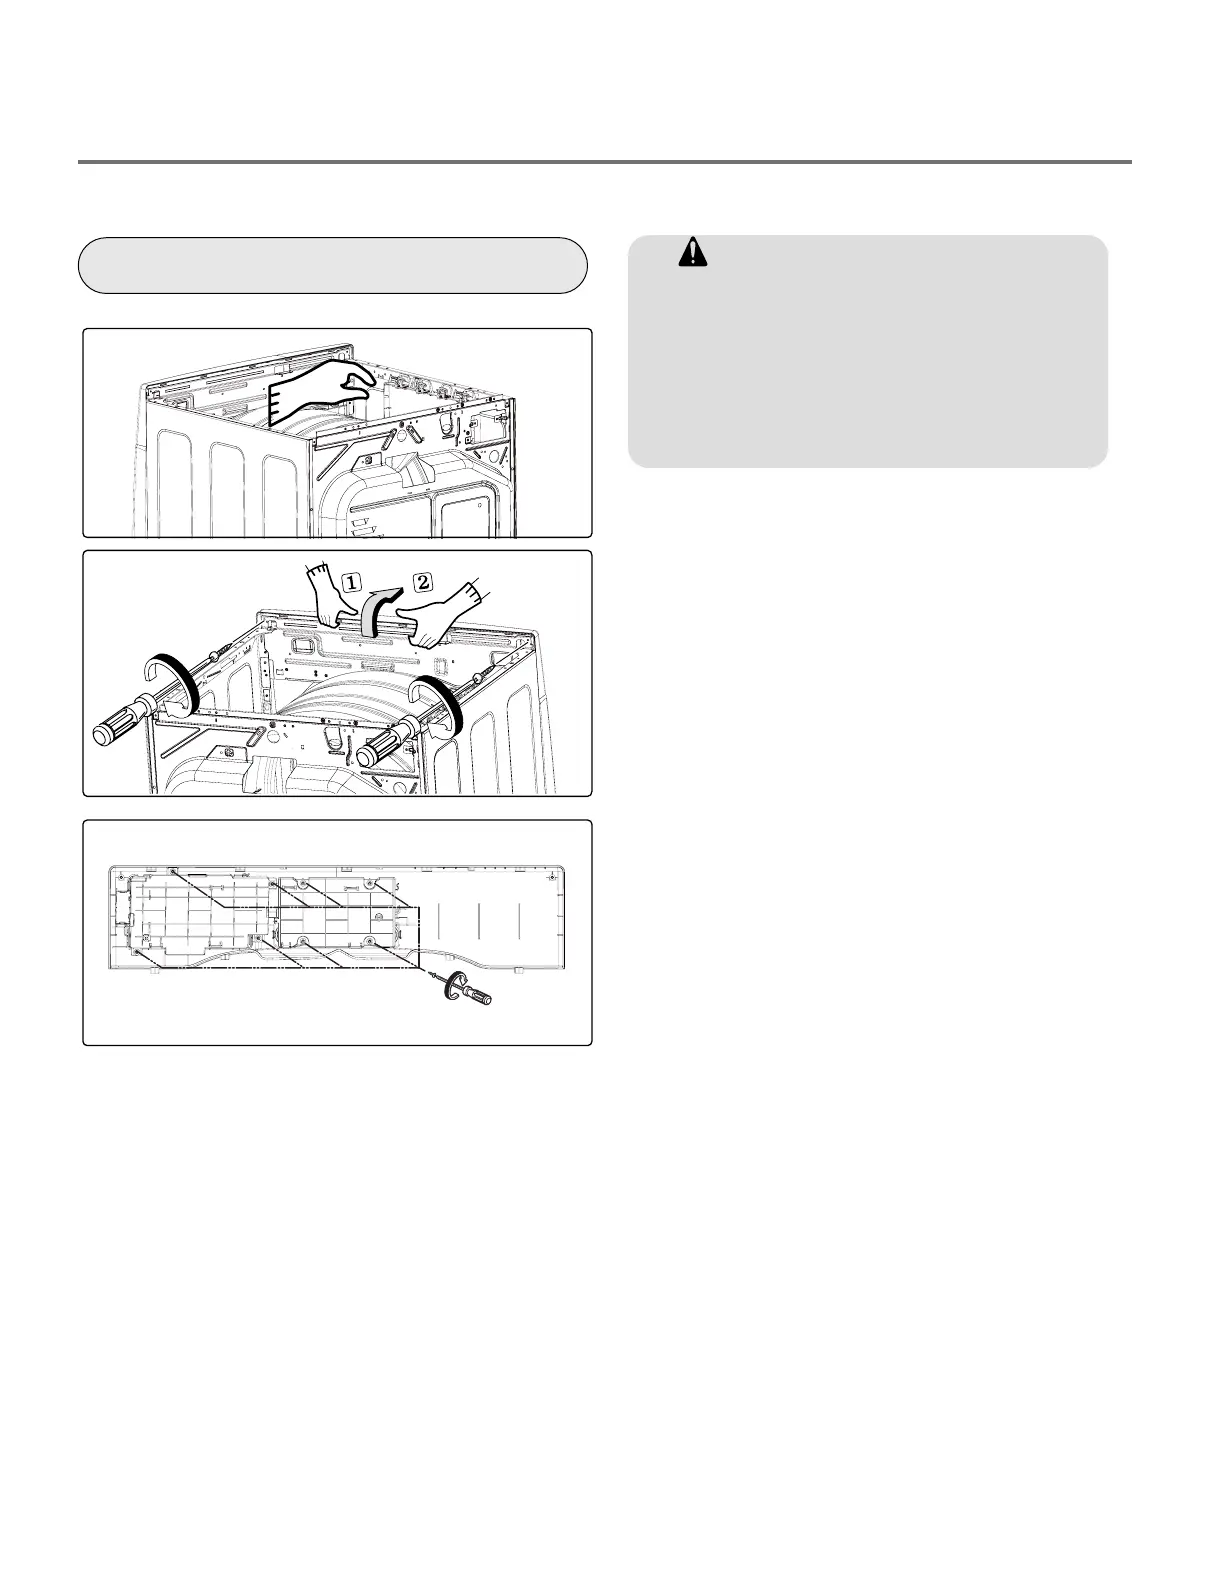
2.
Push the top plate backward.
3.
Lift the top plate.
Unplug the dryer before servicing.
WARNING !
When you disassemble the top plate, be
sure to disconnect the dryer from its
electrical supply. Protect your hands and
arms from sharp edges when working.
To reduce the risk of Injury to persons
adhere to all industry recommended
safety procedures including the use of
long sleeved gloves and safety glasses.
WARNING !
THE DRYER TOP PLATE IS VERY LARGE
AND HEAVY. Fallure to follow
instructions can result in damage to the
dryer, property damage or Injury to persons.
1.
Remove 2 screws on the upper plate.
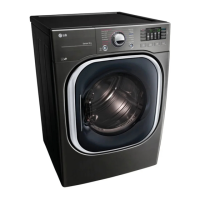
CONTROL PANEL ASSEMBLY
1. Disconnect the connectors.
2. Remove 2 screws on the control panel.
3. Pull the control panel assembly upward
and then forward.
4. Remove 8 screws on the PCB PCB)
assembly, display.
5. Disassemble the control panel assembly.
WARNING !
When you disassemble the control panel,
be sure to disconnect the dryer from its
electrical supply. Protect your hands and
arms from sharp edges when working. To
reduce the risk of Injury to persons adhere to
all industry recommended safety procedures
including the use of long sleeved gloves and
safety glasses.
 Loading...