14
EN
3
Pull and save the foam block for future use.
• If the washing machine must be moved in
the future, the foam block will help prevent
damage to the washing machine during
transportation.
NOTE
• To prevent damage, do not remove the
foam block until Mini Washer is at the final
location.
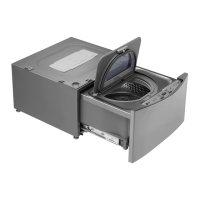
4
Turn the top cover about 180 degrees.
Cover the upper hole with the top cover and
install 4 type B screws to fix it in place.
5
Attach the two back brackets on the rear
top of the Mini Washer by inserting 4 type A
screws in each bracket.
6
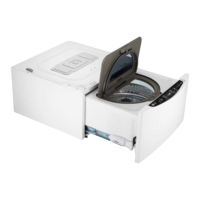
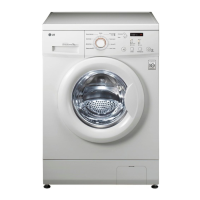
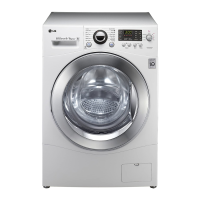
Place Main Washer on top of Mini Washer.
• Make sure the 4 legs are totally locked
and the holes of Mini Washer align with
the holes of Main Washer.
7
Securely attach the two appliances at the
corners using screws.
• First, insert screws on each side. Then
insert screws on the front and back side.
Type 1. Brackets (front) are installed in the
Main Washer.
Tighten 2 type C screws to assemble the
stacking holder and 12 type A screws on the
other sides.
Type 2. There is stacking feature on the
base of Main Washer
Tighten 4 type A screw on the back side and 10
type C screws on the other sides.
NOTE
• It can be difficult to assemble if it is not
assembled in the proper order.
8
Turn the feet of Main Washer slightly until it
is snugged up against Mini Washer. Extend
all the legs 1/2 turn with wrench and tighten
all 4 lock nuts. All lock nuts must be
tightened.
NOTE
• Mini Washer will not work as a standalone unit.
Washer leg
Washer leg
1
1
2
3
Stacking holder
1
2
Lock nut
 Loading...