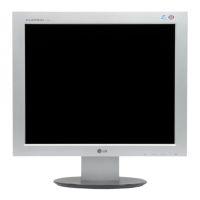
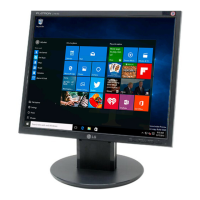
Figure 1. Cable Connection
All adjustment are thoroughly checked and corrected when the monitor leaves the factory, but sometimes several minor
adjustment may be required.
Adjustment should be following procedure and after warming up for a minimum of 10 minutes.
• Alignment appliances and tools.
- IBM compatible PC
- Programmable Signal Generator.
(eg. VG-819 made by Astrodesign Co.)
- E(E)PROM with each mode data saved.
1. Adjustment process for LCD MONITOR
1) Display half window pattern(or mixed white and black pattern)at Mode 8 (1024x768@60Hz).
2) Press the POWER and MENU key at the same time to light monitor, then go to adjustment mode.
3) Press the MENU s/w, next press UP button, you will see adjustment OSD menu.
4) Press the AUTO/SELECT to select the adjustment item first(use the same button to exit)next do the operation to
the relative item.Ex) 17HYDIS is used at 17AU, press right button to select. Press the AUTO/SELECT then
selected proper Module.
5) Press down button to move the place of ADC CAL. Press the AUTO/SELECT to select, right button is pressed for
adjustment.
6) When adjustment is finished, press the POWER key twice to light monitor again. The dajustment ends.
2. Adjustment for EDID
1) Use this procedure only when there is some probelm on EDID data.
2) Connect the D-sub cable.
3) Select EDID
→ Write EDID[A0] command and Enter.
 Loading...
