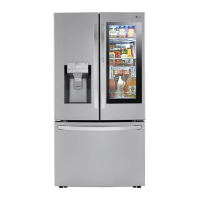
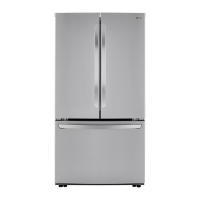
33OPERATION
ENGLISH
• Fruit lets moist air out of the crisper for best
storage of fruit.
Removing/Assembling the
Humidity Controlled Crispers
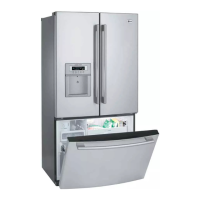
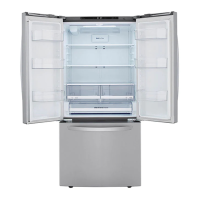
1 Open the doors completely and remove the
contents of the Door-in-Door case. Lift up and
pull out the Door-in-Door case.
NOTE
• The Door-in-Door feature is only available on
some models.
2 Pull out the crisper to full extension, lift the
front up, and pull straight out.
3 Lift the front of the cover up with both hands
until it detaches from the back wall of the
cabinet, then pull it out.
4 To reassemble, insert the cover into the
refrigerator with both hands and lower it onto
the guides.
5 Slightly tilt up the front, insert the crisper into
the frame and push it back into place.
6 Line up the tabs on the Door-in-Door case
with the slots on the door and push down
until it snaps into place.
NOTE
• The Door-in-Door feature is only available on
some models.
Glide‘N’Serve
Using the Glide‘N’Serve
This function provides storage space with a
variable temperature control that can keep the
compartment at a slightly different temperature
than the refrigerator section. This drawer can be
used for large party trays, deli items and
beverages. (This drawer should not be used to
store vegetables that require high humidity.)
Press the Select button to choose between
Produce (Cold), Deli (Colder) and Meat (Coldest).
 Loading...