32
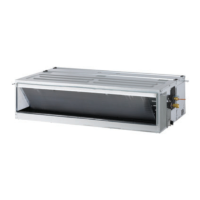
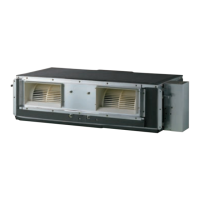
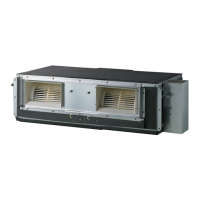
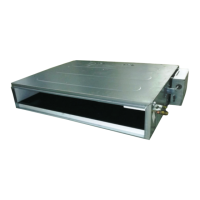
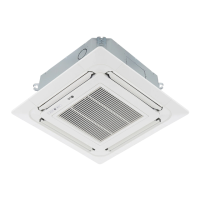
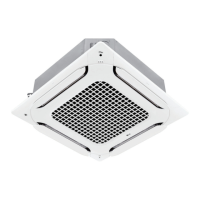
MULTI V Ceiling Cassette Indoor Units
Due to our policy of continuous product innovation, some specifications may change without notification.
©LG Electronics U.S.A., Inc., Englewood Cliffs, NJ. All rights reserved. “LG” is a registered trademark of LG Corp.
Hanging the Cassette Indoor Units, continued.
1. Drill holes for the four (4) suspension / hanger bolts.
2. Securely install the four field-provided threaded rod hangers.
3. Refer to he figure below and hang the cassette frame from the four field-supplied hangers.
4. Use a level to ensure the frame is level. All ceiling cassettes use a condensation drain pump, and the frame must be level.
5. If local code requires an auxiliary drain pan under the unit, install a field-provided auxiliary drain pan.
INSTALLATION
,QVWDOO&DVVHWWH)UDPH
The following parts are field supplied:
• Hanging bolt - W-3/8” or M10
• Nut - W-3/8” or M10
• Spring washer - M10
The following parts are included with the indoor unit:
• Flat washer - M10
Figure 18: Installing the Hanging Bolt in the Ceiling.
For New Ceilings
1. Use a sunken insert, a sunken anchor, or any other field-supplied part to reinforce the
ceiling so that it can bear the weight of the indoor unit. Use a temporary washer plate
to more easily set up the unit suspension location.
2. Ceiling height is shown on the side of the installation guide (template). Adjust the
height of the unit accordingly. Adjust the clearance before hanging the indoor unit.
3. Refer to the installation guide (template) for the dimensions to the ceiling opening.
Match the center of the indoor unit (labeled) to the center indicated on the installation
guide.
4. Align the installation guide (template) with the label attached to the unit (affixing the
template to the unit if desired) to properly place the unit.
5. Remove the temporary washer plate and position the indoor unit hanger brackets on the bolts. Secure with nuts and washers on the top
and bottom of the hanger brackets.
6. Ceiling-cassette indoor units are equipped with a built-in drain pump, therefore, the unit must be installed horizontally or condensate will
drip out and cause product malfunction. Measure the unit at each corner to verify that it is level.
7. Remove the installation guide (template).
Figure 19: Installation Diagram.
• 7KHWKUHDGHGURGKDQJHUVEROWVDQGKDUGZDUHPXVWEHVHFXUHO\WLJKWHQHGWRSUHYHQWWKHXQLWIURPIDOOLQJIURPLWVLQVWDOODWLRQORFDWLRQ
7KHUHLVDULVNRISHUVRQDOLQMXU\IURPIDOOLQJHTXLSPHQW
• 'XULQJLQVWDOODWLRQ
GRQRWGDPDJHWKHFDEOHZLULQJ7KHUHLVDULVNRIHOHFWULFDOVKRFNILUHSK\VLFDOLQMXU\DQGRUGHDWK
Anchor
Old Building
New Building
Plate Washer
Spring Washer
Nut
Suspension Bolts
Flat Washer for M10
(Accessory; Install
insulation so that it is
in contact with the IDU
Hanger)
Flat Washer for M10
(Accessory)
Hanging Bolt
(W3/8 or M10)
Nut
(W3/8 or M10)
Nut
(W3/8 or M10)
Spring Washer
(M10)
Figure 20: Hanging the Indoor Unit.
Unit: Inch
Floor
Ceiling
Ceiling Board
A
Table 11: Clearance from Floor.
Model, Capacity A (Inches)
1 Way $
2 Way $
4 Way, 5,500 to 34,000 Btu/h $
4 Way, 34,000 to 49,000 Btu/h $