10-5. Disassembly of Inlet Valve ASM and
D.T Housing ASM
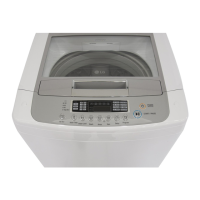
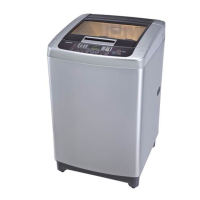
WF-T851, T902
1. Open lid assembly and disassemble detergent box.
2. Disassemble back panel(joined control panel)from
top cover.
3. Remove two inlet valve screws and pull up inlet
valve from D.T housing as in Fig. 13.
※ Be careful that the silicon rubber of D.T housing for
sealing is not missing.
4. Inlet valve assembly is disassembled by pulling out
the lead wire attached on inlet valve assembly,
as in Fig.13.
5. To disassemble D.T housing assembly, loosen the
three screws tightened with the top cover as in
Fig.13, and then pull the assembly back slopped
down.
WF-T853, T852, T802, T652, T652A, T452
WF-T452A, 402
1. Open lid assembly and disassemble detergent box.
2. Disassemble back panel.
3. Remove two inlet valve screws and pull up inlet
valve from D.T housing as in Fig.13
※ Be careful that the silicon rubber of D.T housing for
sealing is not missing.
4. Inlet valve assembly is disassembled by pulling out
the lead wire attached on inlet valve assembly, as in
Fig.13
5. To disassemble D.T housing assembly, loosen the
two screws tightened with the top cover as in
Fig.13, and then pull the assembly back slopped
down.
6. To disassemble shower rinse assembly, loosen the
fixing screw attached with D.T housing and pull it up
and back.
※ Be careful that the silicon rubber attached on
D.T housing for sealing is not missing.
Fig.12
Fig.12
Fig.13
Fig.13
Fig.14
 Loading...