
M
Michelle GloverJul 28, 2025
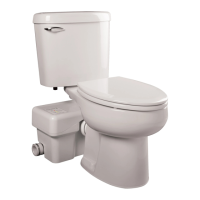
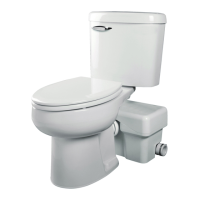
Why does the alarm sound frequently on my Liberty Pumps Ascent II-ESW?
- JJohn LynchJul 28, 2025
If the alarm on your Liberty Pumps Toilets sounds frequently because the pump is unable to evacuate the tank, it could be due to several reasons: a damaged impeller (replace it), a clogged volute inlet (clean it), a damaged internal hose (confirm its function and replace if necessary), an air lock (clean the volute passageway), or the pumping capacity being exceeded by the incoming water flow (reduce the flow or the pumping head).