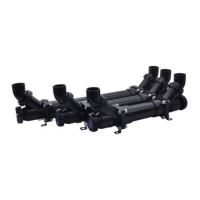
space. Press the tapered rubber gasket onto the quartz sleeve cap and press it in. This will make the seal on the cable and the sleeve so that moisture
does not get in.
Gently slide in the quartz sleeve into the UV Housing as shown in the figure below and make sure it reaches the back and of the UV end cap and sits
into the guide assembly as discussed earlier.
First time setup – It is easier if you stand the Pro Max UV on the Flat
view port side and install the quartz sleeve. Let gravity hold it in
place.
Open the tube for the UV bulb (#17). Here just for reference and
amalgam bulb has one or two mercury dots close to the middle of
the bulb. This mercury dot is an indication of the amalgam bulb. The
standard high-output UV bulb for 25 and 40 watt UV are not
Amalgam so they don't have this dot. Figure 4
Hand-tighten the UV Cap Nut. Hold the UV Cap Nut and while
keeping it straight 'GENTLY" twist the Quartz Sleeve. There should
be no movement - otherwise hand-tighten a little more.
Slide over Item B - Quartz Sleeve Flat Locking Gasket on to the
Quartz Sleeve as shown below.
Slide over Item C - Quartz Sleeve Locking Nut on to the Quartz
Sleeve as shown below.
Hand-tighten the Quartz Sleeve Locking Nut on to Item A - Duel
Threaded view Port Now you are ready to install the Quartz Bulb
and Sleeve Assembly into the Pro Max UV Housing.
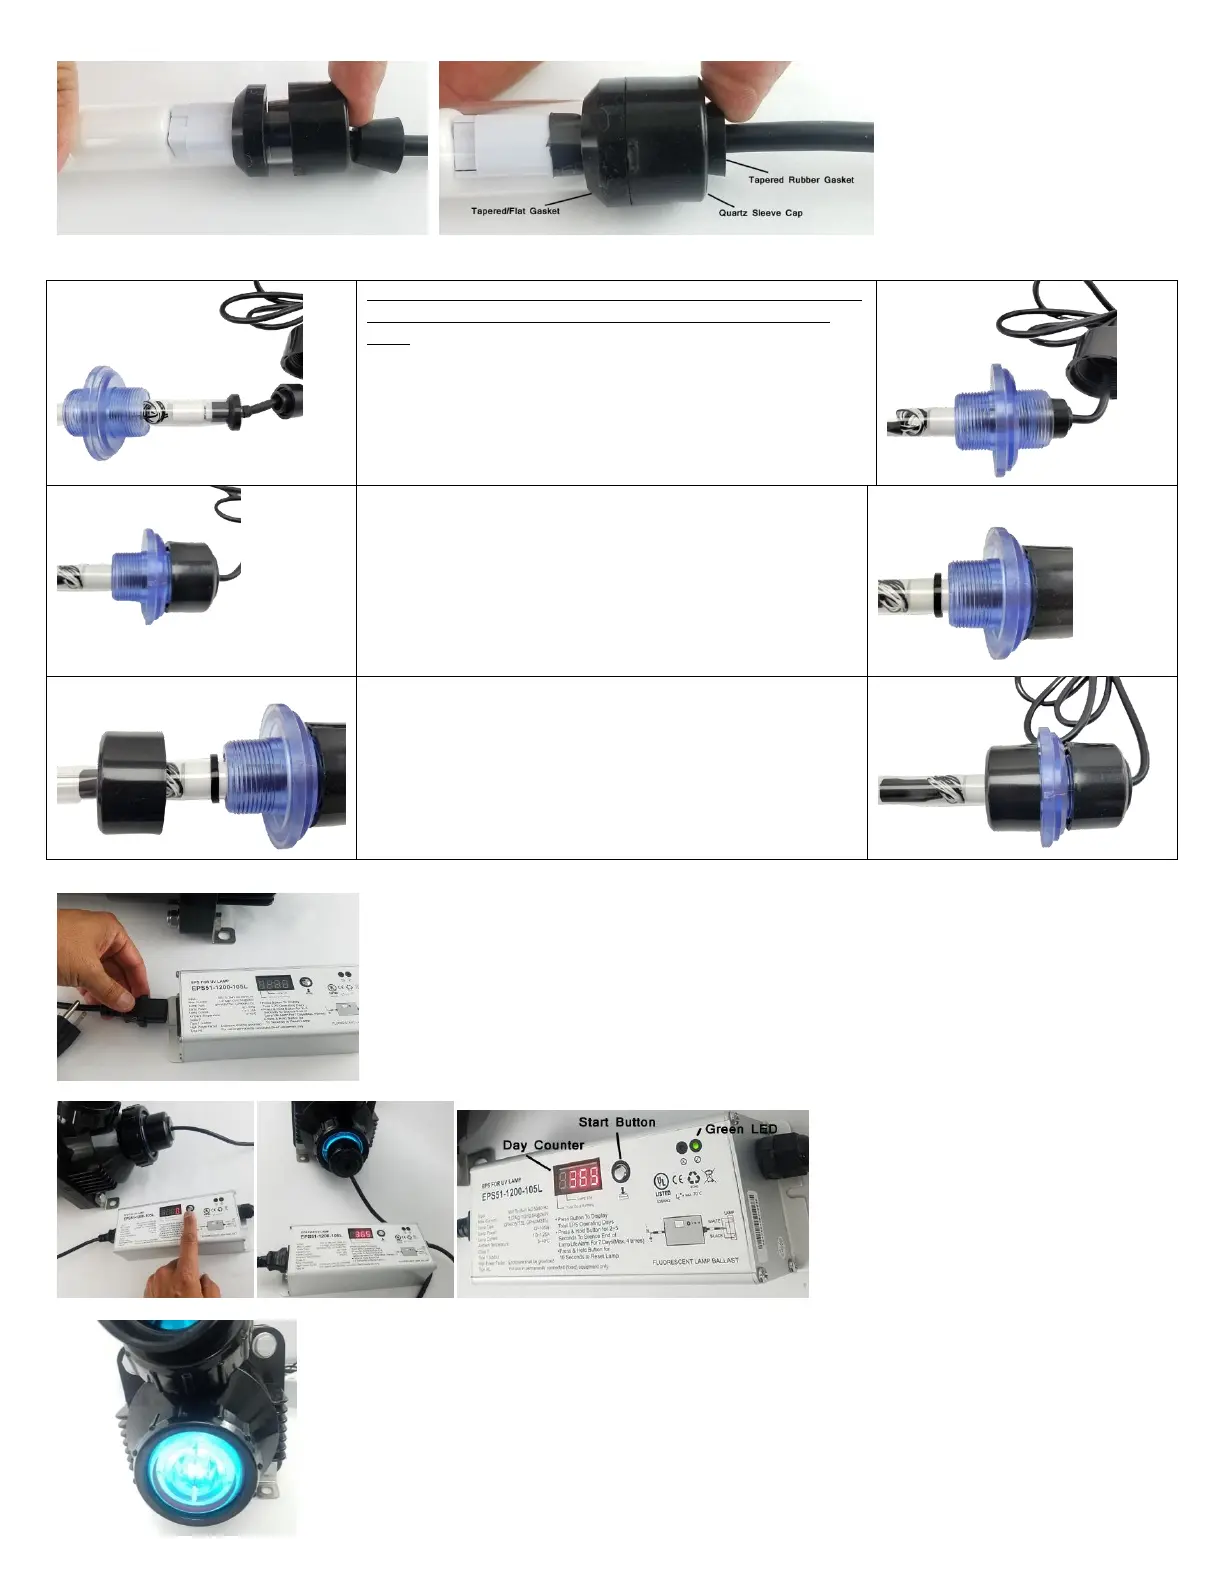
Connect the power cable into the ballast. Please note that for the amalgam style ballast have a day counter
and the power cable is detachable from the ballast. While for the standard 25 watt and 40 watt UV ballast
does not have a counter and the ballast has the cable permanently connected.
Connect the UV ballast power cable to a GFCI protected socket. Make sure to Loop the cable so moisture or
water does not go near the power cables. Press the counter button, you will hear a beep and the day
counter will begin with 365. The green LED light indicated that the UV bulb and UV ballast are working
properly. In case something is wrong or the bulb goes out or there is moisture or water damage the red
light will show.
Your UV has to clear view ports on either end where you can see the blue UV light indication your Pro Max UV is
working fine.
 Loading...