$66(0%/,1*7+()$1%$6(GRWKLV¿UVW
A Phillips screwdriver (not included) is required for assembly. Slot the base leg sections
(M) together using the recesses in the middle. They should form a cross shape. Now
SODFHWKHXSSHUEDVHVKDIW.RQWRWKHEDVHOHJV$OLJQWKHKROHVDQG¿UPO\WLJKWHQ
the screw (supplied). Move the base cover (L) down to the bottom of the shaft. Attach
the 4 feet to the ends of the cross-shaped base. They simply pop in.
1RZUHOHDVHDQGSXOOXSWKHH[WHQGDEOHVKDIW,E\XQVFUHZLQJWKHIDQKHLJKWDGMXVW-
ment collar (J).
([WHQGWKHVKDIWWRWKHGHVLUHGKHLJKWDQGVHFXUHLWE\UHWLJKWHQLQJWKHDGMXVWPHQWFRO-
lar (J).
The top section of the fan, including the control panel and motor housing, can now be
DWWDFKHGWRWKHWRSRIWKHH[WHQGDEOHVKDIW,
Place the top section onto the shaft and secure it with the tightening clamp (H).
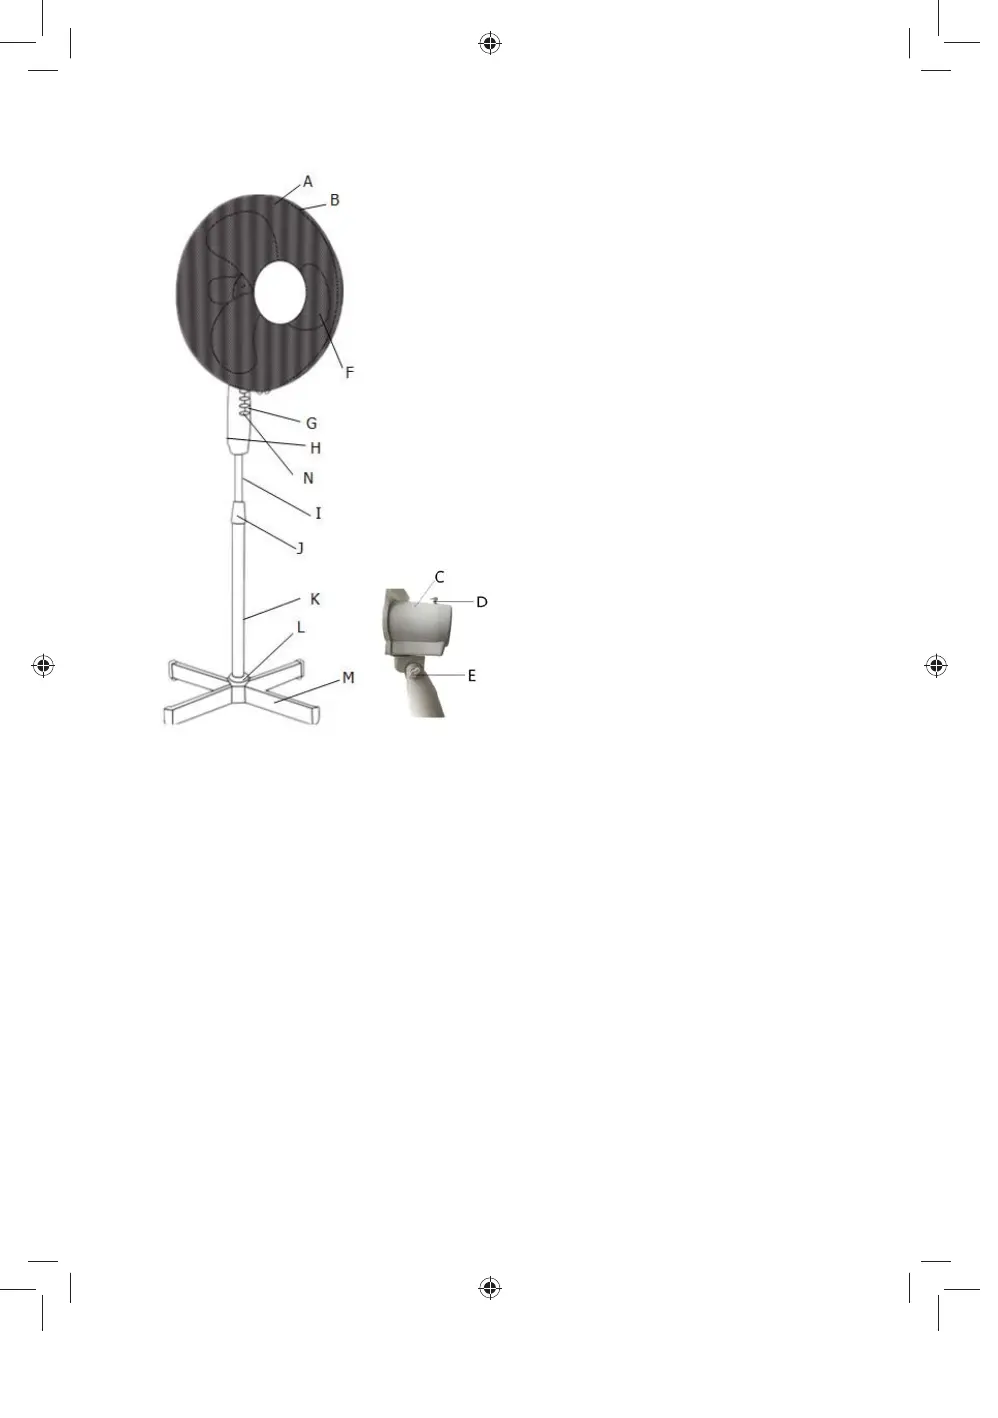
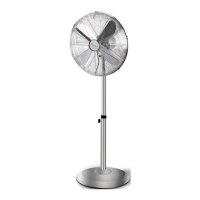
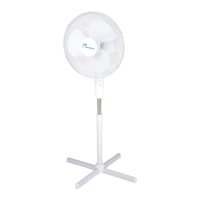
A) Front guard
B) Rear guard
C) Motor housing
D) Fan oscillation button
E) Fan pitch-adjustment clamp
F) Fan blades
G) Control panel
H) Tightening clamp (at rear)
I) Extendable shaft
J) Fan height-adjustment collar
K) Upper base shaft
L) Base cover
M) Base leg section (x2)
N) Power cable