10
SECTION 1 (CONTINUED) / SECTION 1 (SUITE) / SECCIÓN 1 (CONTINUACIÓN)
TOOLS & HARDWARE REQUIRED / OUTILS ET QUINCAILLERIE REQUIS / INSTRUMENTAL Y HERRAJE REQUERIDOS
Hardware is shown to scale, unless noted otherwise (*) / La quincaillerie est illustrée à l’échelle, sauf indication contraire (*) / Se muestra el herraje a escala, a menos que se indique lo contrario (*)
1.5
1.4
AGY
AGY
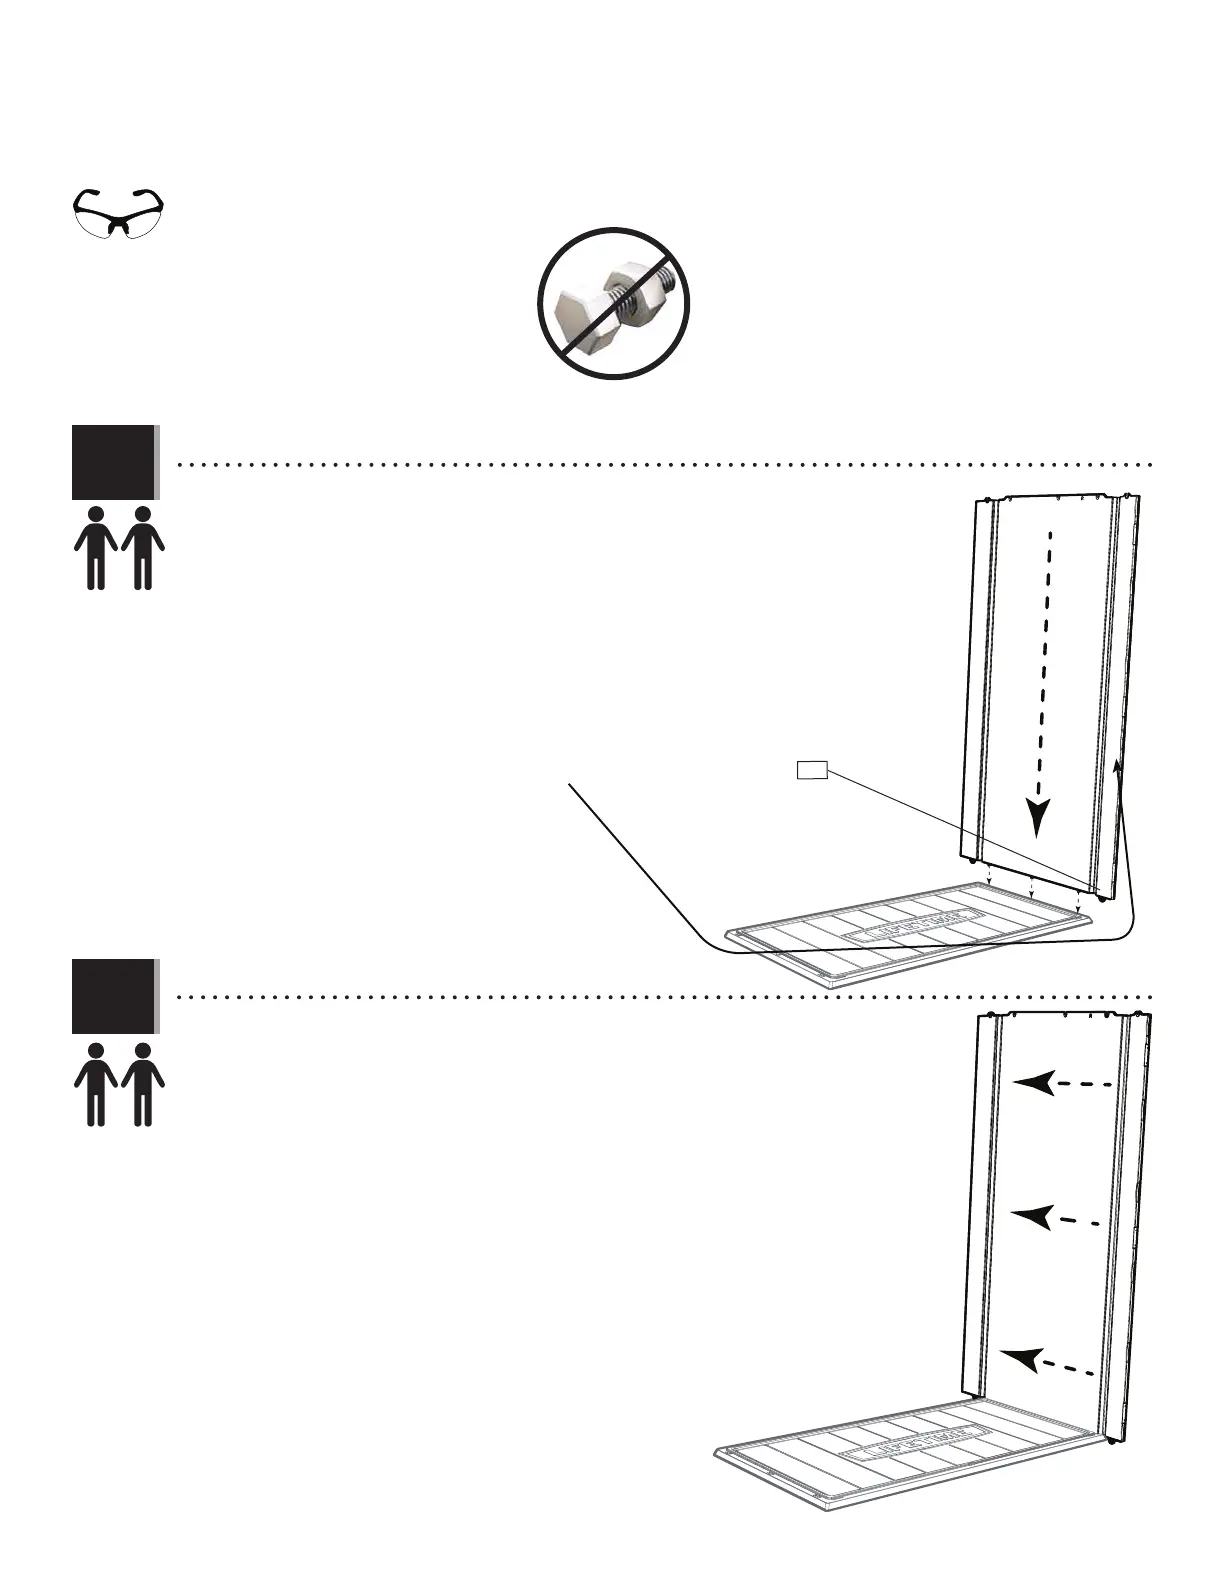
• Lay the Floor Panel (ANC) down on level ground, and insert the three center tabs at the
bottom of the Right Wall Panel (AGY) into the slots in the Floor panel.
• Mettre le panneau de plancher (ANC) sur terrain plat, et insérer les trois languettes
centrales au bord inférieur du panneau mural droit (AGY) dans les fentes dans le panneau
de plancher.
• Colocar el panel de piso (ANC) sobre terreno llano, e insertar las tres lengüetas centrales
al borde inferior del panel mural derecho (AGY) dentro de las ranuras en el panel de piso.
• The Square Tube is here.
• Le tube carré est ici.
• El tubo cuadrado está aquí.
• Slide the Panel toward the rear of the Floor Panel.
• Faire glisser le panneau vers l’arrière du panneau de plancher.
• Deslizar el panel hacia el borde trasero del panel de piso.