44
SECTION 3 (CONTINUED) / SECTION 3 (SUITE) / SECCIÓN 3 (CONTINUACIÓN)
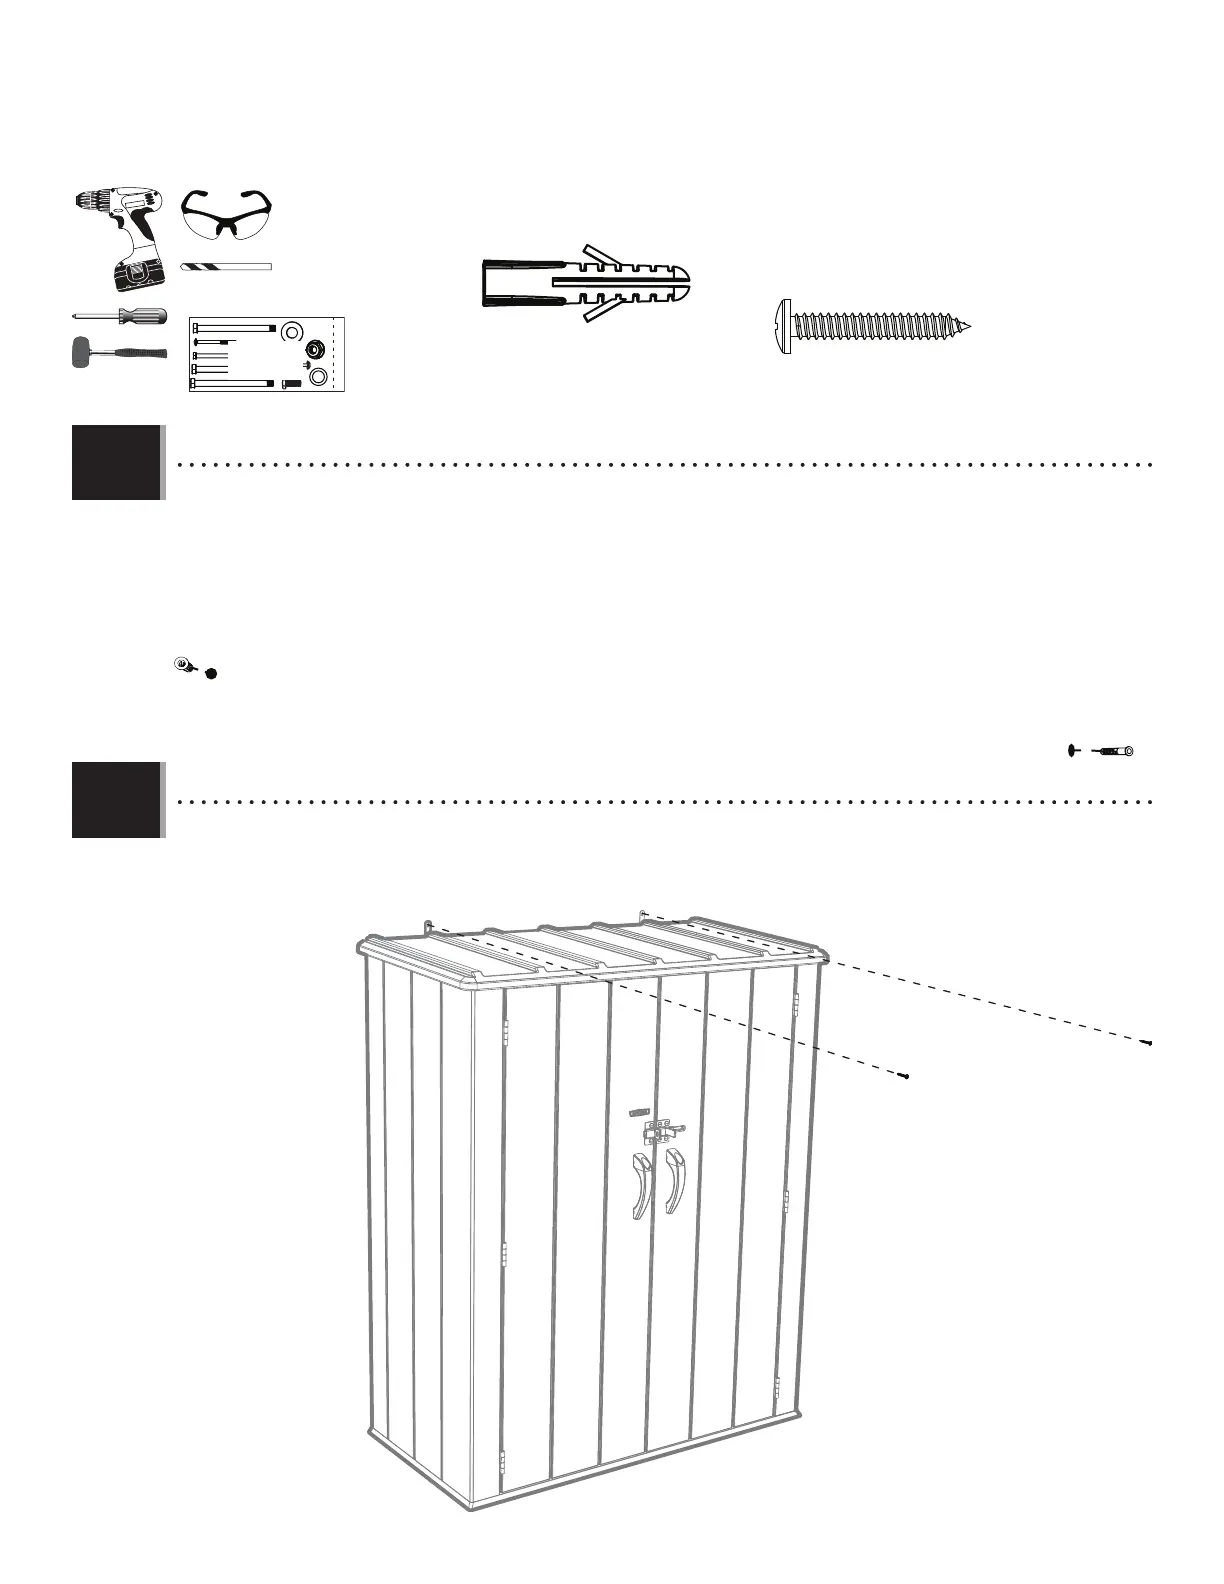
TOOLS & HARDWARE REQUIRED / OUTILS ET QUINCAILLERIE REQUIS / INSTRUMENTAL Y HERRAJE REQUERIDOS
Hardware is shown to scale, unless noted otherwise (*) / La quincaillerie est illustrée à l’échelle, sauf indication contraire (*) / Se muestra el herraje a escala, a menos que se indique lo contrario (*)
3.3
3.4
• Drill holes in the wall, and gently tap the Screw Anchors (COB) into the holes until fl ush with the wall. If drilling directly into
studs, do not use the anchors.
• Percer les murs, et insérer gentiment les ancrages de fi xation (COB) dans les trous jusqu’à ce qu’ils soient au ras du mur.
En perçant les poteaux muraux, ne pas employer les ancrages.
• Taladrar los muros, y golpear ligeramente las anclas para tornillos (COB) en los agujeros hasta que estén a ras del muro. Al
taladrar directamente en los travesaños murales, no usar las anclas.
• Move the Cabinet back into position, and secure it to the wall.
• Mettre l’armoire en place, et le fi xer au mur.
• Poner el armario en su lugar, y fi jarlo al muro.
ACB (x2)
ACB
ACB
COB (x2)
COB
COB
ARA (x1)
GEG