8
SECTION 1 (CONTINUED) / SECTION 1 (SUITE) / SECCIÓN 1 (CONTINUACIÓN)
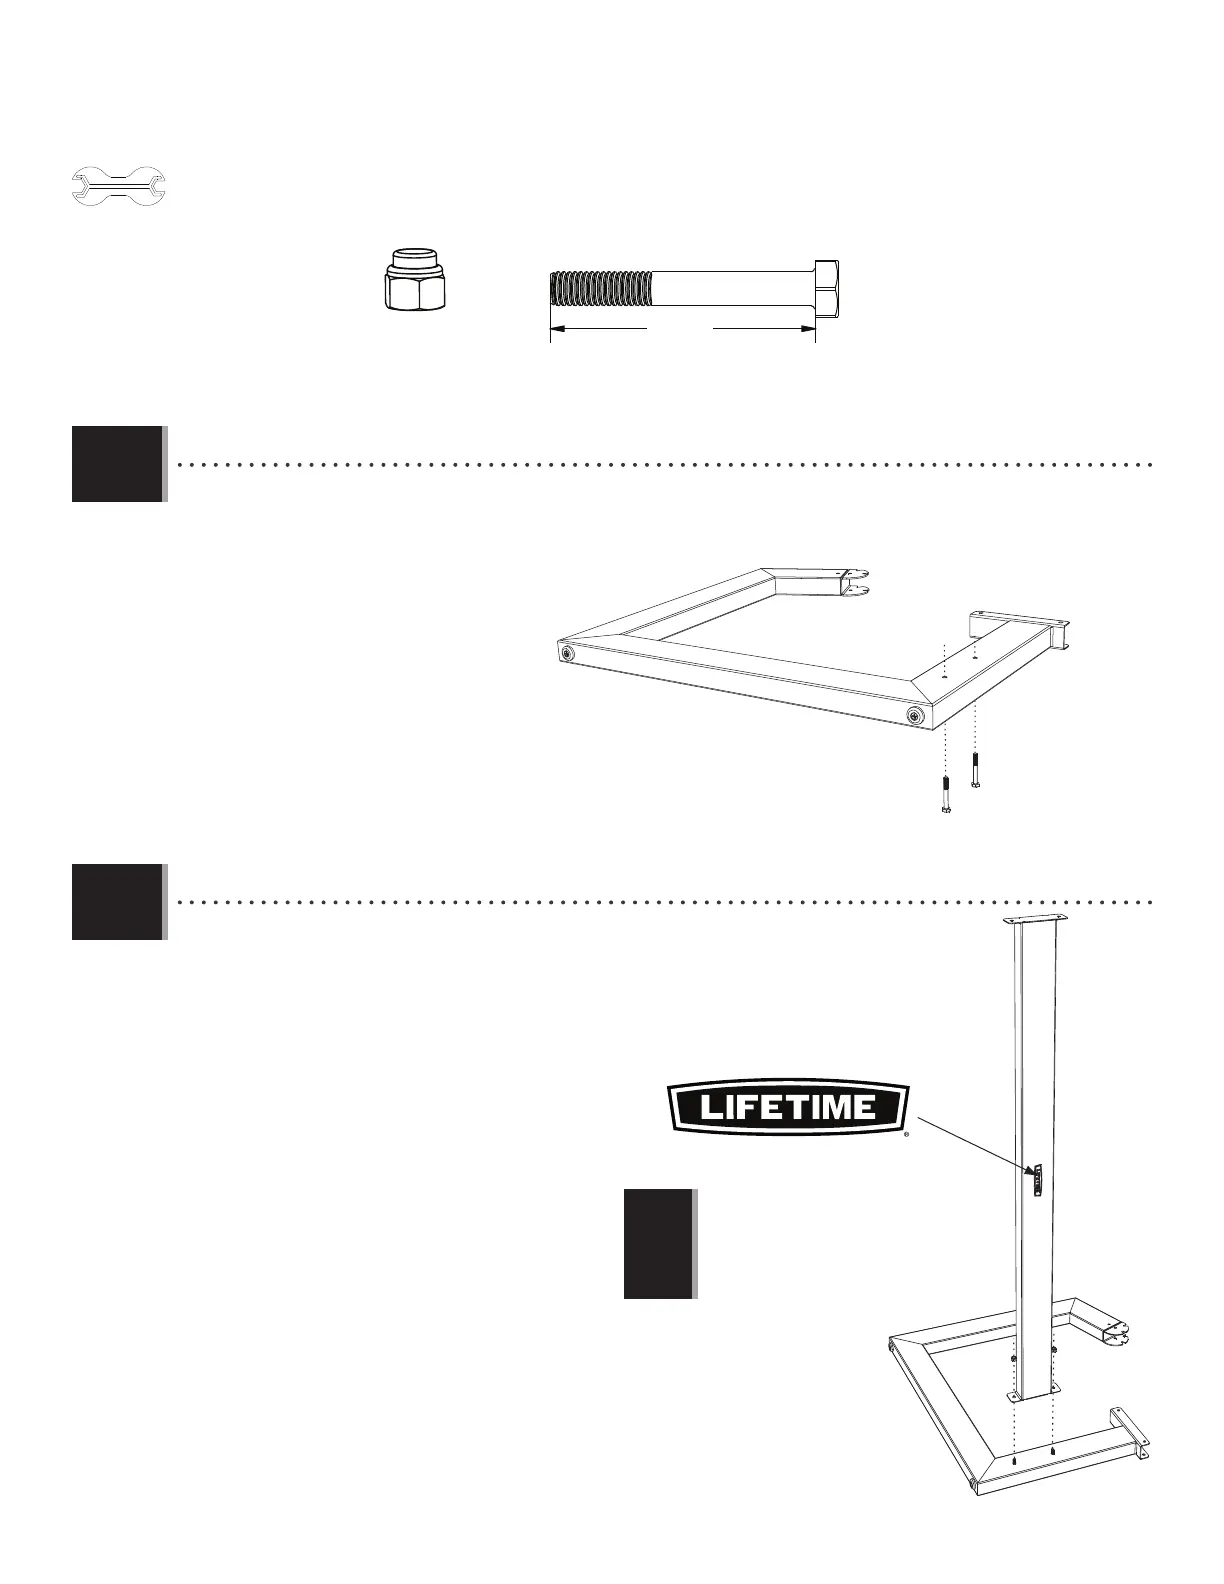
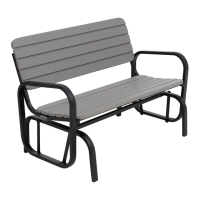
TOOLS AND HARDWARE REQUIRED / OUTILS ET QUINCAILLERIE REQUIS / INSTRUMENTAL Y HERRAJE REQUERIDOS
AON (x2)
CSI (x2)
47 mm
10 mm (x2)
CRI
CSI
CSI
AON
AON
CRL
1.1
1.2
• Insert two Bolts (CSI) through the holes in the Left Leg (CRI).
• Insérer deux boulons (CSI) à travers les trous dans le pied gauche (CRI).
• Insertar dos pernos (CSI) a través de los agujeros en la pata izquierda (CRI).
Note: Orient the Lifetime logo as shown.
Remarque : Orienter le logo Lifetime comme
indiqué.
Nota: Orientar el logotipo Lifetime como se
muestra.
!
• Set the two holes in the Cross Support (CRL) over the two Bolts, and secure. Do not overtighten.
• Mettre les deux trous sur le support transversal (CRL) sur les deux boulons, et bien l’attacher.
Ne pas trop serrer.
• Colocar los dos agujeros en el soporte transversal (CRL) sobre los dos pernos, y sujetarlo bien.
No apretar demasiado.